8.14. SambaPOS GO Kiosk V2 Configuration
In this document it will be explained how to configure SambaPOS GO Kiosk V2 version.
System Requirements;
1. You need to have SambaPOS GO Kiosk license in the same account that you have SambaPOS V5 Pro License.
2. SambaPOS GO Kiosk V2 works on Windows and Android Based computers.
3. It is necessary to purchase GO Kiosk license as much as kiosk device counts to be used.
Document Index;
We Can Gather the Steps to Be Done Under 4 Main Headers;
1. Windows Server Settings
2. Settings That Should Be Done on SambaPOS
3. Settings That Should Be Done on GO Kiosk V2 Device
4. Settings That Should Be Done on http://gooffice.sambapos.com
1. Windows Server Settings
1.1. Server Features
1.2. Database Features
1.3. Network Settings
1.4. Windows Firewall Settings
1.5. MSSQL TCP/IP Ports
2. Settings That Should Be Done on SambaPOS
2.1. Adding Application on SambaPOS
2.2. Adding User on SambaPOS
2.3. Sending SambaPOS Menu to Device that GO Kiosk V2 Device
3. Settings That Should Be Done on GO Kiosk V2 Device
3.1. Registering SambaPOS GO Kiosk Device to GO Office
4. Settings That Should Be Done on http://gooffice.sambapos.com
4.1. Login to GO Office
4.2. Synchronization of Tablet and Kiosk Licenses
4.3. Detailed Settings of Related Kiosk Device
4.4. Menu Category and Product Editing on GO Office
4.5. Menu Category and Product Sorting on GO Office
4.6. Adding Payment Type on GO Office
4.7. Settings Screen
4.7.1. General Settings
4.7.2. Kiosk Settings
4.7.3. Tablet Settings
4.7.4. Kiosk Theme Screen
4.7.5. Tablet Theme Screen
4.7.6. Language Options
4.8. Advertising Settings on GO Office
4.8.1. Kiosk Banners Display
4.8.2. Kiosk Homepage Ads Screen
4.8.3. Tablet Homepage Ads Screen
4.9. Logs Screen
4.10. Entering to GO Kiosk Settings Screen
4.11. GO Kiosk Sample Order
1. Windows Server Settings
1.1. Server Features
1.2 Database Features
1.3. Network Settings
1.4. Windows Firewall Settings
1.5. MSSQL TCP/IP Ports
1. Windows Settings
1.1. Server Features
Server Operating System: Windows 10 or higher Operating System and the latest version of Microsoft SQL Server
Server Hardware: Minimum Intel Celeron J1900 CPU, 4 GB of Ram, 64 GB SSD Harddisk or higher
1.2. Database Features
Latest Microsoft® SQL Server® Express With Management
SQL Server Download Link
SQL Server Setup Document Link
1.3. Network Settings
SambaPOS Server and GO Kiosk device must be in the same IP group.
Server: Go to Control Panel > Network and Sharing Center > Change Adapter Settings > Local Area Connection > Internet Protocol Version 4 (TCP/IPv4) > Properties > Write a static IP.
1.4. Windows Firewall Settings
You need to configure your firewall services as explained in the SQL Server Setup document.
Note: If you don’t have MSSQL database, please visit the link to configure settings
https://kb.sambapos.com/2-1-3-sql-express-server-setup/?lang=en
GO Kiosk doesn’t work without MSSQL database.
Control Panel > System and Security > Windows Firewall > Turn Windows Firewall on or off > Turn off Windows Firewall for Private Network Settings and Public Network Settings
Note: To not to have notification for reactivate of Windows Firewall, please follow the steps
Control Panel > System and Security > Action Center > Change Action Center Settings > Network Firewall (Unselected)
1.5. MSSQL TCP/IP Ports
Go to SQL Server Configuration Manager and “Enable” TCP/IP Sharing to connect MSSQL Database from clients.
– Right Click My Computer > Manage > Services and Applications > SQL Server Configuration Manager > SQL Server Network Configuration > Protocol For MSSQLSERVER > TCPIP > Enabled
2. Settings That Should Be Done on SambaPOS
2.1. Adding Application on SambaPOS
Main Menu > Manage > Users > Applications > here, click on Add Application.
General Settings Section;
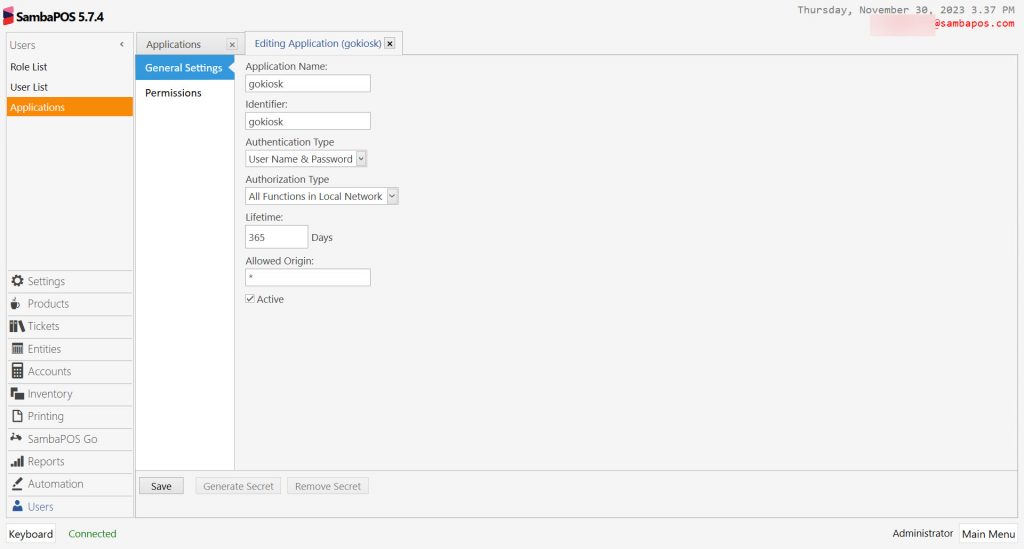
Application Name: gokiosk
Identifier: gokiosk
Authentication Type: User Name & Password
Authorization Type: All Functions in Local Network
Lifetime: 365
Allowed Origin: *
Active: Must be selected
Permissions Section;
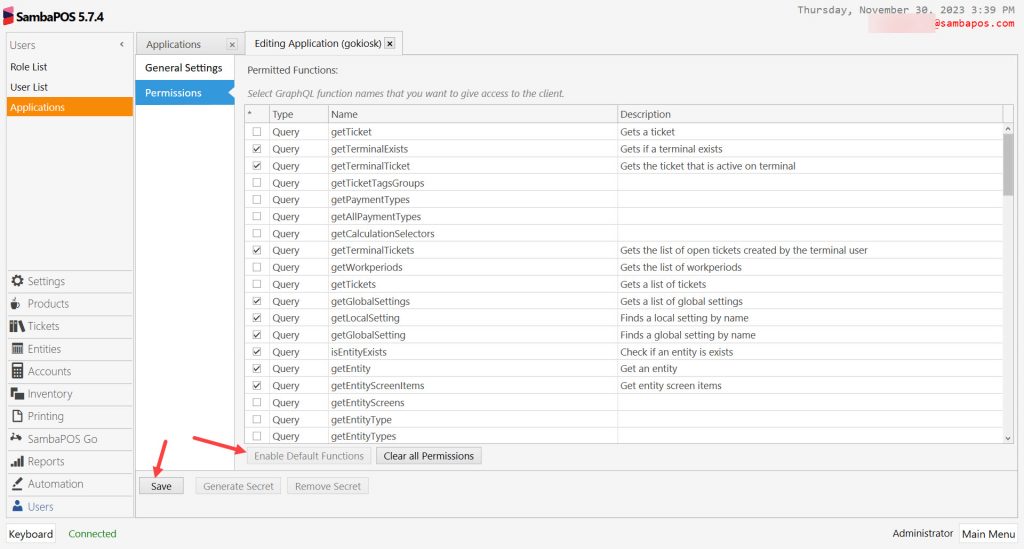
Enable Default Functions: Click on this button also click on related check boxes as shown in the above image.
After completing necessary editings, click on Save button.
2.2. Adding User on SambaPOS
Main Menu > Manage > User List > Users > here, click on Add User.
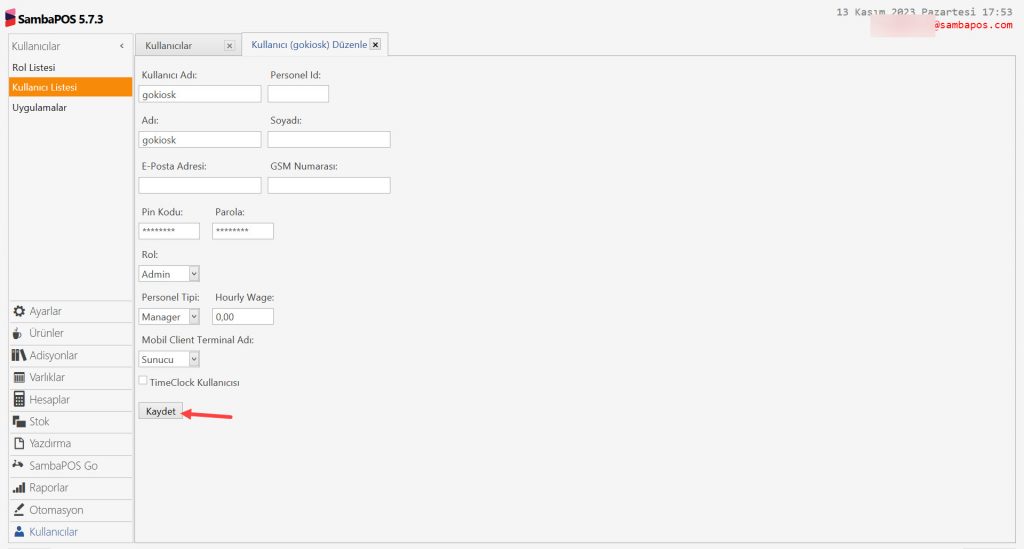
User Name: gokiosk
Pin Code: Type desired code here.
Password: Type the code that determined as Pin here as well.
User Role: Admin
Employe Type: Manager
Mobile Client Terminal Name: Server
After completing necessary editings, click on Save button.
2.3. Sending SambaPOS Menu to Device that GO Kiosk Device
Main Menu > Manage > Settings > Program Settings > SambaPOS GO Section > Here, determine the menu that you want to send to kiosk device and click on Send Menu to GO Office button.
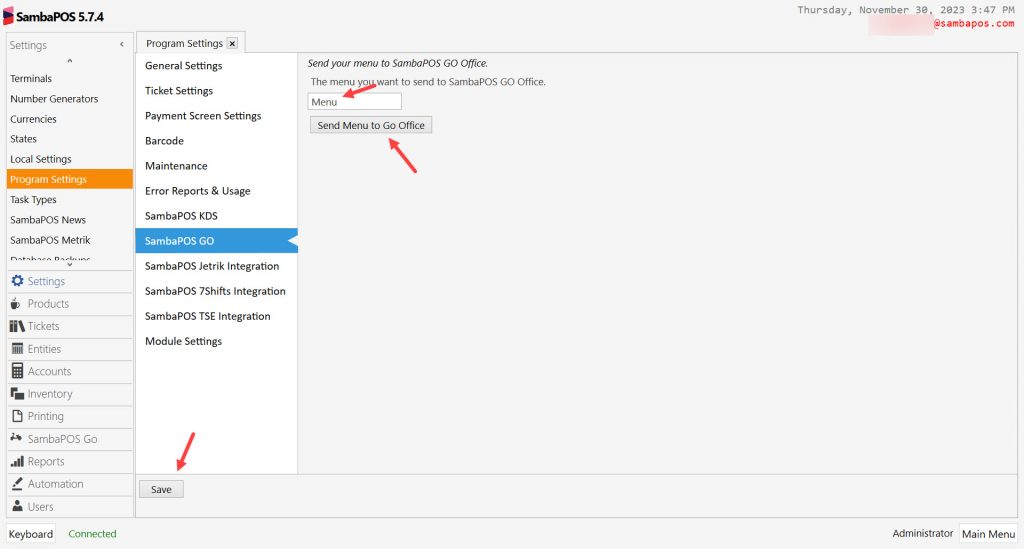
After completing necessary editings, click on Save button.
3. Settings That Should Be Done on GO Kiosk V2 Device
You can download SambaPOS GO Kiosk Setup file from here.
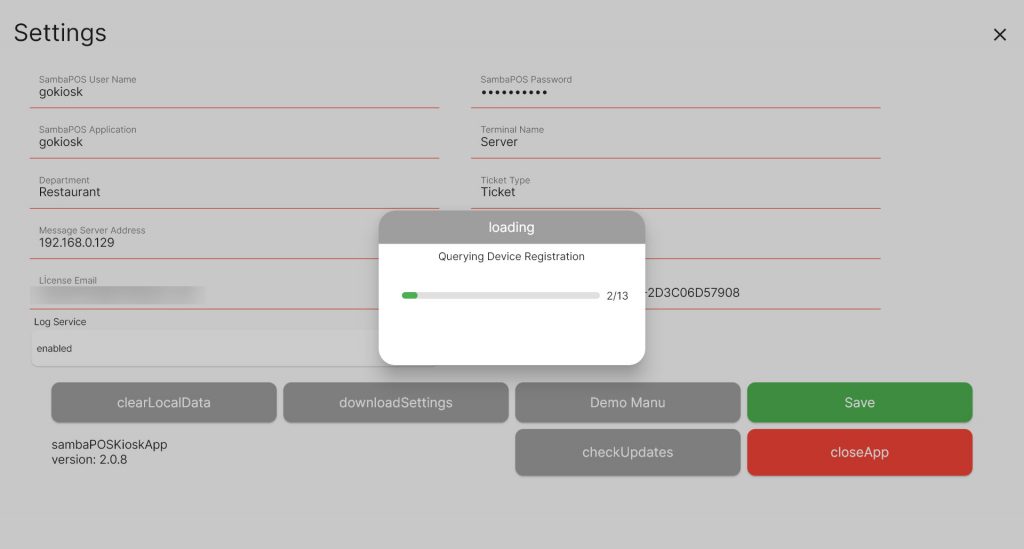
3.1. Registering SambaPOS GO Kiosk V2 Device to GO Office
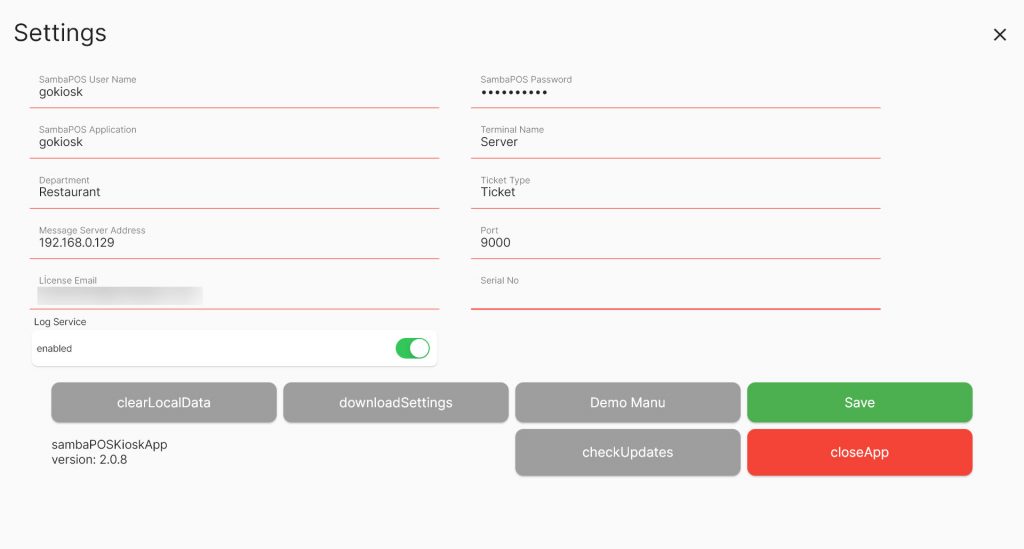
User Name: gokiosk
Password: Type the password that you determined while you creating the user on SambaPOS.
Application Name: gokiosk
Terminal Name: Select the Terminal you want to use.
Department Name: Select the Department you want to use.
Ticket Type Name: Select the Ticket Type you want to use.
Message Server Address: Type the IP Address of computer which SambaPOS V5 Pro installed on
Message Server Port: 9000
License Email Address: The system will be filling this field once you provided necessary information and click on Save button.
After clicking on Save button then you need to click on Download Settings from Web button.
4. Settings That Should Be Done on http://gooffice.sambapos.com
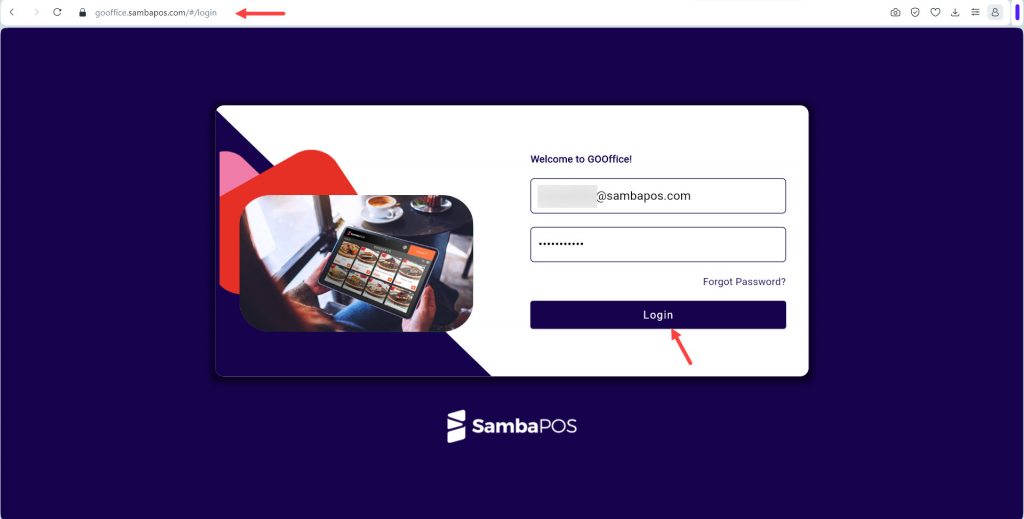
4.1. Login to GO Office
You need to Login to https://gooffice.sambapos.com/#/login website by using your SambaPOS V5 Pro License email address and password.
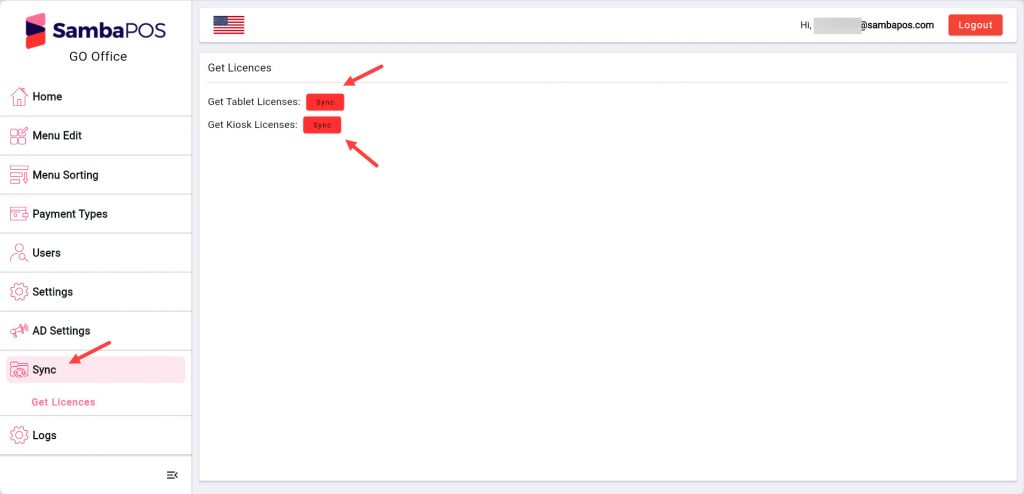
4.2. Synchronization of Tablet and Kiosk Licenses
From the Go Office > Sync > Get Licenses part, click on Sync buttons.
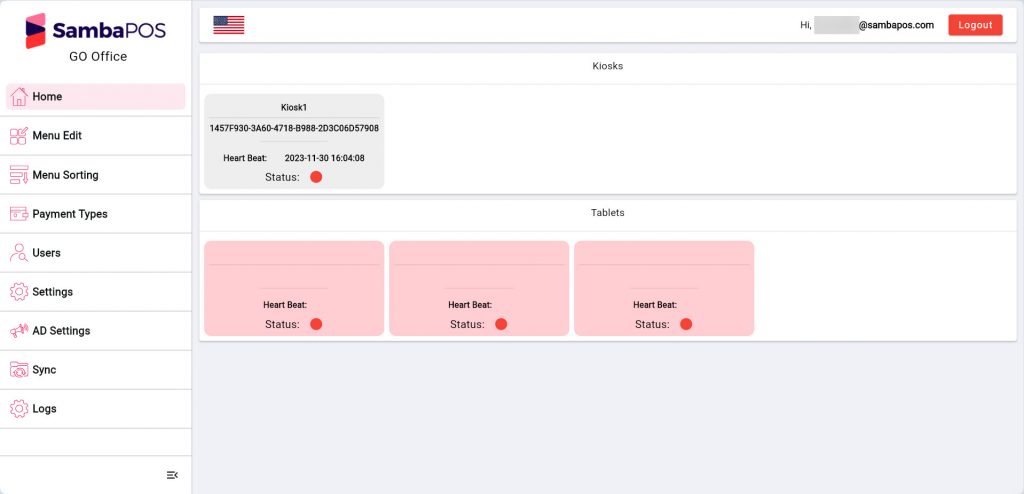
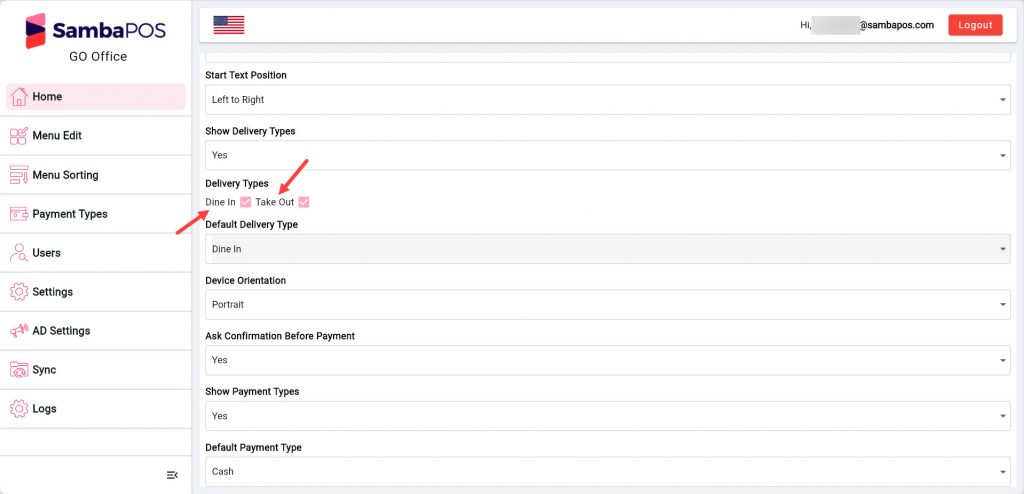
4.3. Detailed Settings of Related Kiosk Device
On Home page all of your Kiosk devices will be displayed. From here you can select related device and handle its detailed settings.
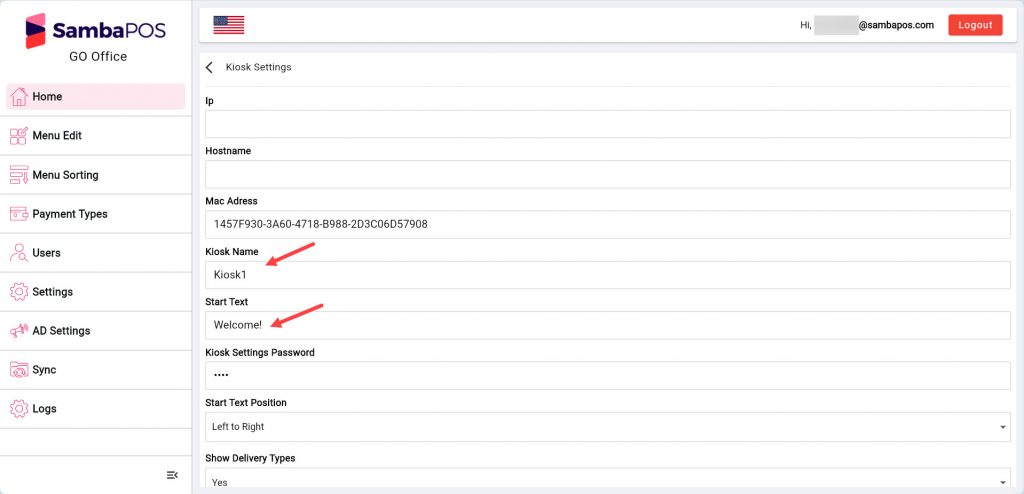
You can a give a name to your Kiosk device and determine a greeting sentence.
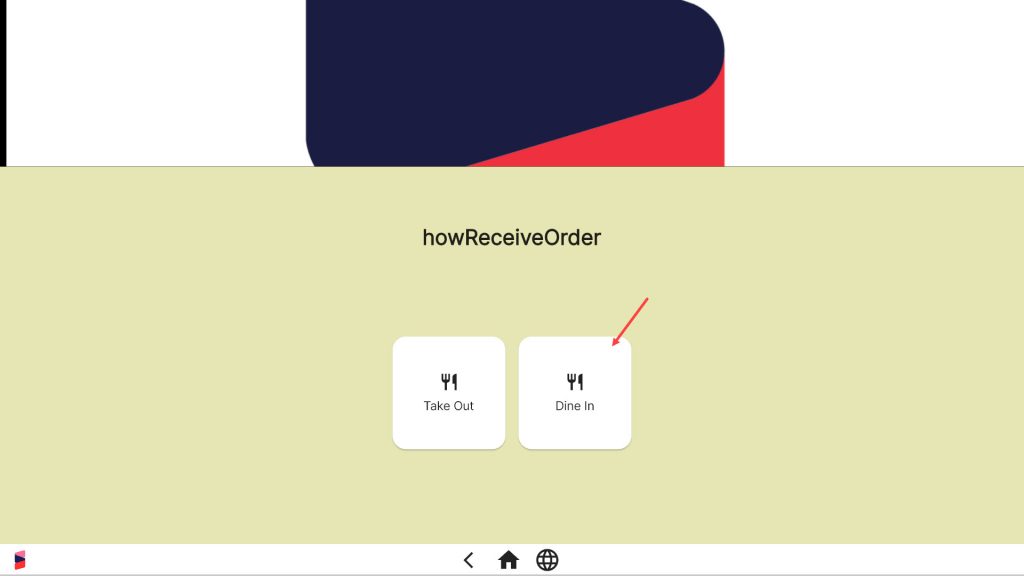
You can select Delivery Types from here;
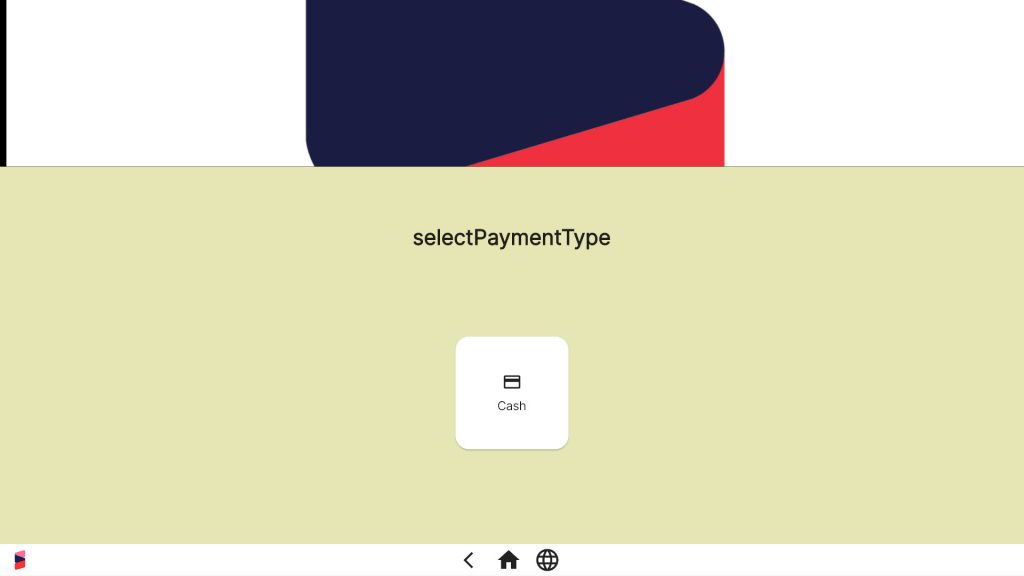
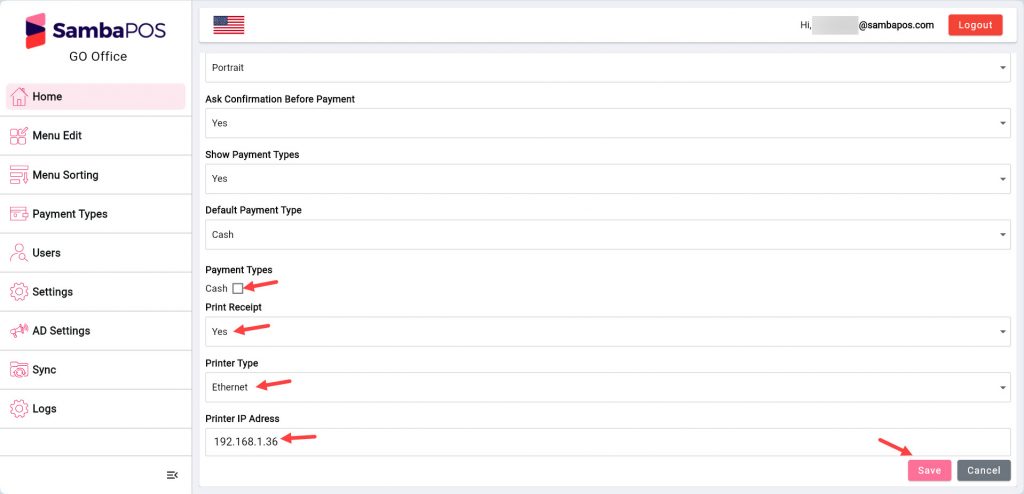
You can enter the Payment Types here and if the Receipt will be printed when the order is received you can set printers settings.
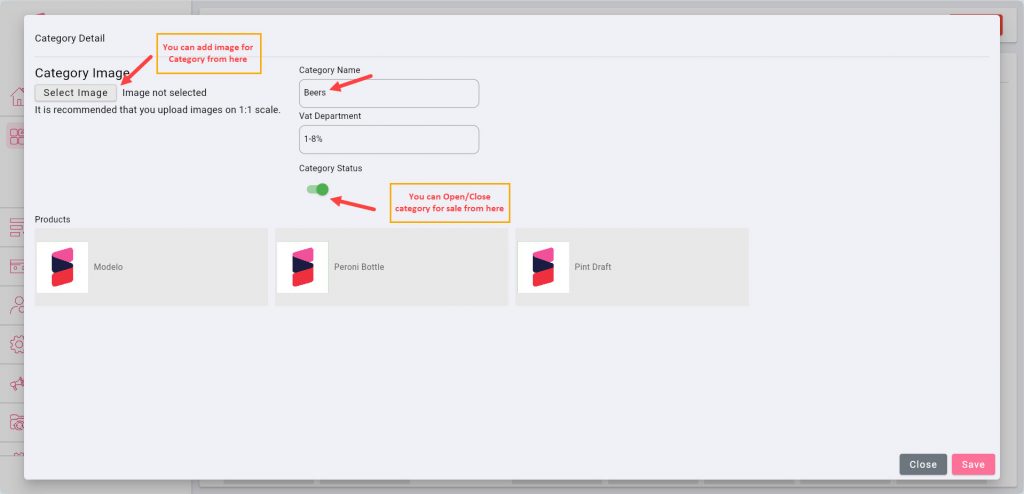
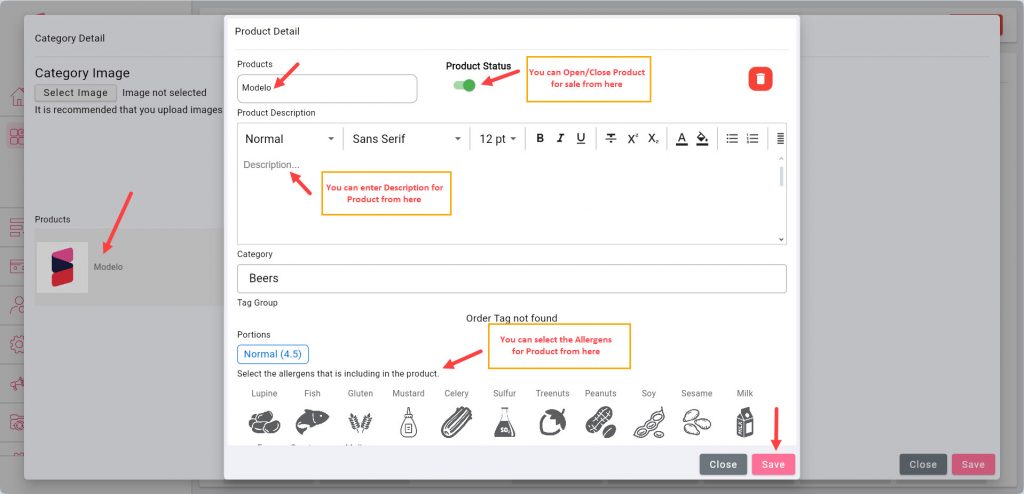
4.4. Menu Category and Product Editing on GO Office
Menu Edit Title
Here you can Edit your Categories and Products.

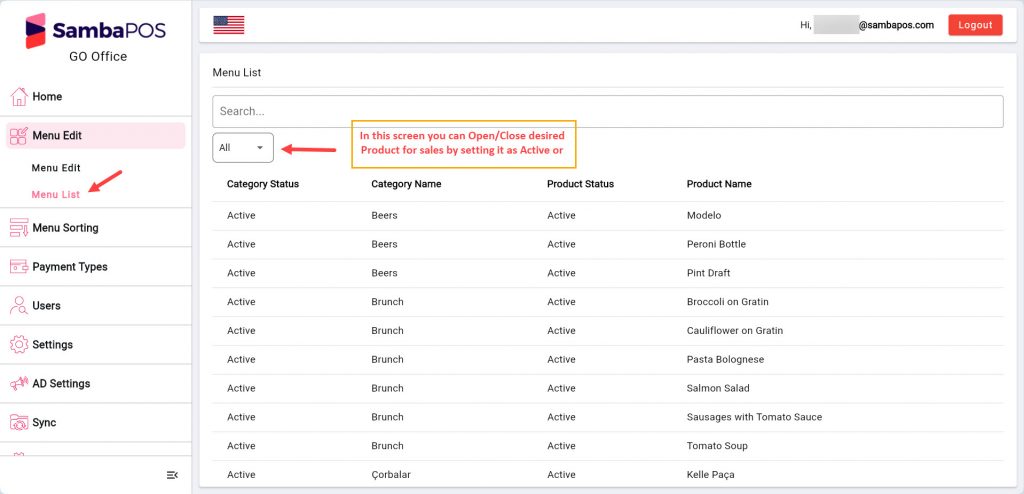
Menu List Title
Here you can Open/Close your Products for sale.
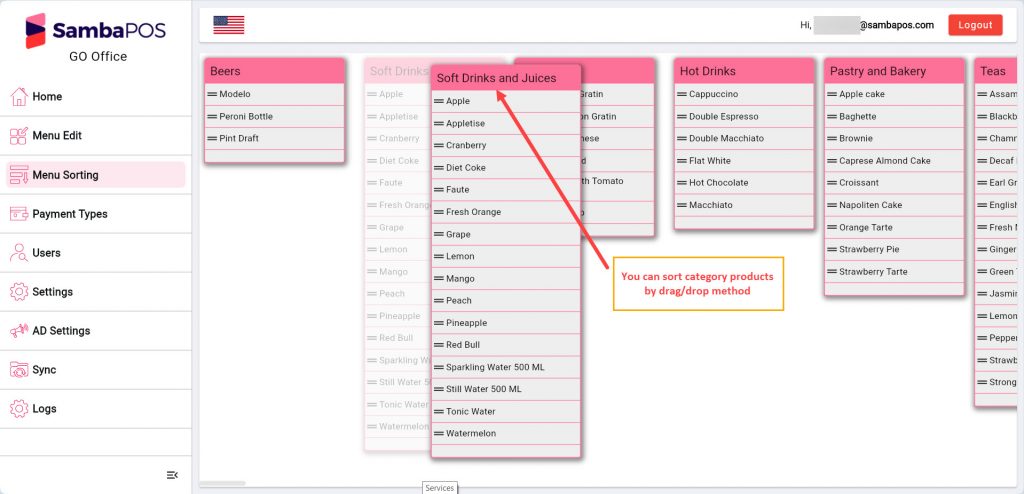
4.5. Menu Category and Product Sorting on GO Office
Under the Menu Sorting title you can sort category products by drag/drop method.
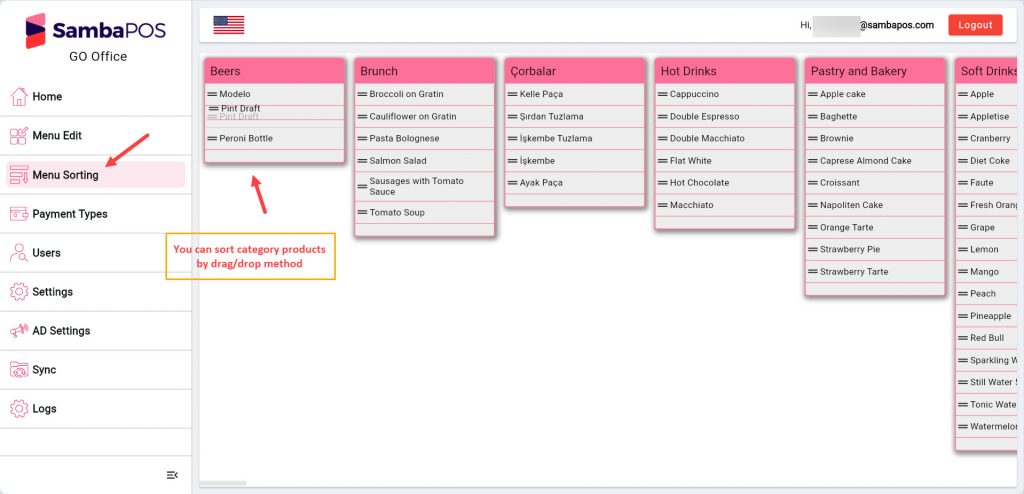
You can sort the categories between each other with the same method.
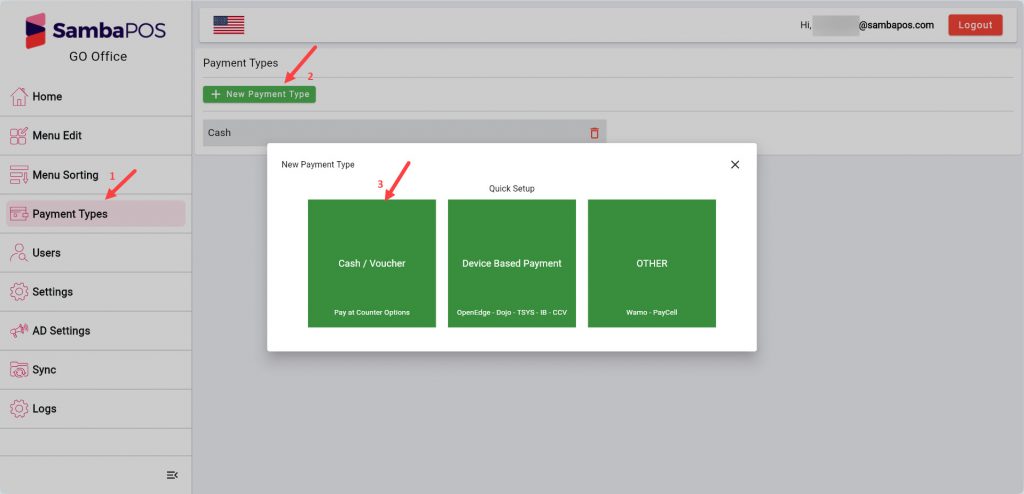
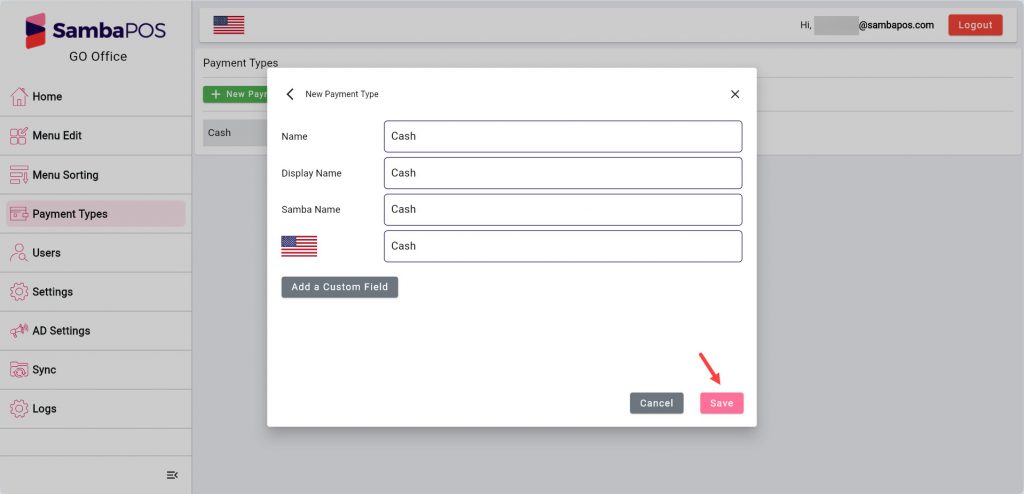
4.6. Adding Payment Type on GO Office
You can add new Payment Types Ödeme Türleri başlığı altında Yeni Ödeme Tipi butonuna tıklayarak ödeme tipi ekleyebilirsiniz.
4.7. Settings Screen
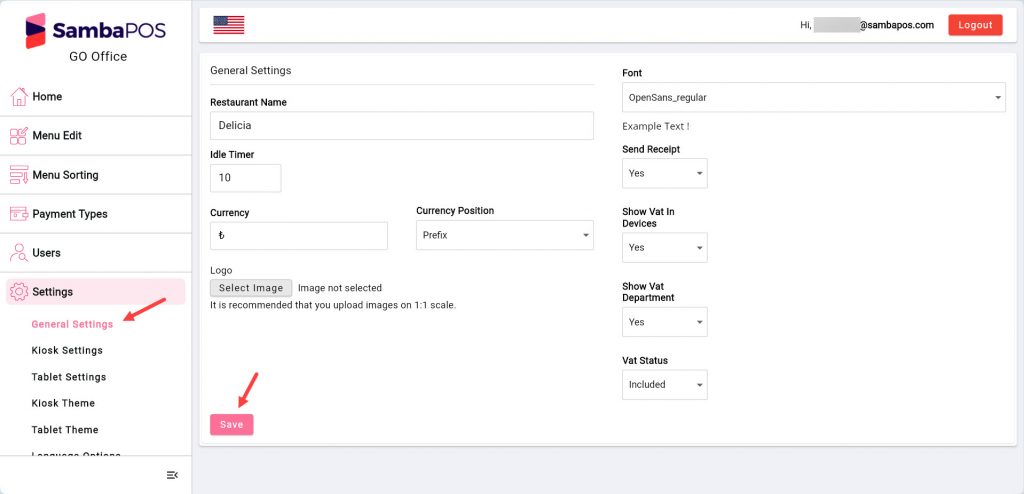
4.7.1. General Settings
In this section you can handle general settings of your Kiosk Device.
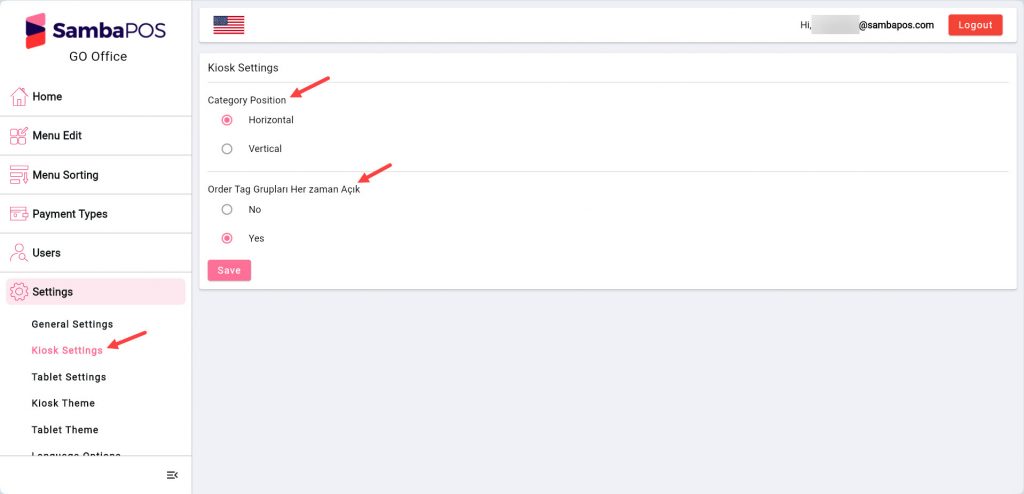
4.7.2. Kiosk Settings
You can set Category position and Order Tag Group visibility from this section.
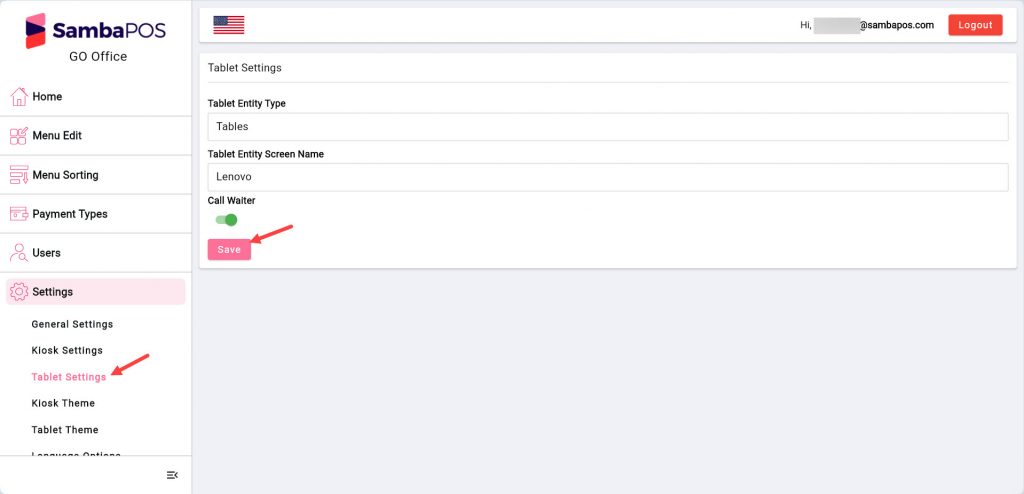
4.7.3. Tablet Settings
In case you use GO Tablet, you can confiure its settings from here.
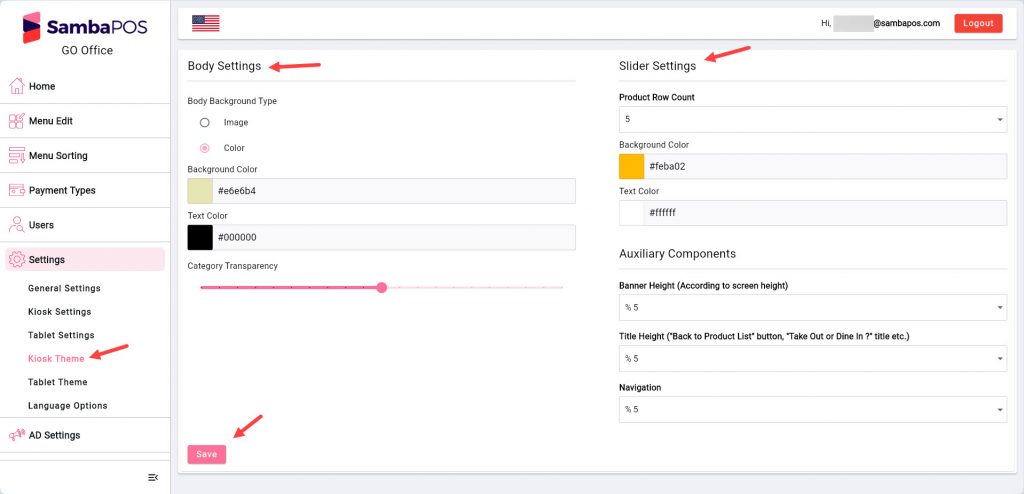
4.7.4. Kiosk Theme Screen
You can configure Homepage and Slider Settings for your GO Kiosk Device.
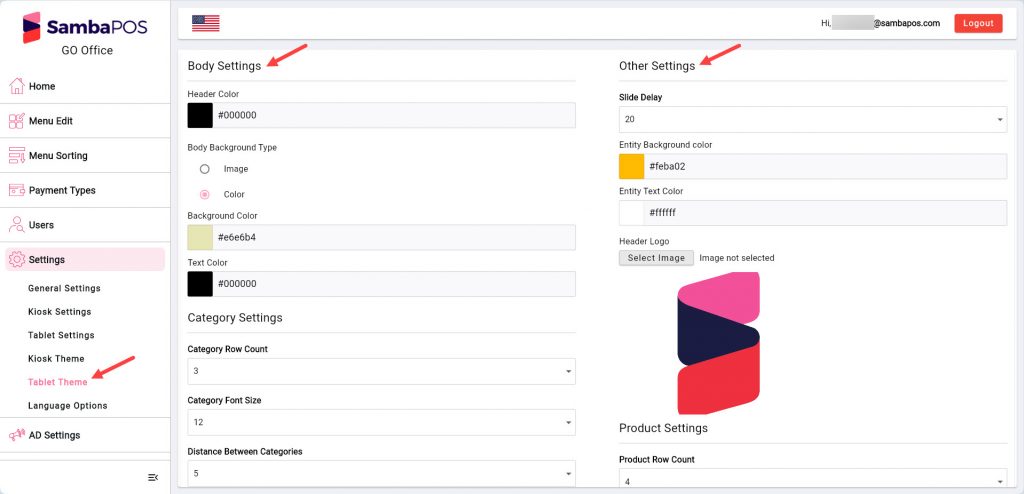
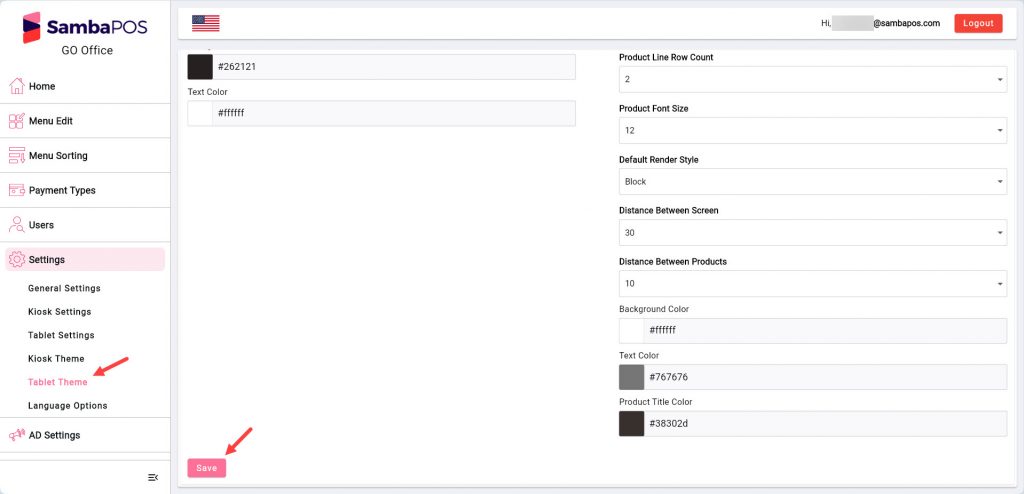
4.7.5. Tablet Theme Screen
In this section you can configure your Tablet’s Homepage and some other settings.
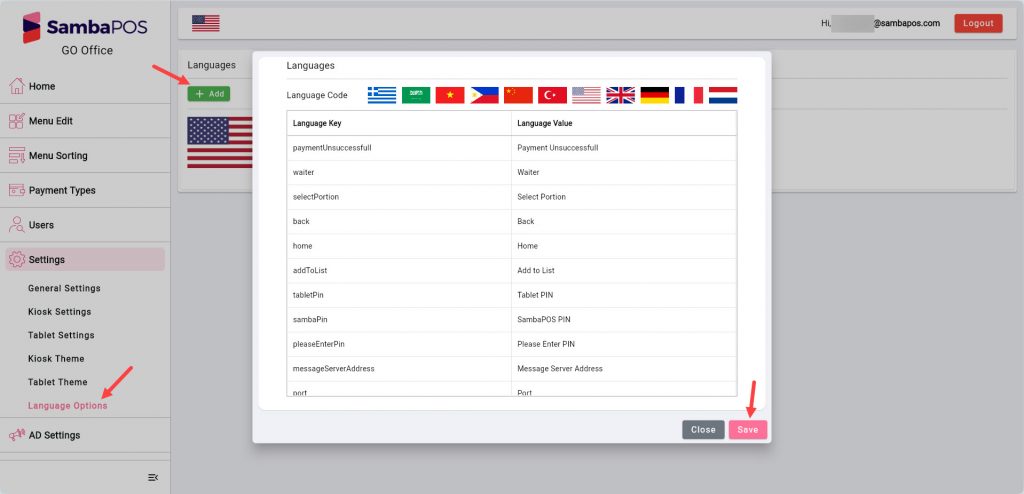
4.7.6. Language Options
You can configure Language Options in this section.
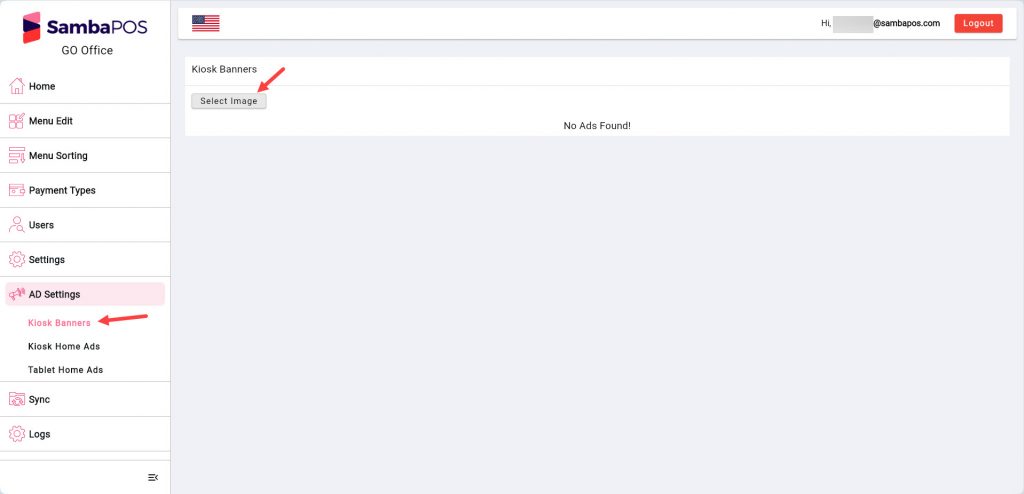
4.8. Advertising Settings
4.8.1. Kiosk Banners Screen
You can select Kiosk Banners images from here.
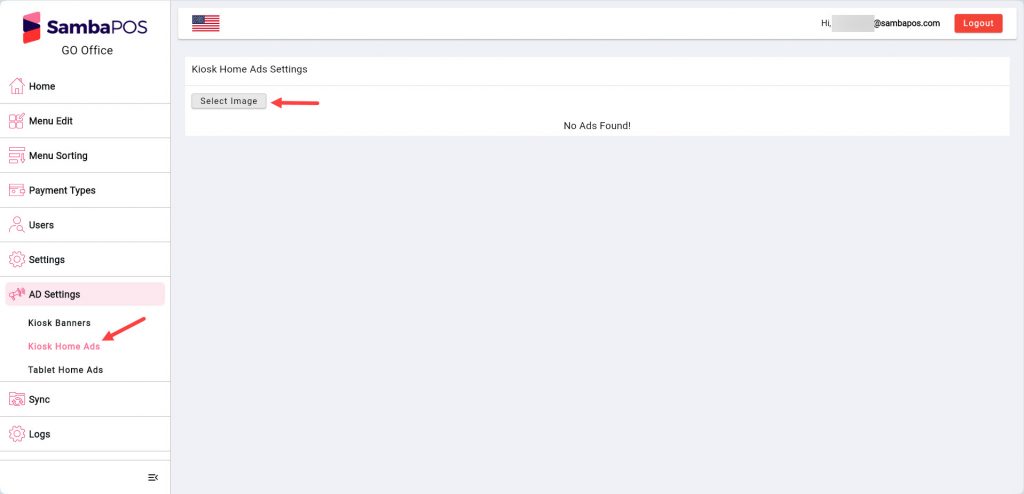
4.8.2. Kiosk Homepage Ads Screen
In here you can select Homepage Banner images for your Kiosk Device.
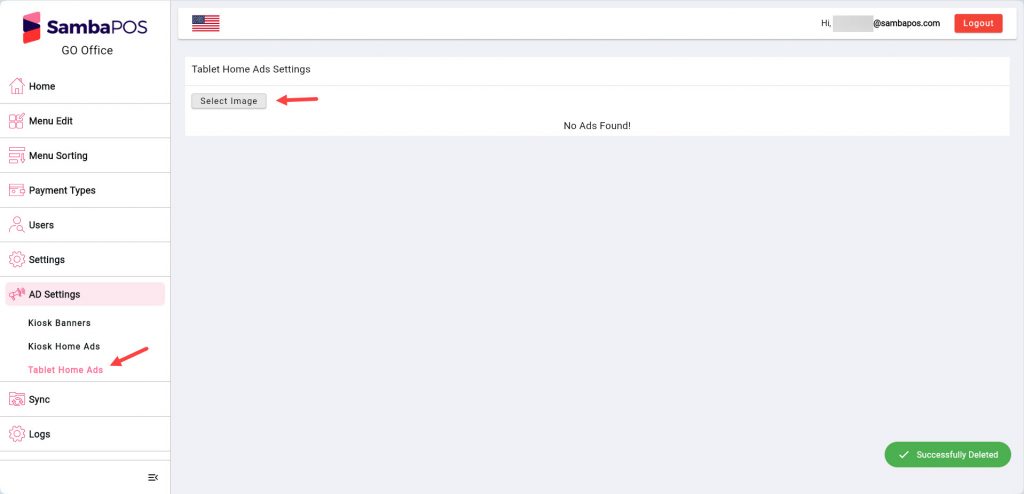
4.8.3. Tablet Homepage Ads Screen
In here you can select Homepage Banner images for your Tablet Device.
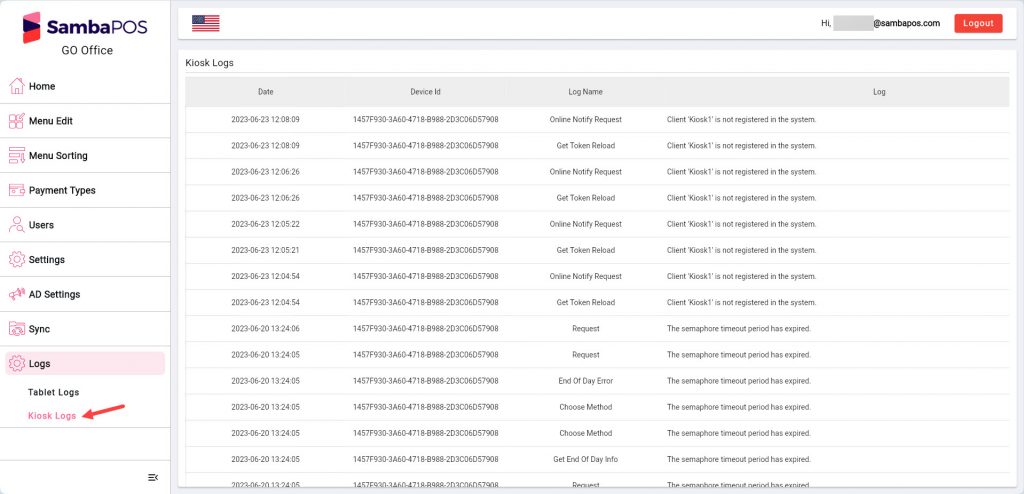
4.9. Logs Screen
In this section, log records of the movements of your kiosk and tablet devices are kept.
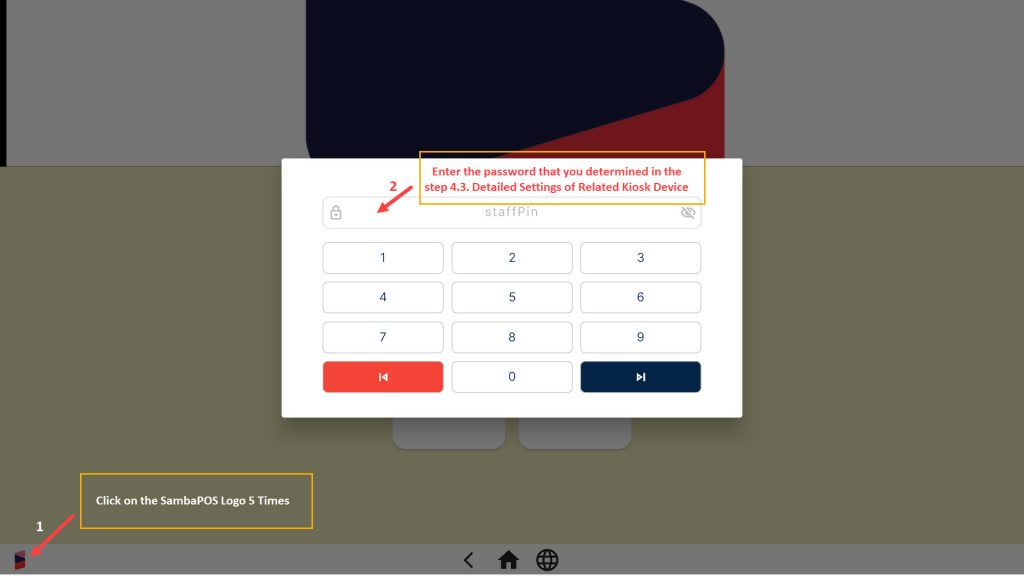
4.10. Entering to GO Kiosk Settings Screen
You can enter to Settings Screen by clicking on the SambaPOS Logo shown in the image below 5 times in a row and using the password that you determined in the step number 4.3. Detailed Settings of the Relatted Kiosk Device of this document.
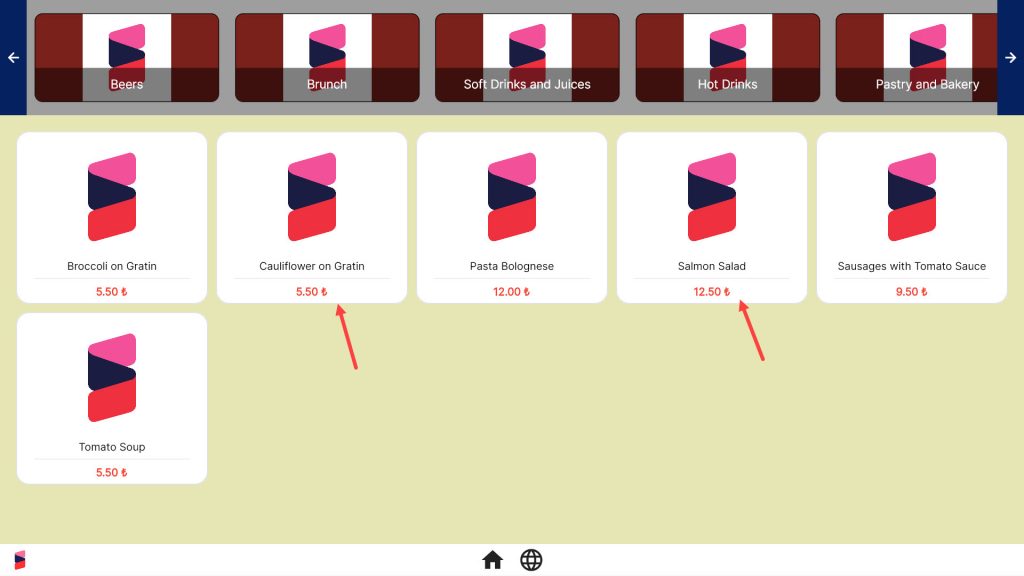
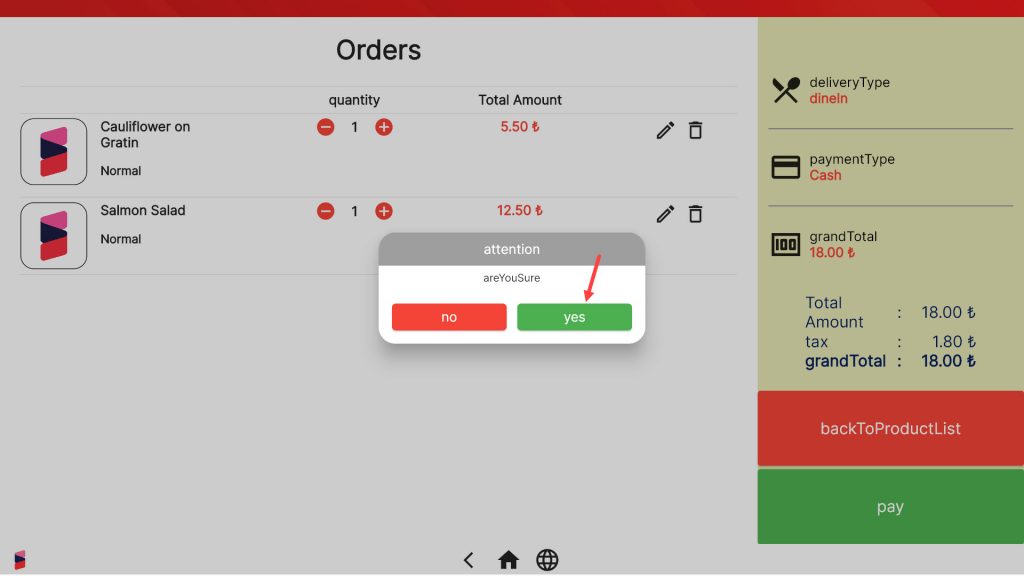
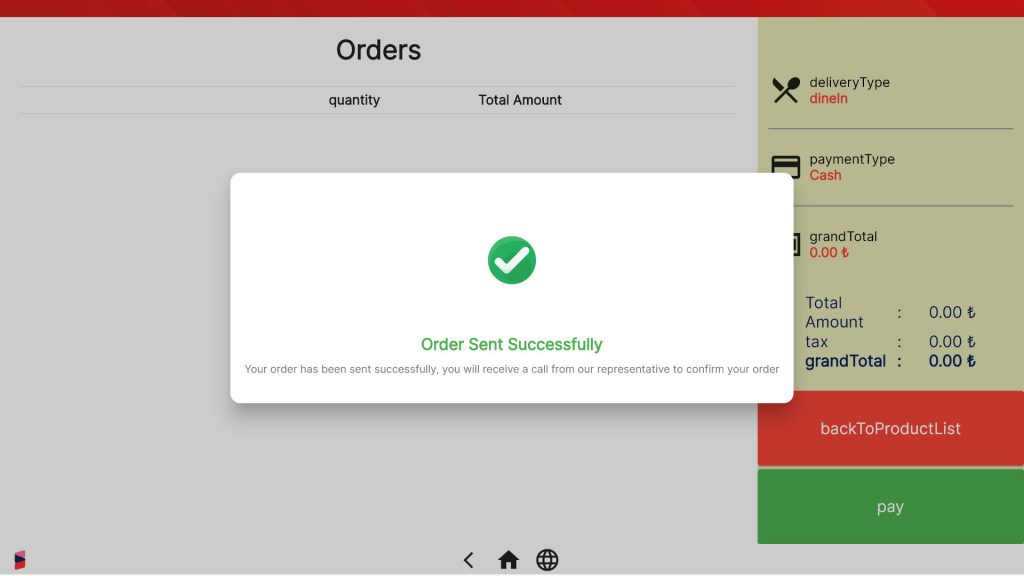
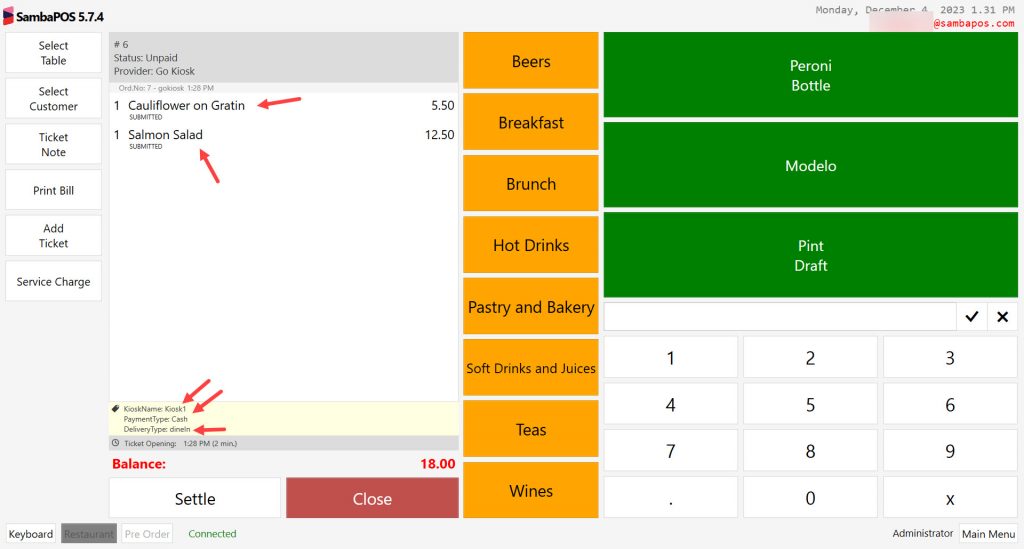
4.11. GO Kiosk Sample Order