2.3.5.b. How to Add Price and Quantity for Order Tags?
It is possible to change product prices by adding order tags. In the example this process was done for ice cream product.
To add order tag, on the navigation screen go to Manage > Tickets > Order Tags and click on Add Order Tag Group link.
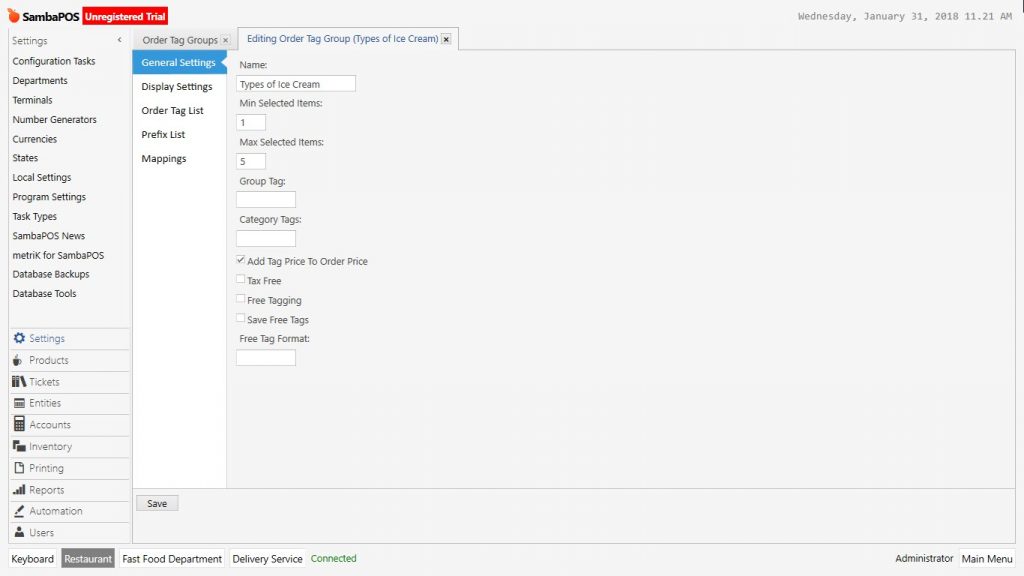
General Settings Section;
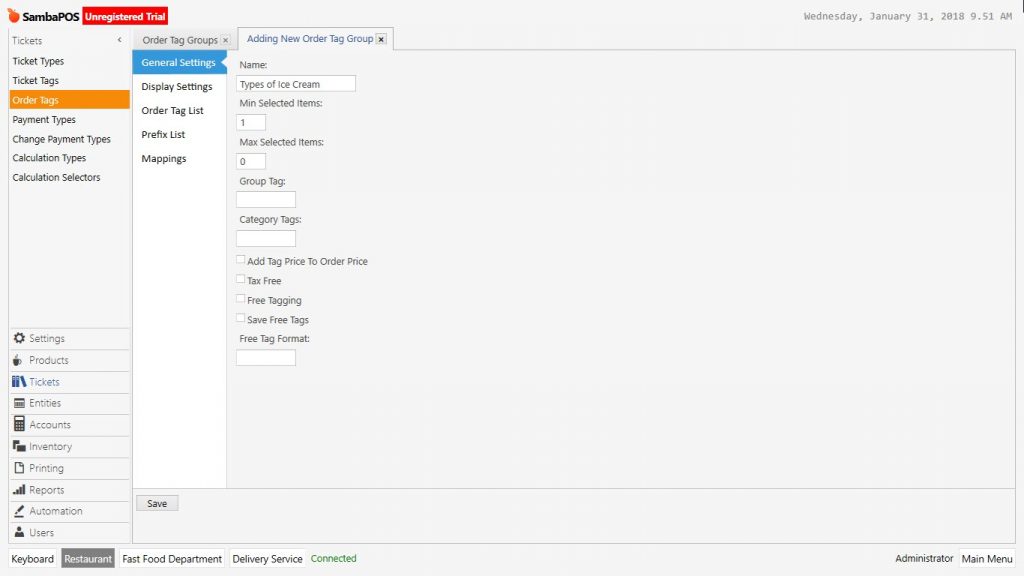
In the example after writing related title on order tag field, give value “1” for minimum selected items field.
Display Settings Section;
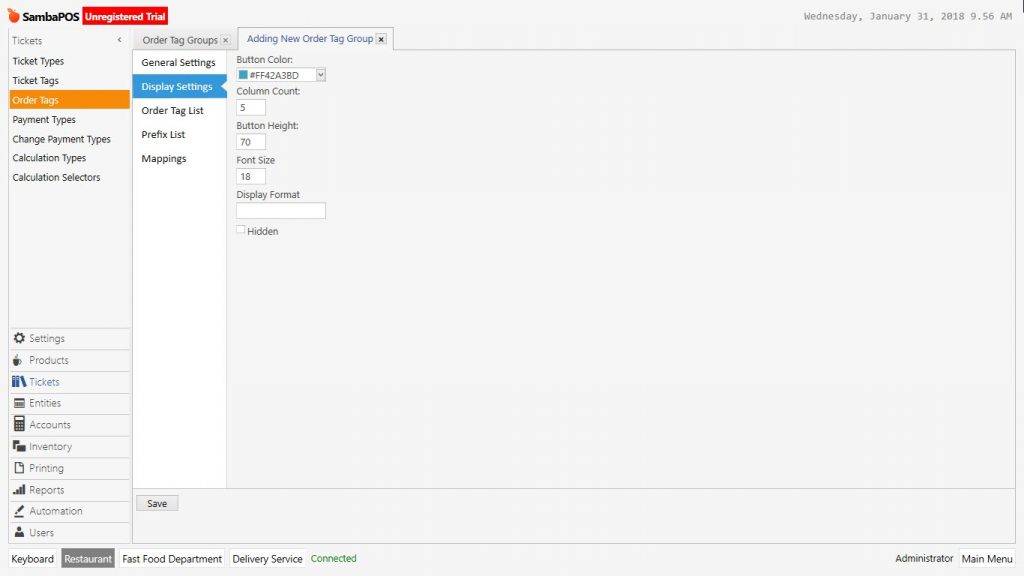
In the display settings make some configurations for order tags such as button color, font size, button height etc.
Order Tag List Section;
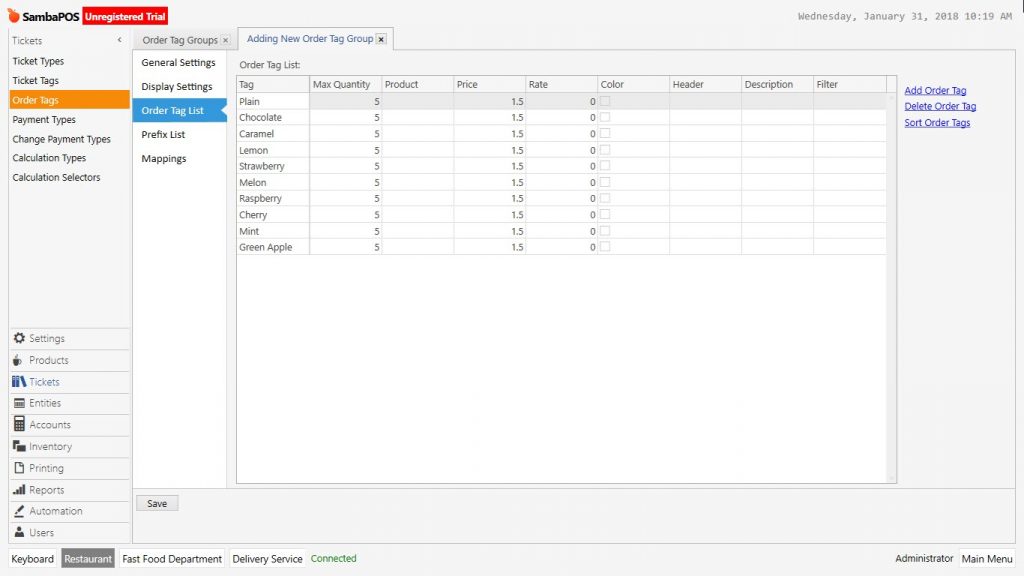
Click on Add Order Tag button as many times as feature count and give the names. Write the price of each scoop into price column. This is the value that will be included the price of product.
In the example in order to give permission for each scoop to be selected maximum 5 times write 5 into that field.
Mappings Section;
It is necessary to decide created order tag will be used for which products. Because of example is about creating order tag for ice cream, select the ice cream from product column.
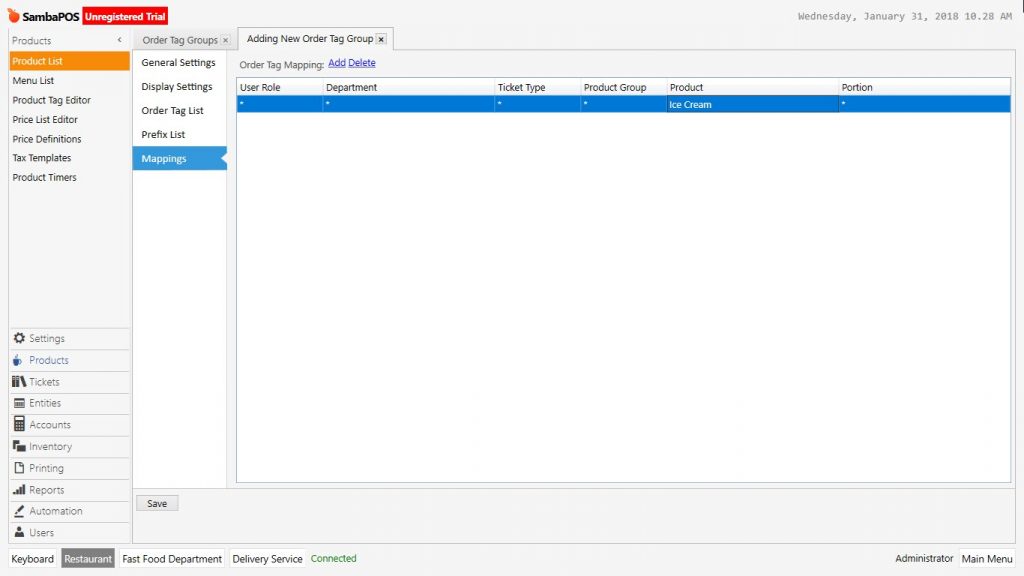
After configuring related editings, click on Save button.
As it is seen in the example after adding ice cream product to ticket when clicked on ice cream on the ticket, order tags that created previously, will be seen at right side. Each added order tag shows the price in its own row and this is a configurable feature.
To do this process, from Tickets > Order Tags menu click on order tag group and open the configuration screen.
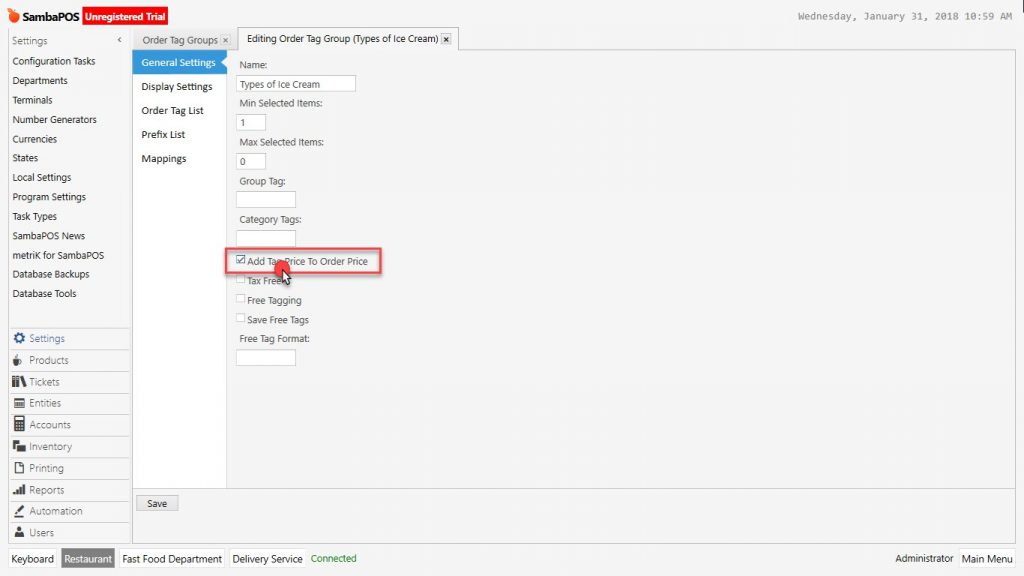
In the general settings section activate the Add Price to Order Price box and click on Save button.
As it is seen in the example, created order tag prices will not be added on its own row but on price of product.
To add maximum adding feature for a product, from Tickets > Order Tags menu click on created order tag group and open the configuration screen.
Give the maximum adding value and click on Save button. So that in the ticket, when selecting feature for related product, it can be selected as many as determined maximum value.