2.3.5.a. What is Order Tag? How to Create?
What is Order Tag?
Order tags indicate status and features of orders. Use these tags to add features to the products. If it is a menu, order tag can explain content of that menu, also it can tell if it is supposed to send to printer or not.
All of the features that will be given to a product can be managed with order tags.
How to Create Order Tag?
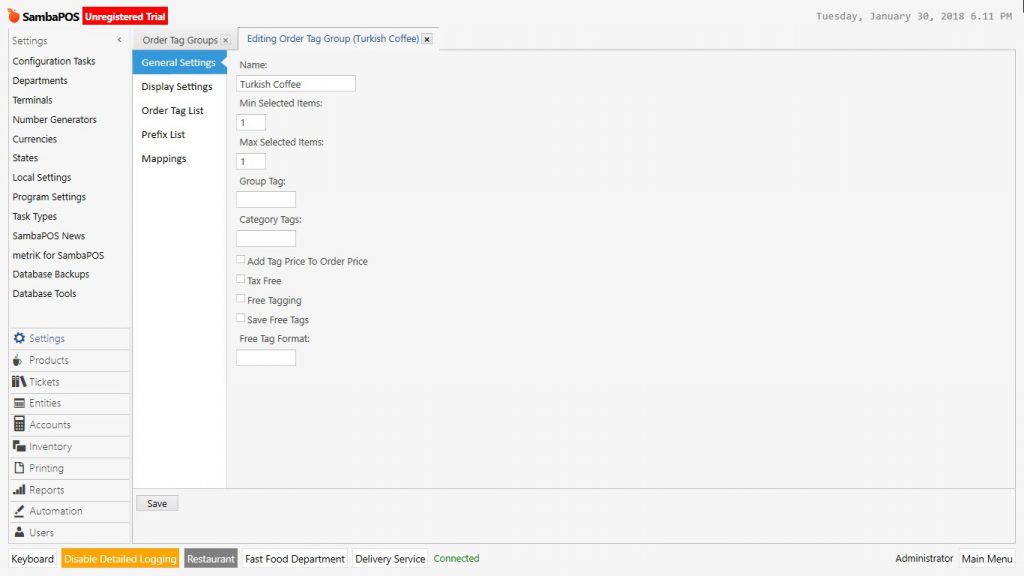
To create order tag from navigation screen go to Manage > Tickets > Order Tags in here click on Add Order Tag Group. In here there are 5 different sections, these are; General Settings, Display Settings, Order Tag List, Prefix and Mappings.
In the example, adding feature for Turkish Coffee is practiced.
General Settings Section;
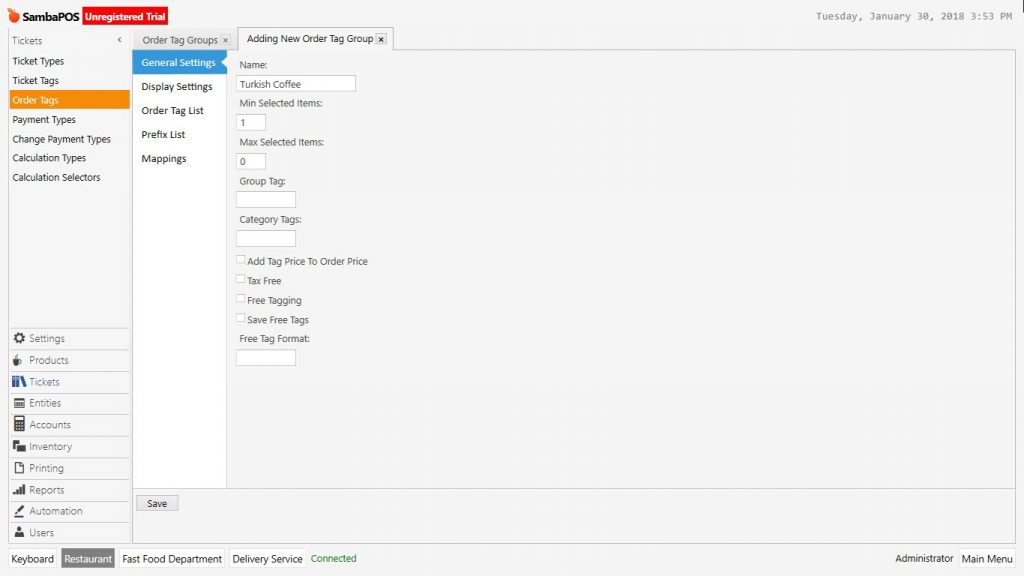
- Name: Field that order tag name is written, that name will be seen on order screen.
- Min Selected Items: This field is used when it is necessary to select a minimum feature count for the product.
- Max Selected Items: Field to select maximum feature count for product.
Display Settings;
When clicked on products, display settings of feature buttons are configured from here.
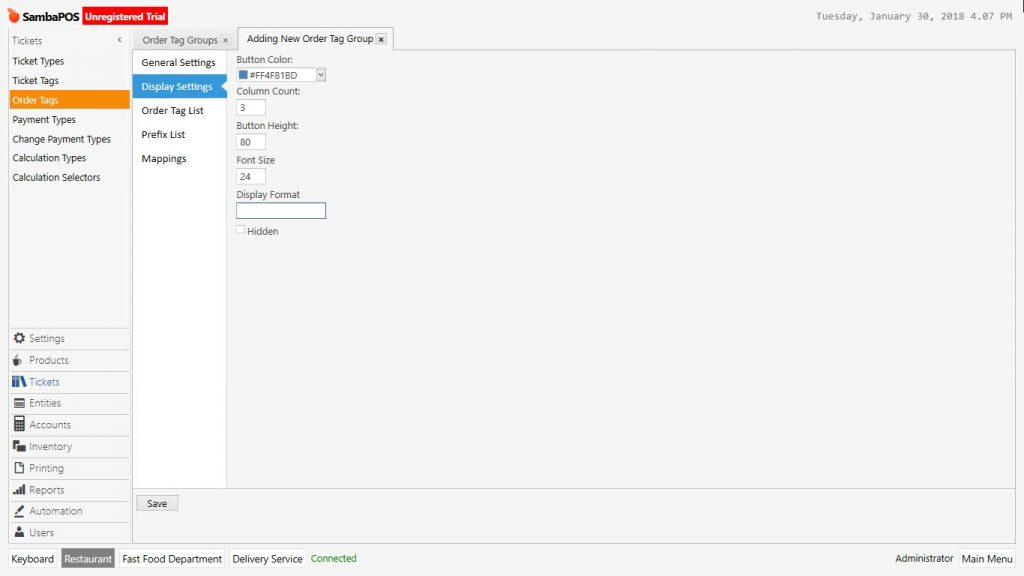
- Button Color: Select button color of order tag from here.
- Column Count: Select column count of order tag screen from here.
- Button Height: Area that button height configured.
- Font Size: Area that font size configured.
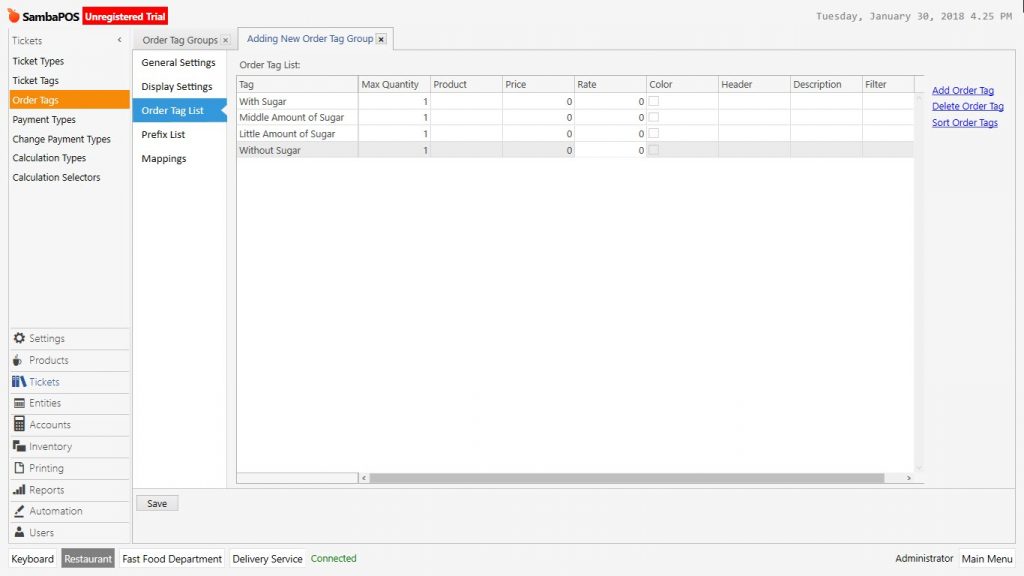
Order Tag List Section;
The field that tags are created. Click on Add Order Tag link and create as many rows as feature count.
Mappings Section;
It is the most important section to create order tag. In here it is decided to show created order tag group in which department, ticket type, product group, product or portion.
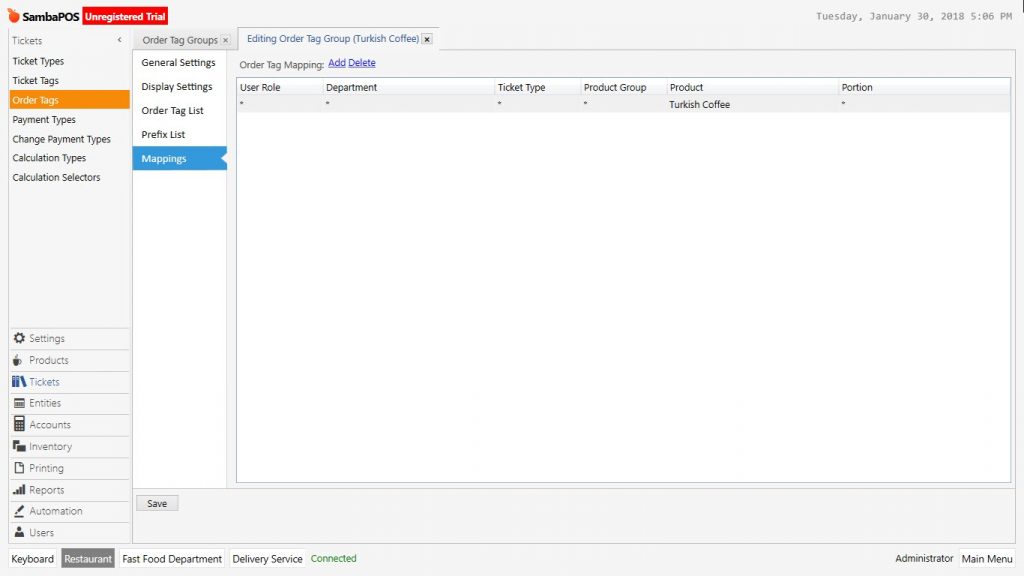
In the example because of feature added for Turkish Coffee, Turkish Coffee was selected as product.
Finish related editings and click on Save button.
So that on the POS Screen after Turkish Coffee added to ticket, when clicked on Turkish Coffe, it is possible to see that added order tags are ready to use.
As it can be seen in the example, for Turkish Coffee it is possible to make more than one choices. To configure the choice as maximum one piece, double click on Order Tag and make the choice.
In here give value for maximum choice area and click on Save button.
As it can be seen in example now it is possible to make only one feature choice from order tags.
You can make more detailed configurations from adding order tag screen by using settings.