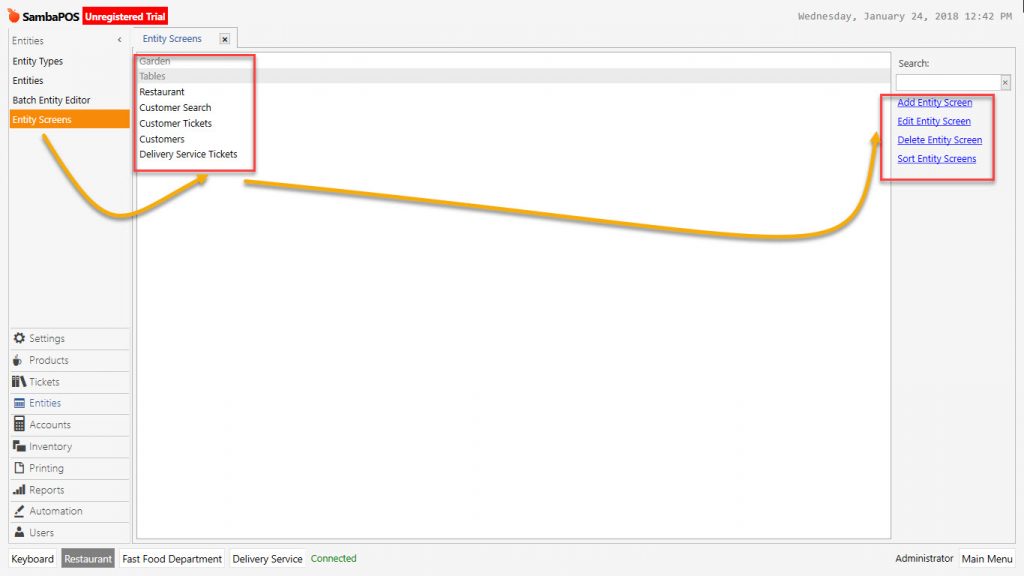
2.3.2.b. How to Add Entity Screens?
To add Entity Screen, on navigation screen go to Manage > Entities > Entity Screens
With basic setup, these entity screens come as default and can be edited according to need.
1- Tables: Entity screen that table entities in restaurant are created.
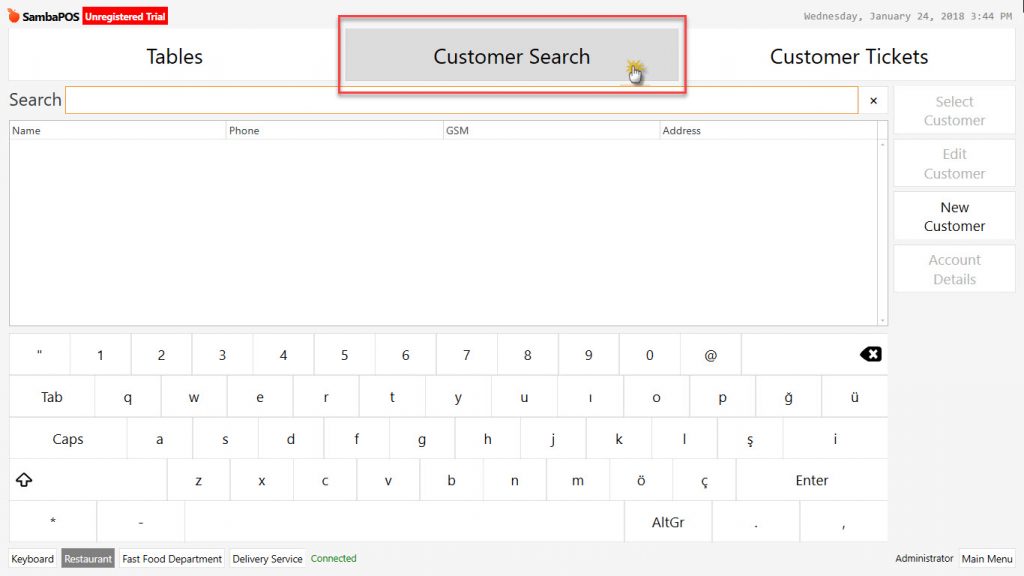
2- Search Customer: Entity screen that customers entity is managed.
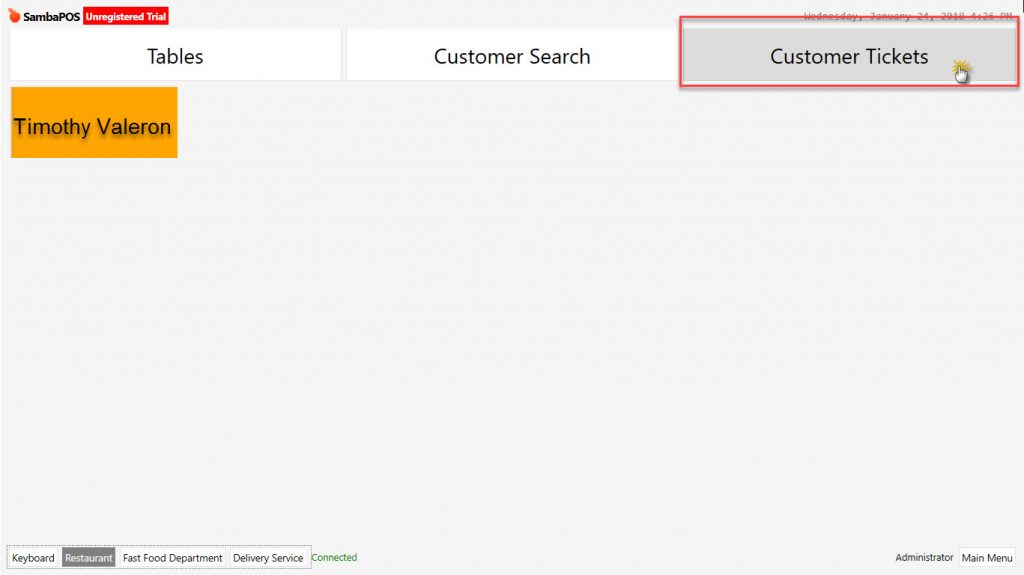
3- Customer Tickets: It is the entity screen which tickets of the customers are found.
In case of necessity, it is possible to add and design many entity screens.
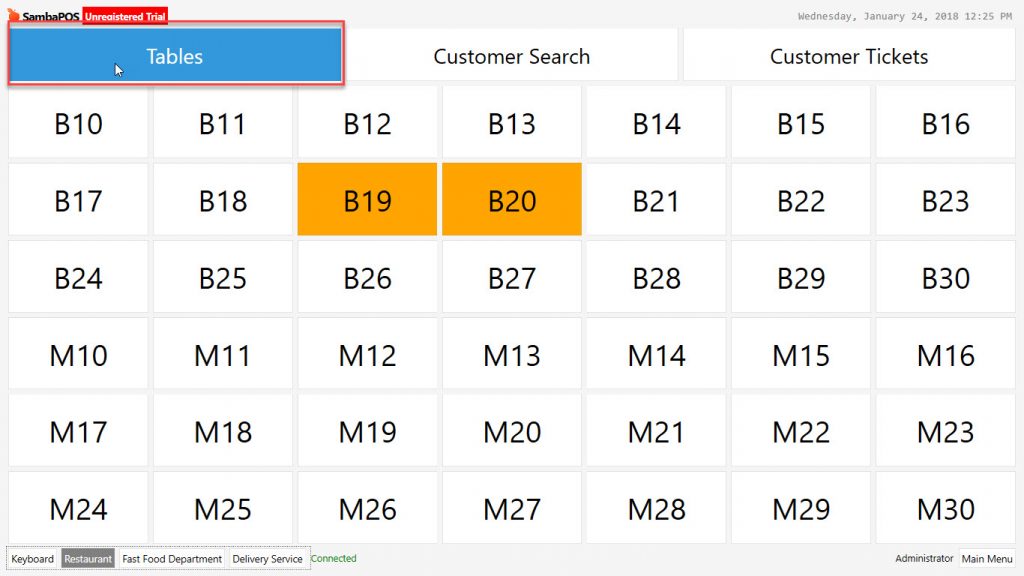
1. Tables
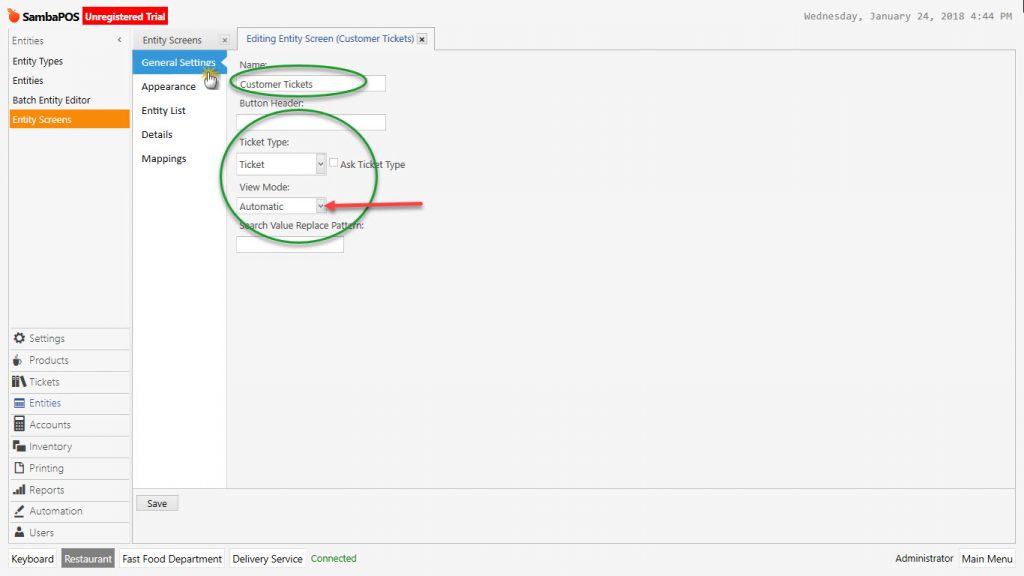
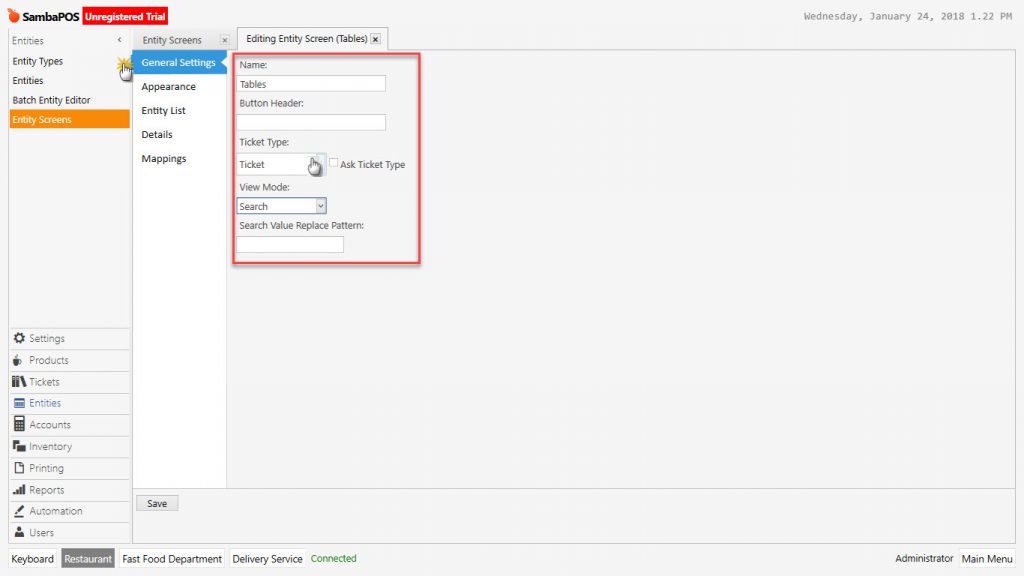
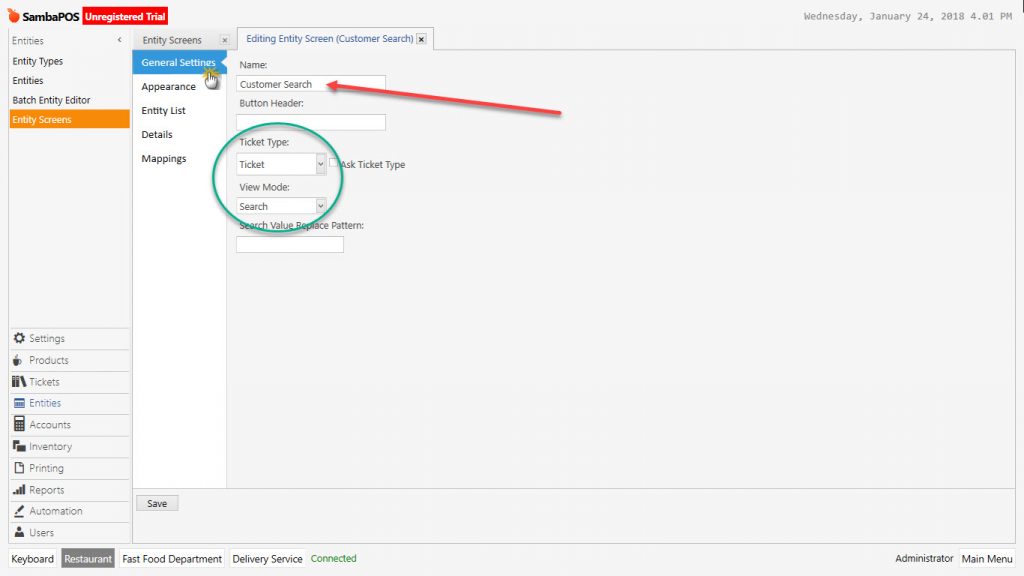
General Settings Section:
Name: Field that entity name is written.
Button Header: Entity screen name can be designed as different header.
Ticket Type: Select the document type which will be used in this entity type.
Ask Ticket Type: When open the entity, order process starts by selecting ticket type.
View Mode:
– Automatic: Entity types which assigned to entity screens are listed from A to Z automatically.
– Search: Entities are opened as selected screen by search – find process.
– Custom: The entities that will be assigned to entity screen are designed separately on the front screen.
– Layout: Screen designing configured as blocks on Entity POS interface screen.
Search Value Replace Pattern:
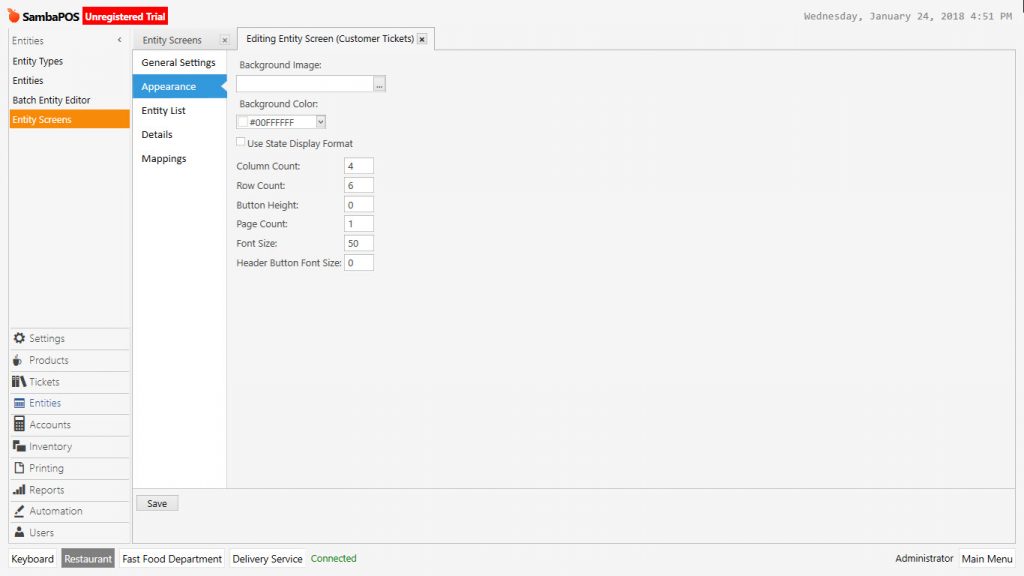
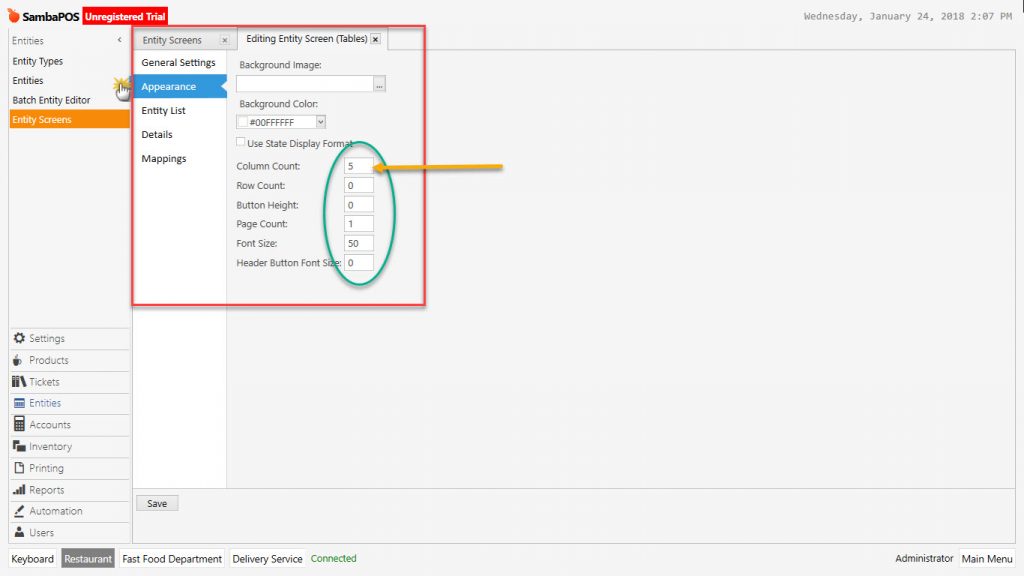
View Mode:
Background Picture: Select physical path of background map or picture for entity screen from here.
Background Color: Select the color code for entity screen background in case of using plain color.
Use State Display Format: Entity state (Status) is selected in order to be seen on entity.
Column Count: On Automatic View Mode field for determining number of desired entity count in a column.
Row Count: Field that desired row count is determined on Automatic View Mode.
Button Height: Pixel value for heights of buttons.
Page Count: When entities are too many, it might be necessary to divide into parts in order to select easier. If it needs to be divided into pages, type the page number in here.
Font Size: The field that determining for font size of entity names which will be written on button.
Header Button Font Size: Field that font size of headers is determined.
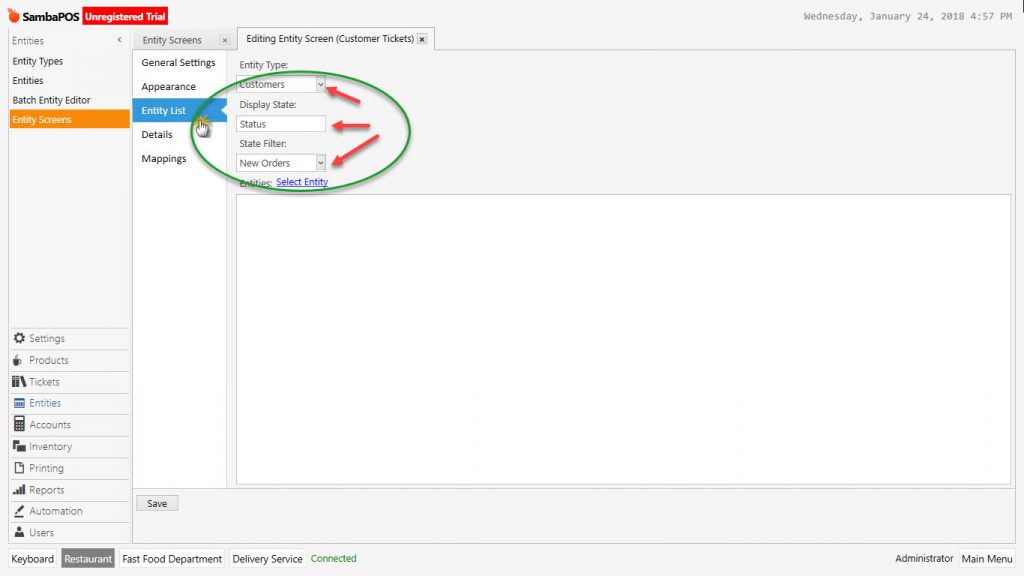
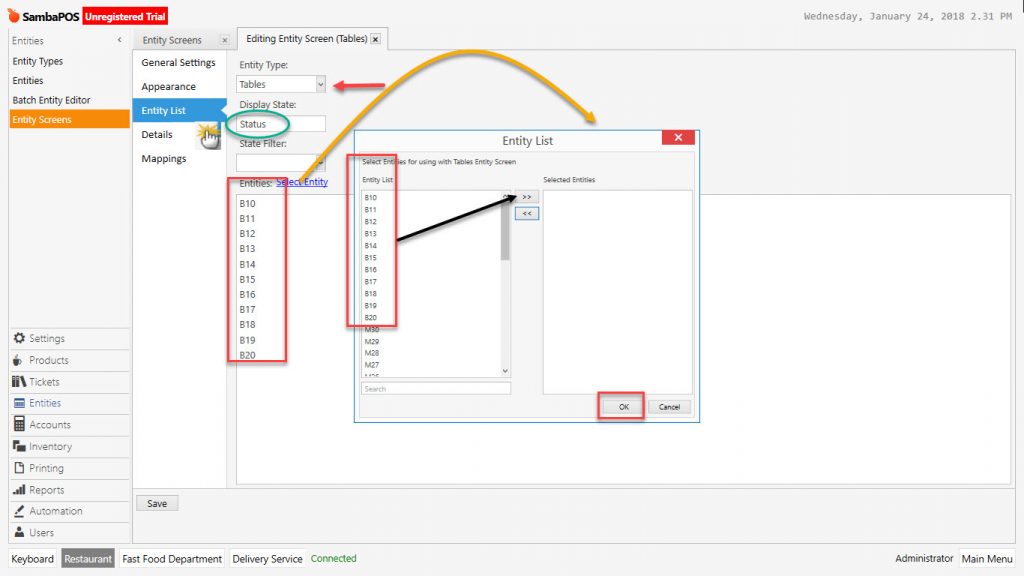
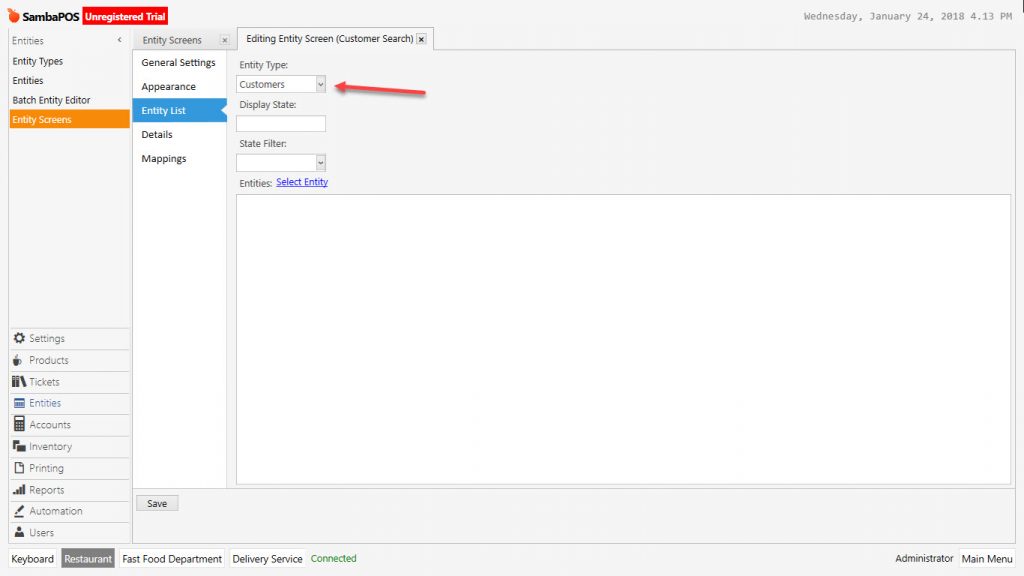
Entity List Section:
Entity Type: Select the entity type which will be processed.
Display State: In here it is defined that entities will be seen in which status on the screen.
State Filter: Describe view modes according to selected entity states.
Entities > Select Entity: In here select entities from window and activate them by moving to right side of this window.
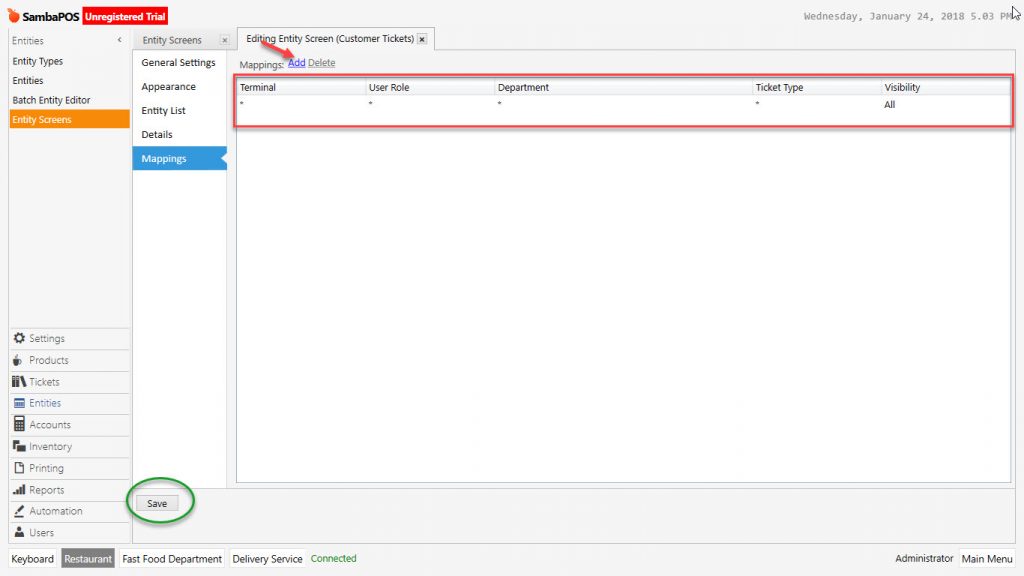
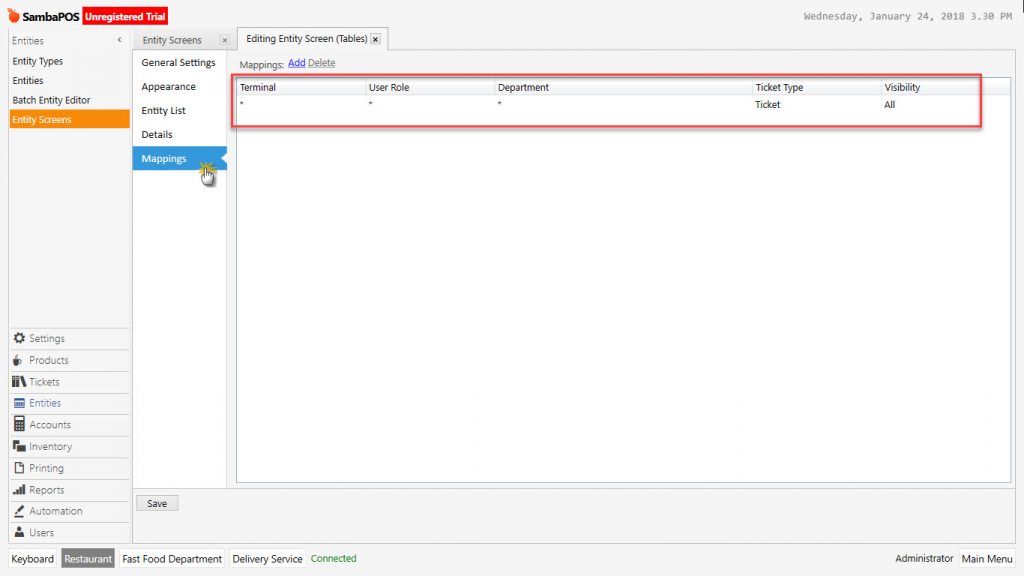
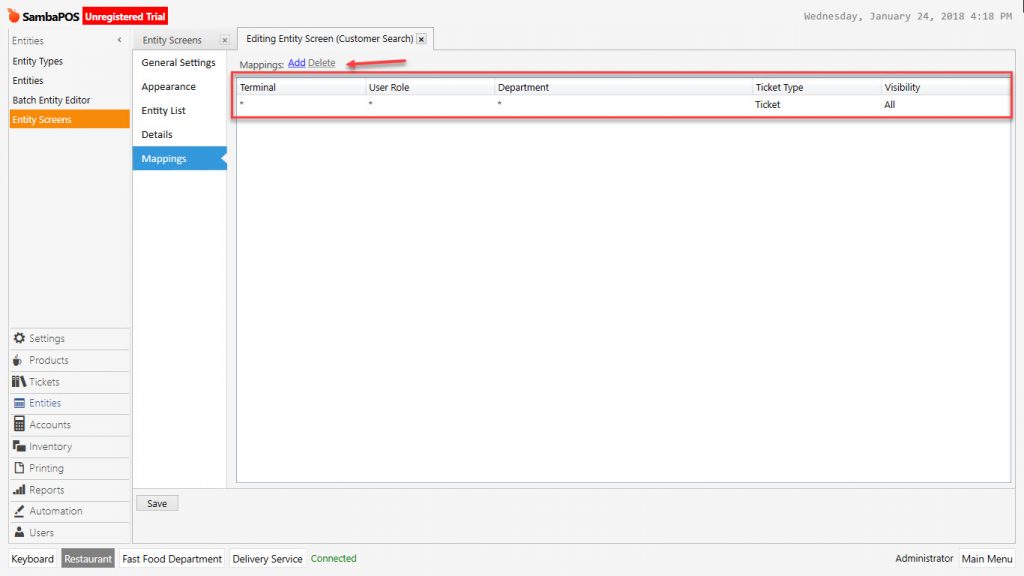
Mappings Section:
Authorization of the entity screen to be used by which Terminal, Role, Department, Ticket Type and View is configured from here.
2. Customer Search

3. Customer Tickets