2.2.6. How to Create Delivery Department?
In SambaPOS to work together with Caller ID some kind of configurations are necessary for creating delivery service. To create delivery Service;
1. Creating Department
Click to this link on navigation screen Manage > Settings > Departments > Add Department

-
Department Name: The field which department name will be written. (Such as; Delivery Service)
-
Default Ticket Type: Select Ticket.
-
Default Menu: Select the menu to use for delivery service.
-
Warehouse: Select the warehouse that you want it to reduce for sold products from inventories.
-
Price Tag: For the delivery service, if the products will be sold with a different price, select the predefined price tag from here. If the prices will be same then leave it blank.
-
Ticket Creation Method: The field which will be used for selecting ticket creation method. For delivery service firstly customer is selected and then due to order will be received Select Entity option should be selected.
After finishing related editings click on Save button.
2. Editing Entity Type
Go to Manage > Entities > Entity Types double click on Customers. In the window click on Custom Fields section.
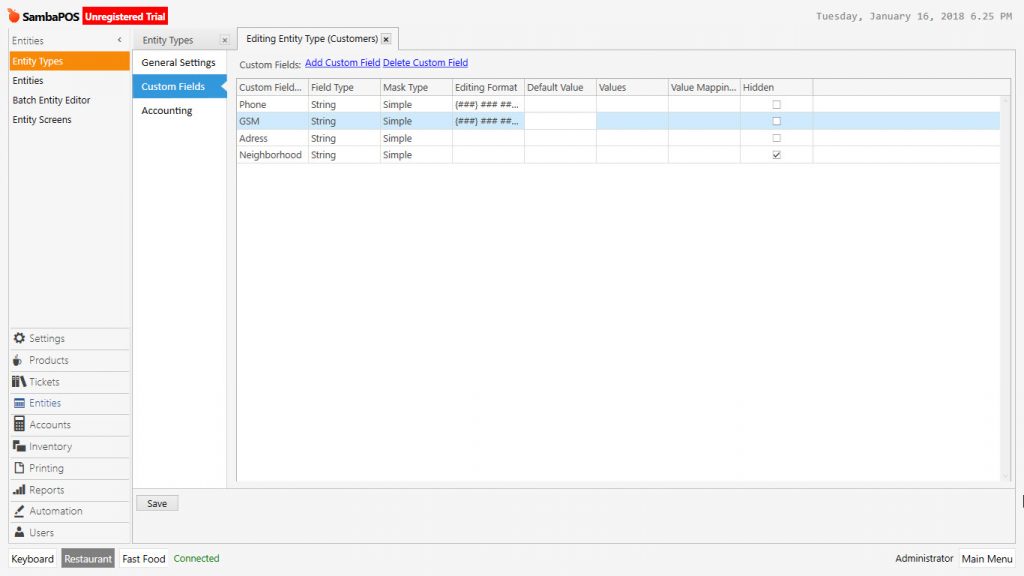
In here click on Add Custom Field section and add row according to customer’s need.
In the example write neighborhood as custom field. Leave field type as string, in the values column write the neighborhoods that will be serving by separating with commas. (Example; Wandsworth, Southwark, Islington)
After finishing related editings click on Save button.
3. Adding Entity Screen
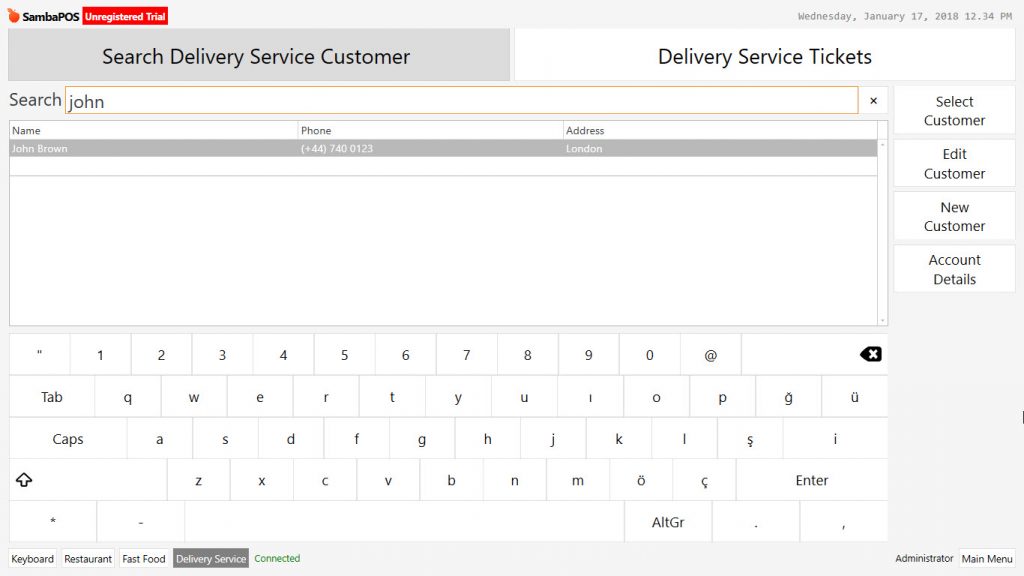
In the delivery service department, create 2 different entity screens. On the first screen search and find the customer, on the second screen see the orders of customers.
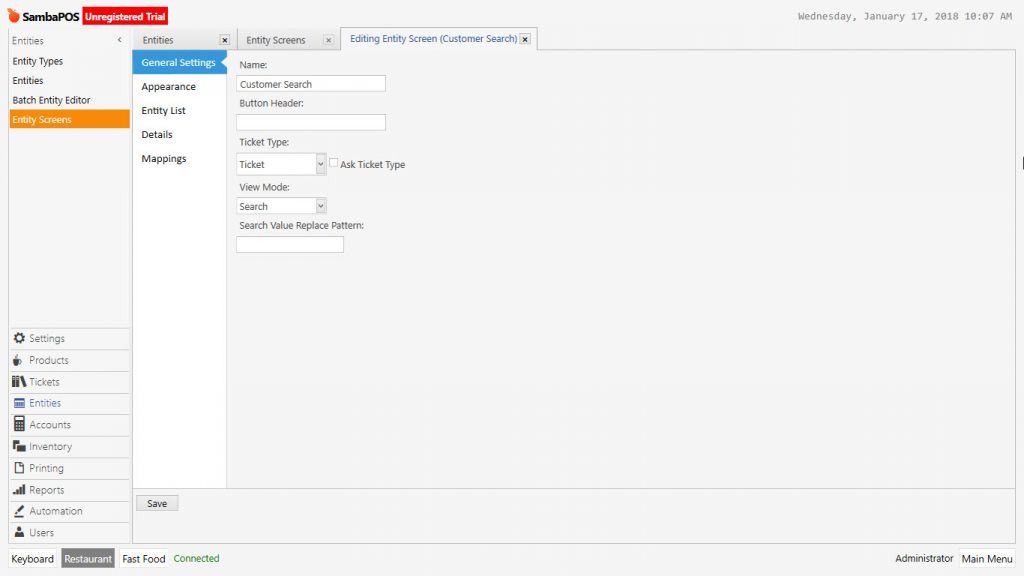
Customer Search Screen
To create customer search screen from Manage > Entities > Entity Screens menu click on Add Entity Screen.
General Settings Tab;
-
Name: The field that entity name is written. (Example; Customers)
-
Ticket Type: Select default predefined ticket template.
-
View Mode: In this screen select search template because of customers will be found by searching.
Entity List Tab;

In the entity list select customers as entity type because of searching will be performed amoung the customers. Leave blank other options for this example.
Mappings Tab;
Add a row by clicking on Add link on the mappings tab.
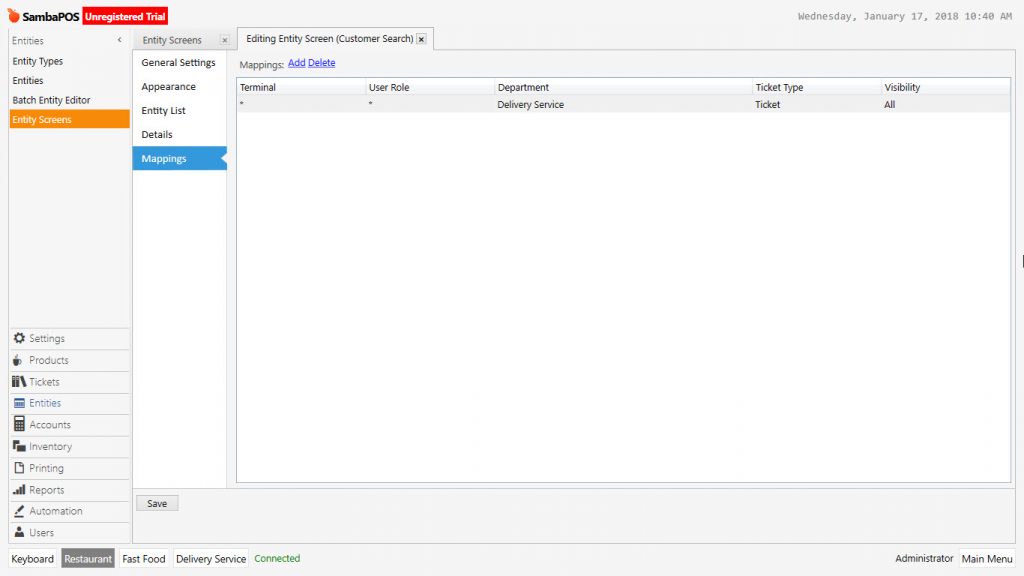
After creating role and terminal, select delivery service on department section, select ticket as ticket type and click on Save button.
Delivery Service Customer Tickets
To create delivery service customer tickets from Manage > Entities > Entity Screens > click on Add Entity Screen link.
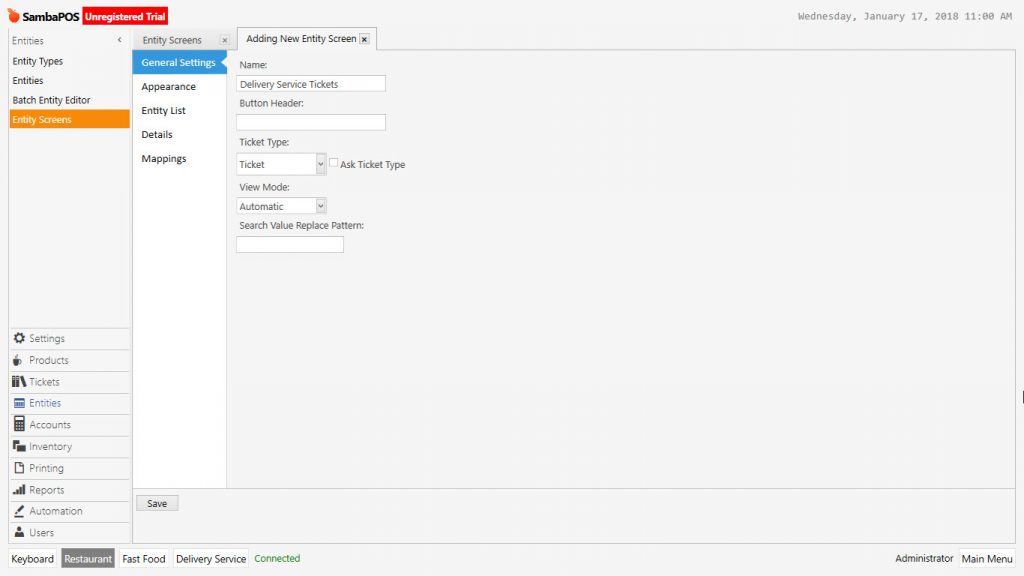
General Settings Tab;
-
Name: The field that entity name is written. (Example; Delivery Service Tickets)
-
Ticket Type: Select Ticket.
-
View Mode: In this screen select automatic to see opened tickets.
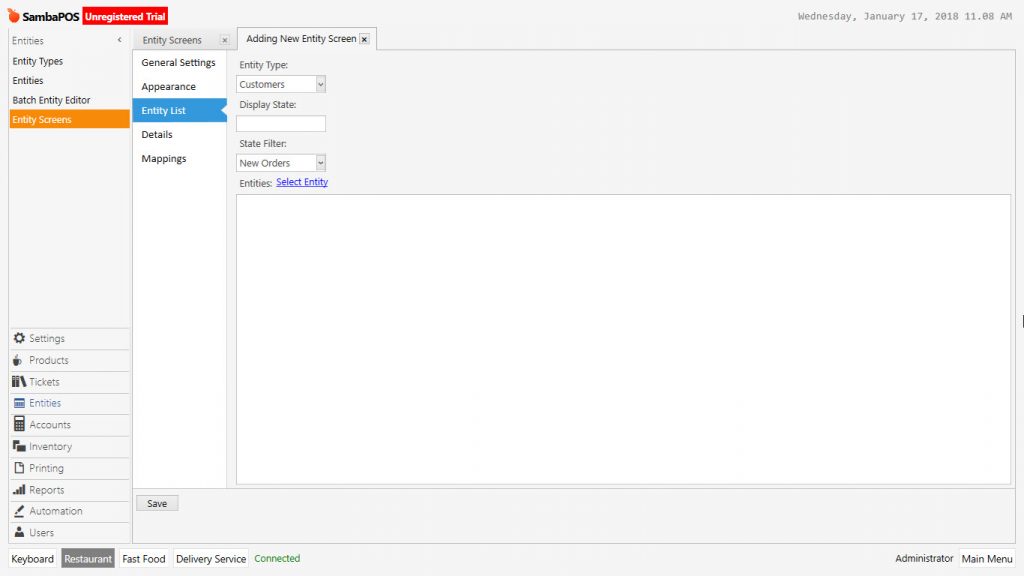
Entity List Tab;
-
Entity Type: In the entity list at this screen view select customer as entity type to see orders of customers (not table’s).
-
State Filter: Select New Orders.
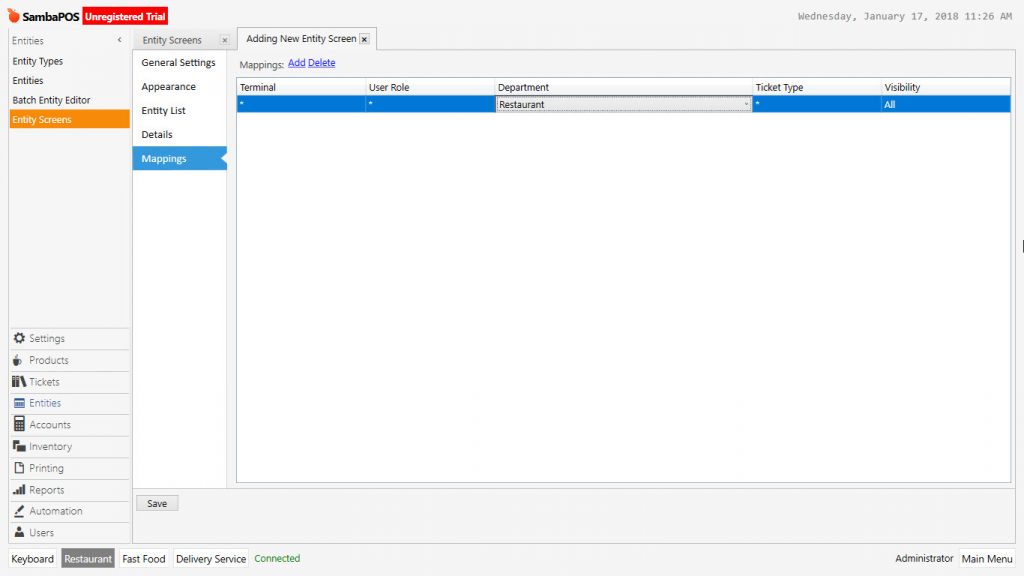
Mappings Tab;
At the mappings tab add a row by clicking on Add link.

After creating role and terminal, select delivery service on department section, select ticket as ticket type and click on Save button.
In the First setup Restaurant and Entity Screens come as already set. (Tables, Customer Search) Configure the Entity Screen according to department. If you are going to work on different department then configure mappings of entity screens. (Example; Delivery Service or Fast Food)
At the end of related processes delivery service department is ready to use.