2.2.4. How to Add Table?
1. What is Entity Type?
2. Adding Table Entity Type
2.1. Adding Single Table
2.2. Adding Batch Table
3. Adding Table Entity Screen
3.1. General Settings
3.2. View
3.3. Entity List
3.4. Relations
1. What is Entity Type?
What is Entity Type: Create entities as Entity Types according to usage purpose. Assign the entities to created entity types. Example;
Entity Types; Tables, Customers, Members, Cards etc.
2. Entities
2.1. Adding Entity Type (Tables Entity Type)
Manage > Entities > Entity Types > Add Entity Type
Name: Tables
Entity Name: Table
Primary Field Name: Name
Save
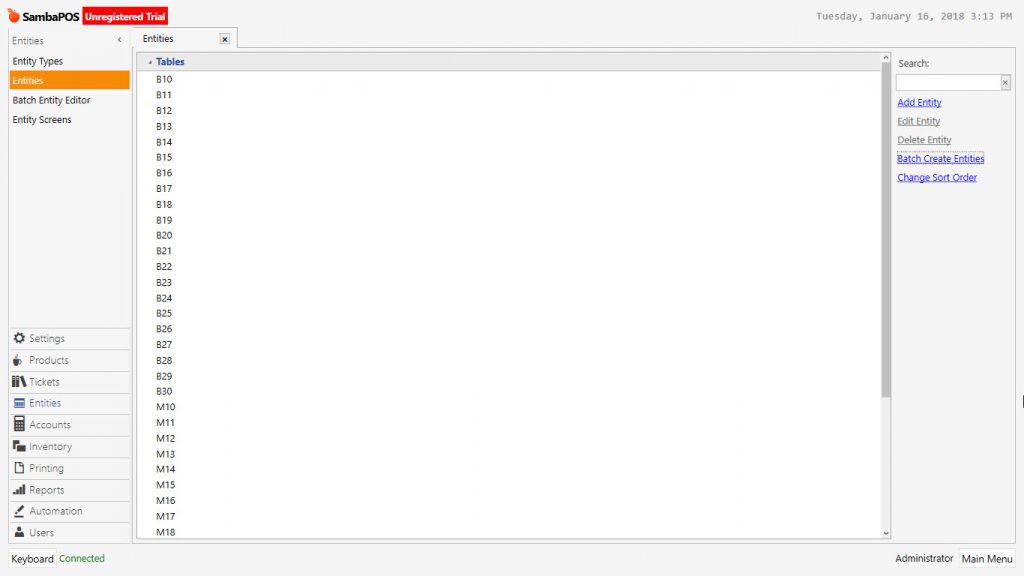
2.2. Adding Entity (Adding Table One by One)
To create Table (Entity) one by one Manage > Entites > Entites > Add Entity
Entity Type: Tables
Entity Name: Table
Warehouse: Local Warehouse
Account:
Save
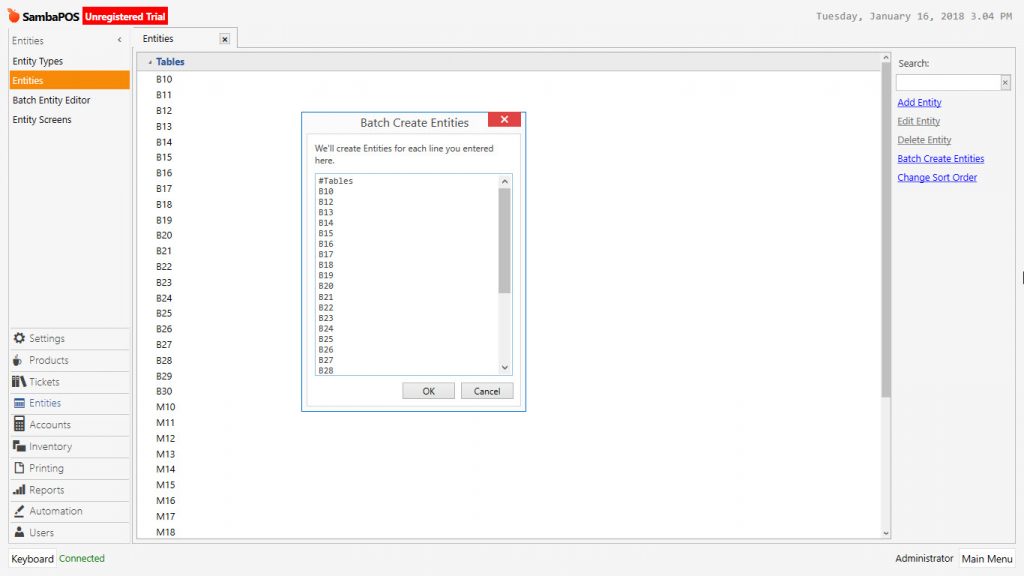
2.3. Adding Batch Entity (Batch Table Adding)
Manage > Entities > Entities > Create Batch Entities
To add Batch Table (entity) write the entities row by row in the window.
# The row that starting with hashtag sign is saved as Entity Type. There is no need to add it specifically.
Example:
#Tables -> Entity Type
Table 1 -> Entity Name
Table 2
Table 3
Table 4
Table 5
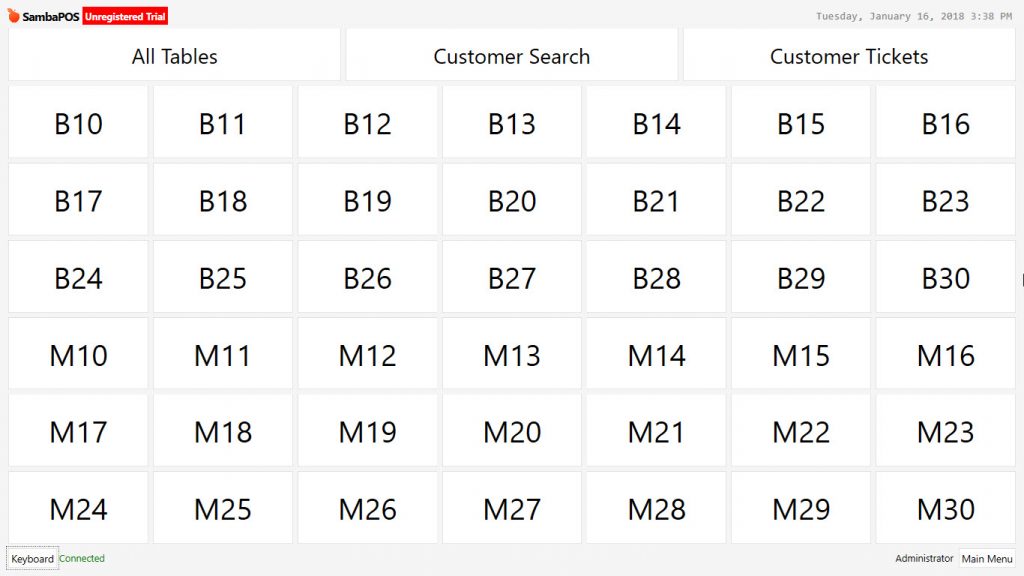
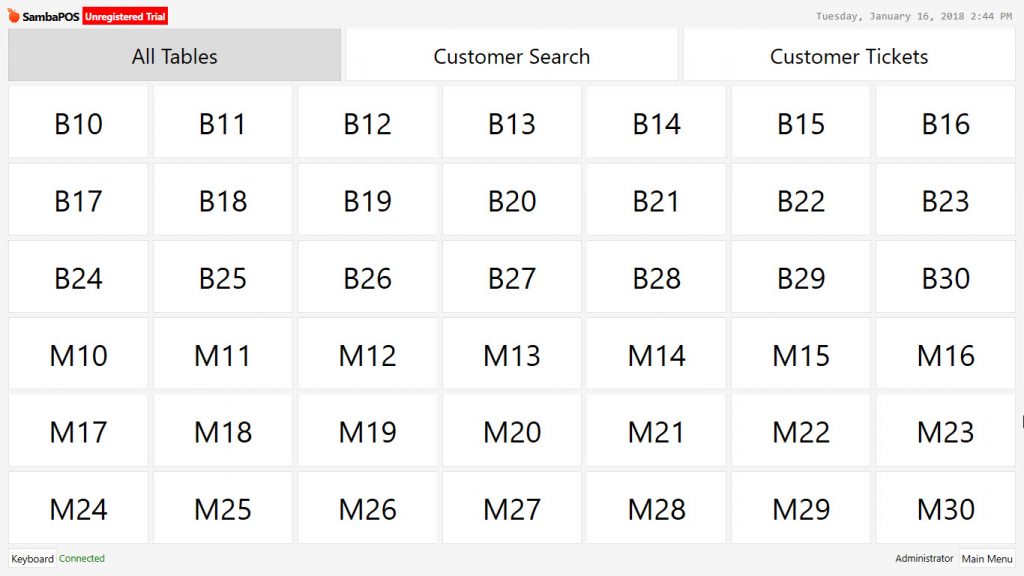
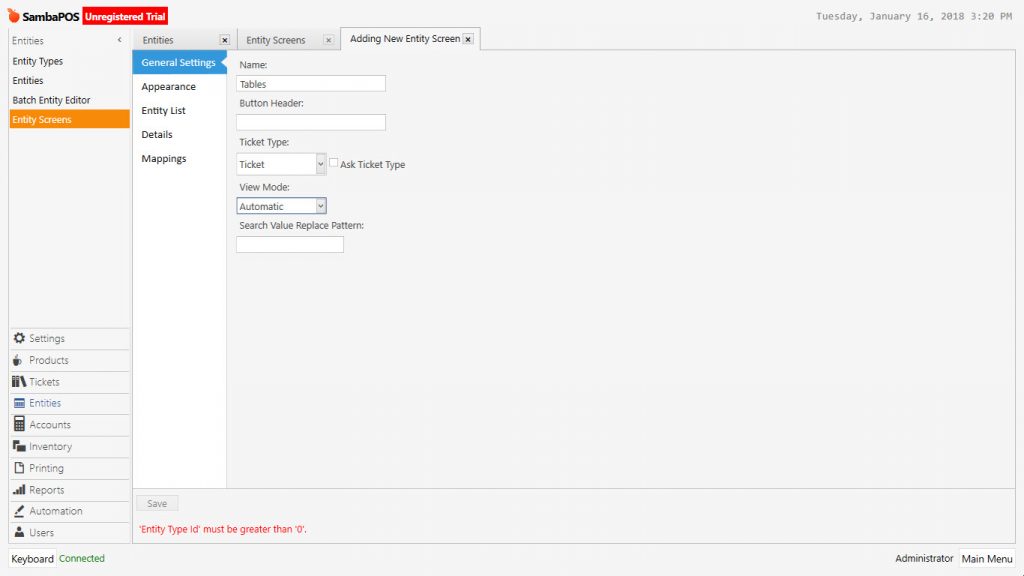
3. Adding Entity Screen (Tables Entity Screen)
Manage > Entities > Entity Screens > Add Entity Screen
Create a new Entity Screen to view on the POS screen after defining the tables.
3.1. General Settings
Name: Tables
Ticket Type: Ticket
View Mode: Automatic
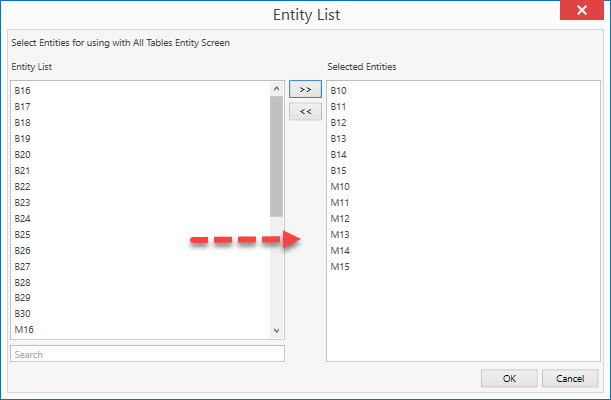
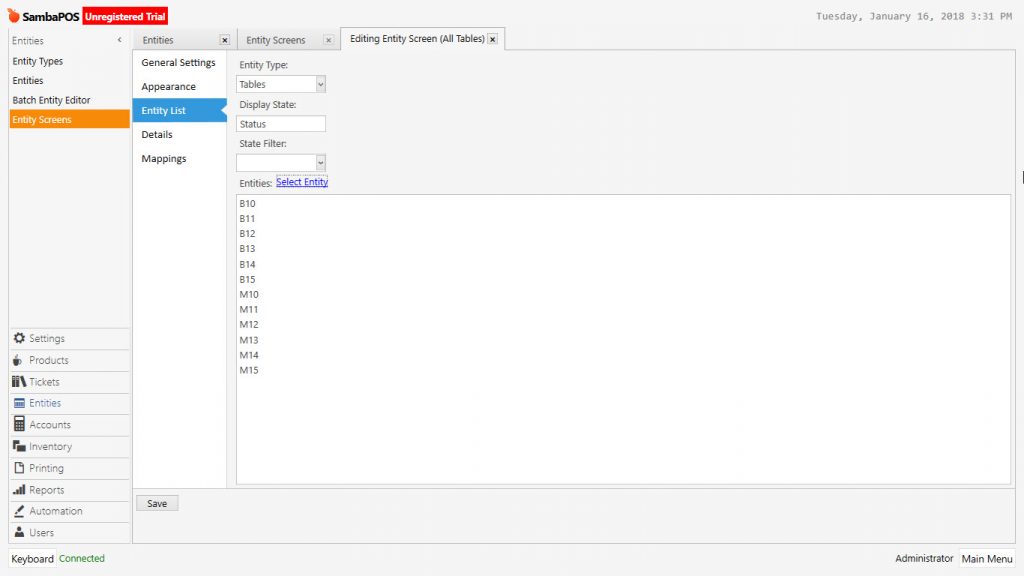
3.3. Entity List
Entity Type: Tables
Display State: Status
Entities > Select Entity: Send to right hand side the tables that will be added to Entity Screen.
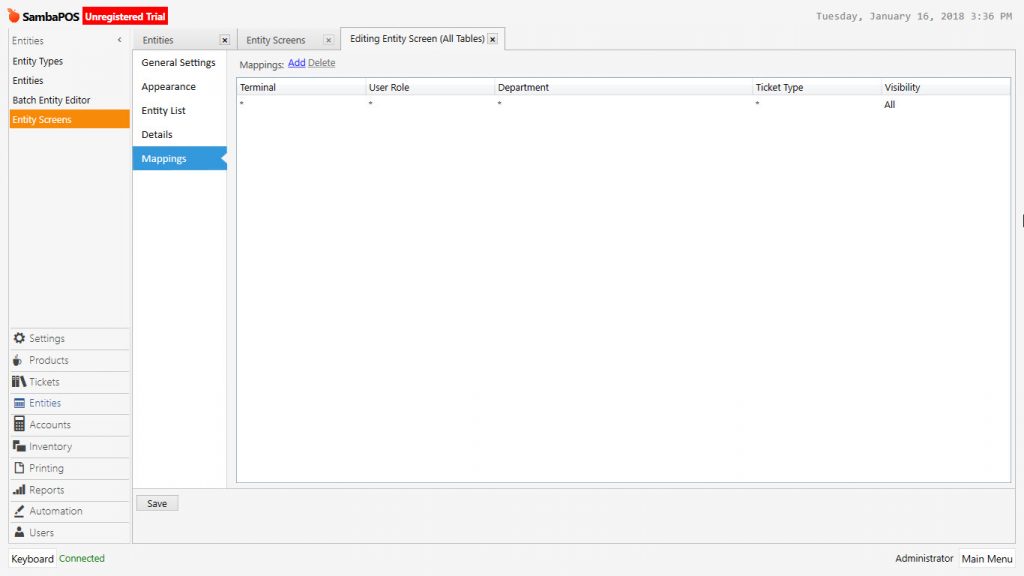
3.4. Mappings
Add a row. (*) value in the columns means all.
By adding a mapping row for an entity screen you can give authorization to the roles, departments and document types.