8.16. Datalogic Magellan (93-9400) Scale Configuration
In this document, it will be explained how to configure Datalogic Magellan Scale on SambaPOS.
How It Works;
https://www.youtube.com/watch?v=Oqiux8mtXjI
Important Note:
In order to use Datalogic Magellan Scale Integration you need to have minimum SambaPOS 5.7.12 version.
1. Installing Scale Module on Samba Market
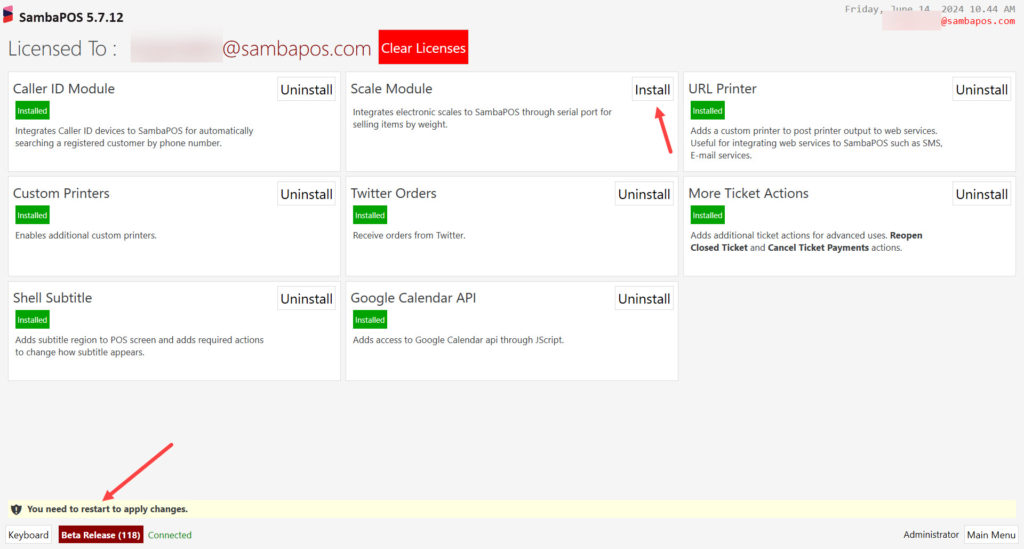
You need to install Scale Module on Samba Market and restart the SambaPOS.
Main Menu > Samba Market > Click on Install button in Scale Module Part.
2. Adding Datalogic Scale as Device on SambaPOS
Go to Main Menu > Manage > Settings > Local Settings > Devices > Add Device > Select Datalogic Scale and click on Save.
After completing necessary editings, click on Save button.
3. Adding Automation Command-Action-Rule to Start Scale
You need to click on Start Reading Scale button to start the weighing process.
3.1. Adding Automation Command
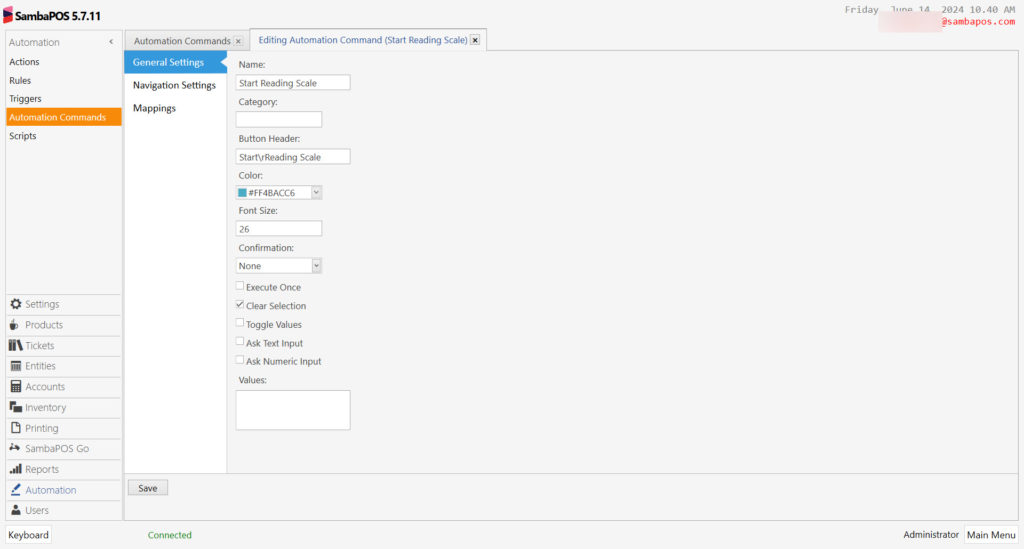
General Settings Section;
Main Menu > Manage > Automation > Automation Commands > Here click on Add Automation Command
Name: Start Reading Scale
Button Header: Start\rReading Scale
Mappings Section;
In here add a line by clicking on Add button.
After completing necessary editings, click on Save button.
3.2. Adding Action
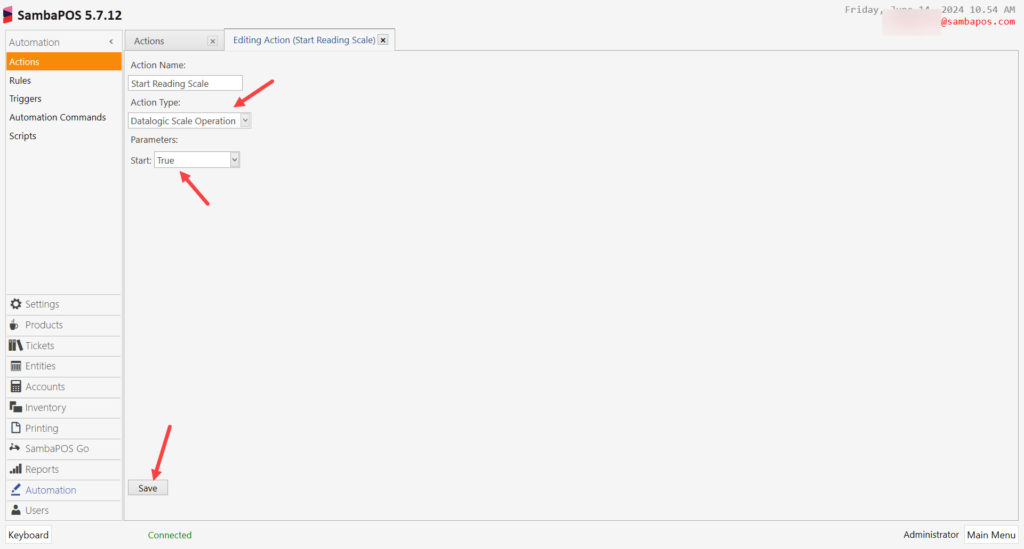
Main Menu > Manage > Automation > Actions> Here, click on Add Action
Action Name: Start Reading Scale
Action Type: Datalogic Scale Operation
Parameters: True
After completing necessary editings, click on Save button.
3.3. Adding Rule
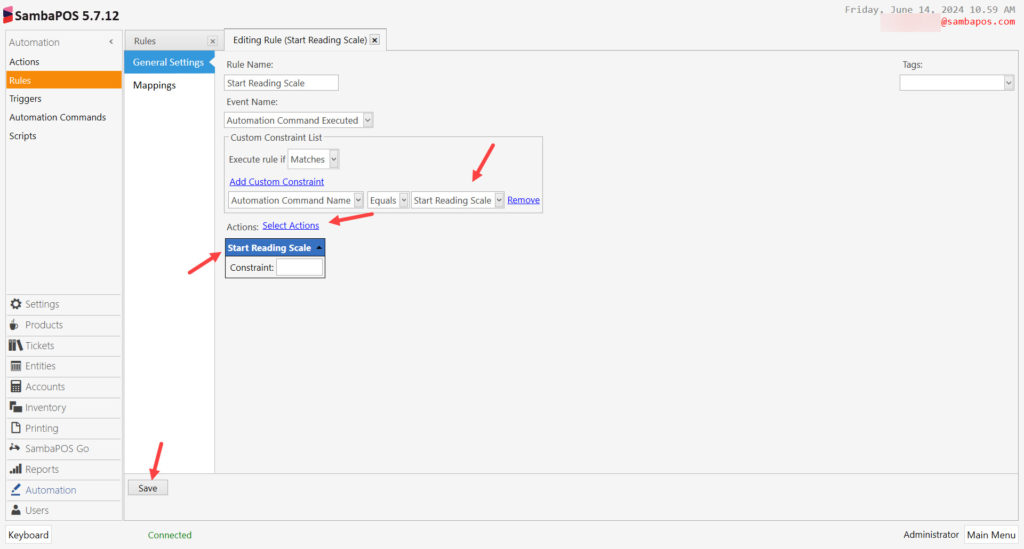
Main Menu > Manage > Automation > Rules> Here, click on Add Rule
Rule Name: Start Reading Scale
Event Name: Automation Command Executed
Execute rule if: Matches
Add Custom Constraint:
Automation Command Name|Equals|Start Reading Scale
Select Actions:
Action: Start Reading Scale
After completing necessary editings, click on Save button.
4. Setting Up Datalogic Scale
4.1. Installing Datalogic Scale Driver
You can find all the necessary file in here.
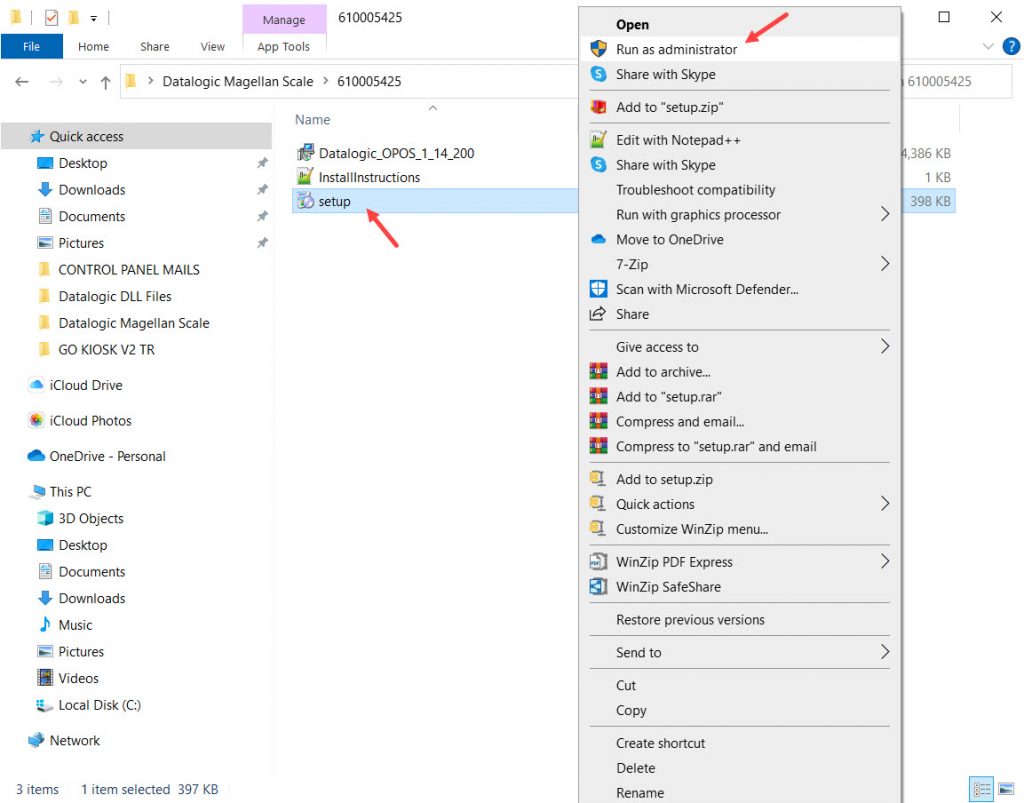
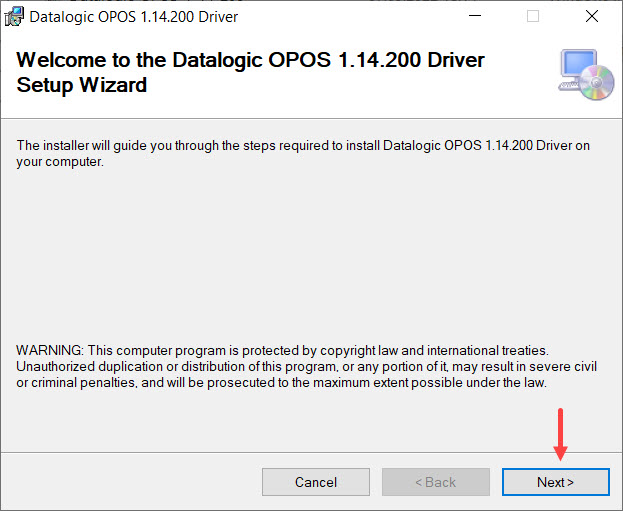
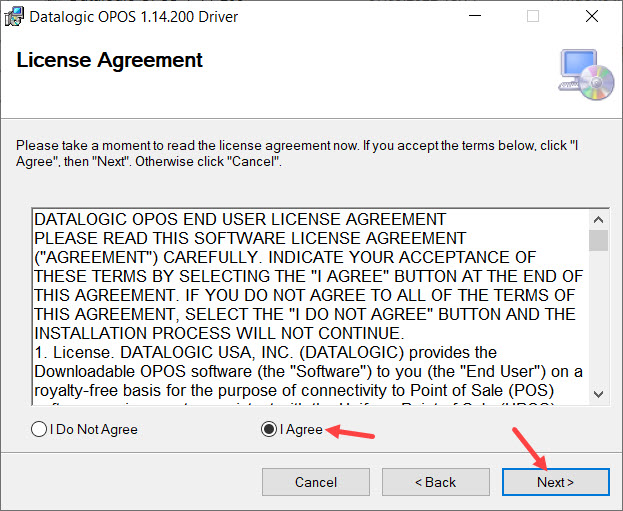
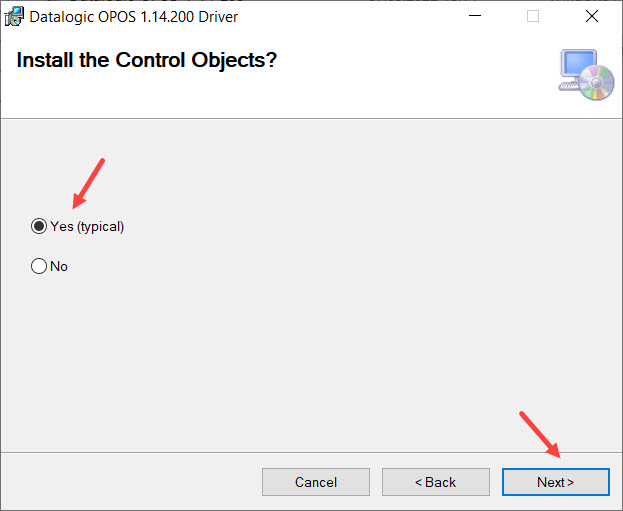
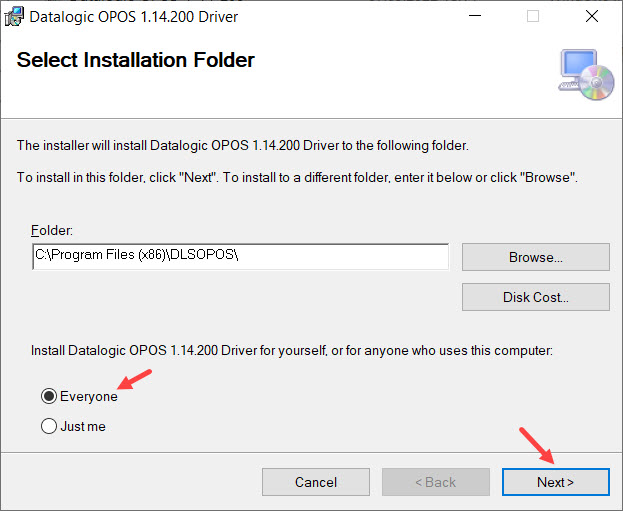
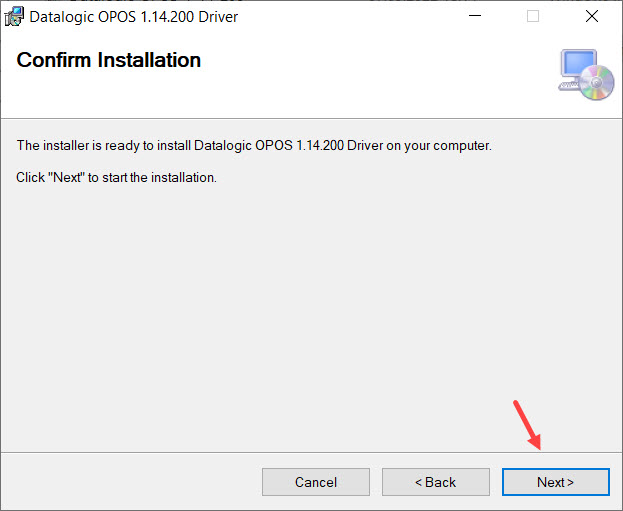
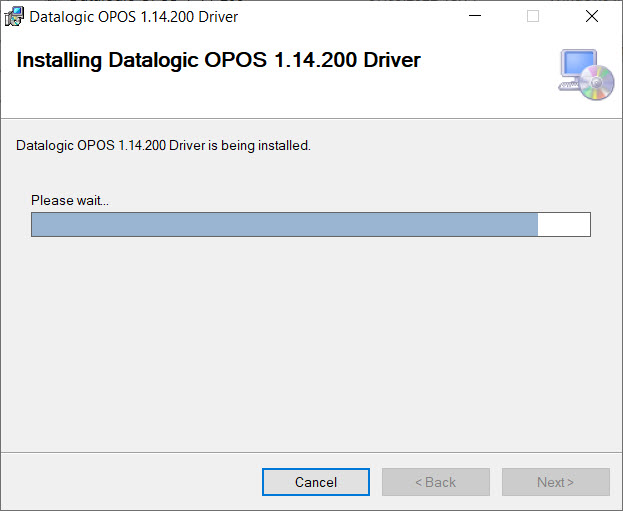
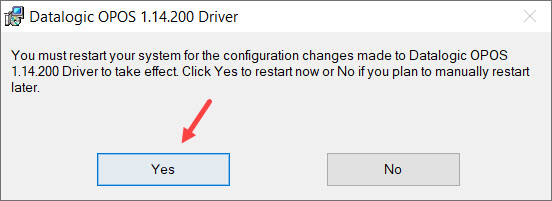
Extract the Opos folder and open the 610005425 folder and then right click on setup file and select Run as Administrator
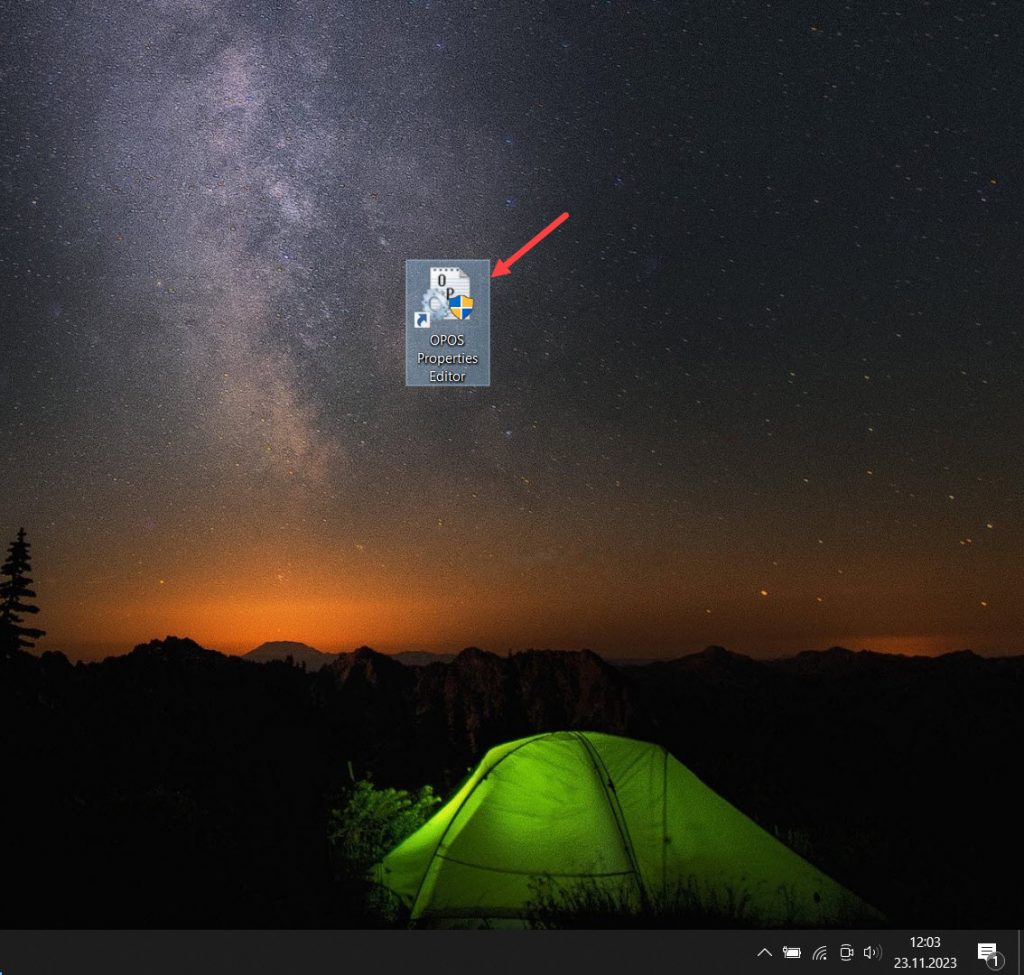
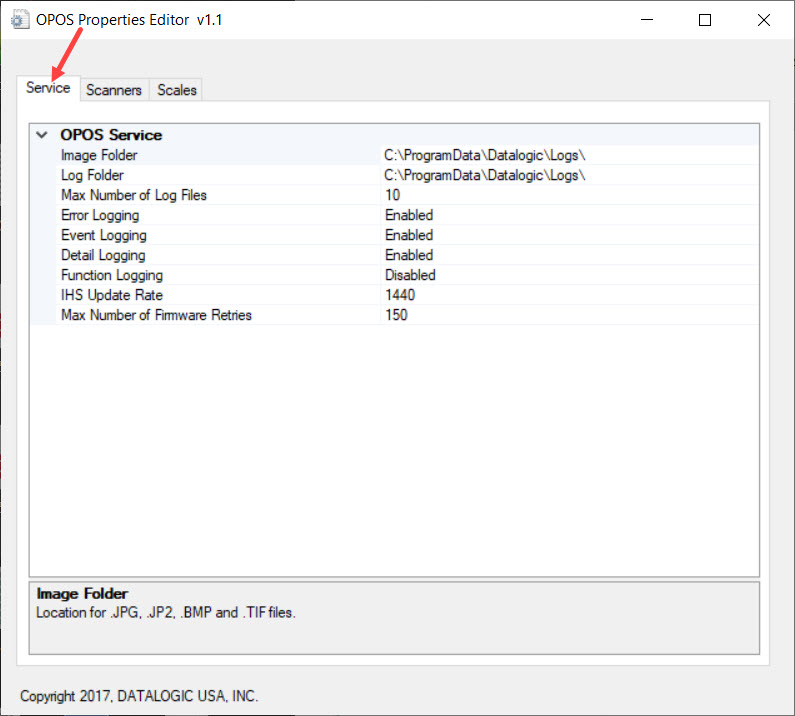
4.2. Setting Up OPOS Properties Editor
You can find the OPOS Properties Editor file from below path;
C:\Program Files (x86)\DLSOPOS\OPE
4.2.0. COM Ports
If you know the COM port connection features of the devices, you can proceed to the below step and enter these features for the scanner and the scale.
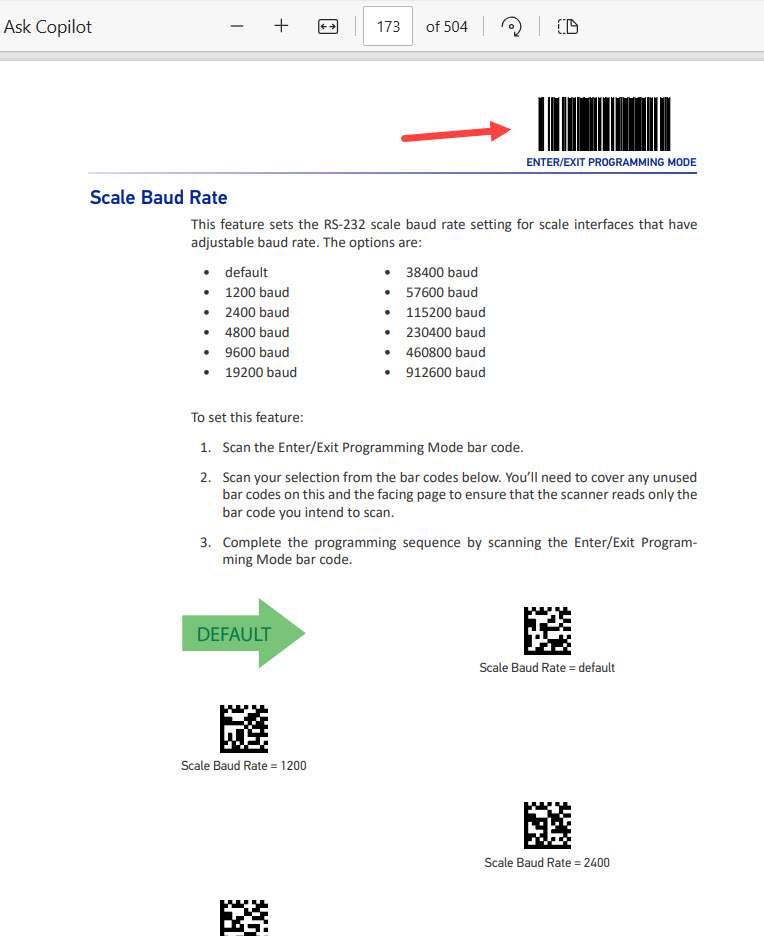
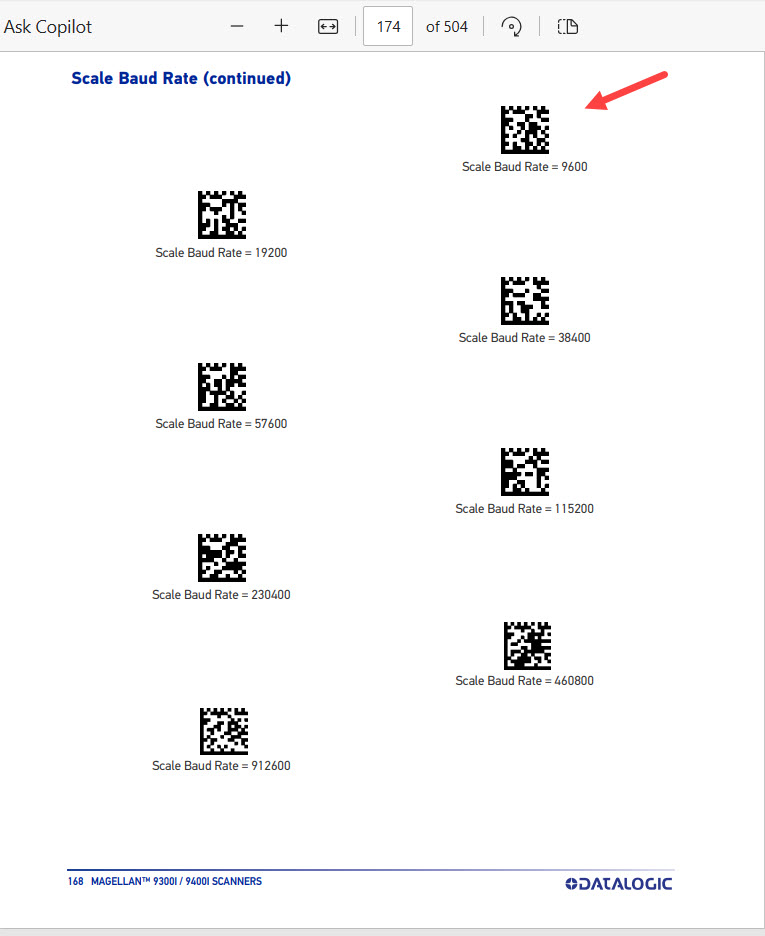
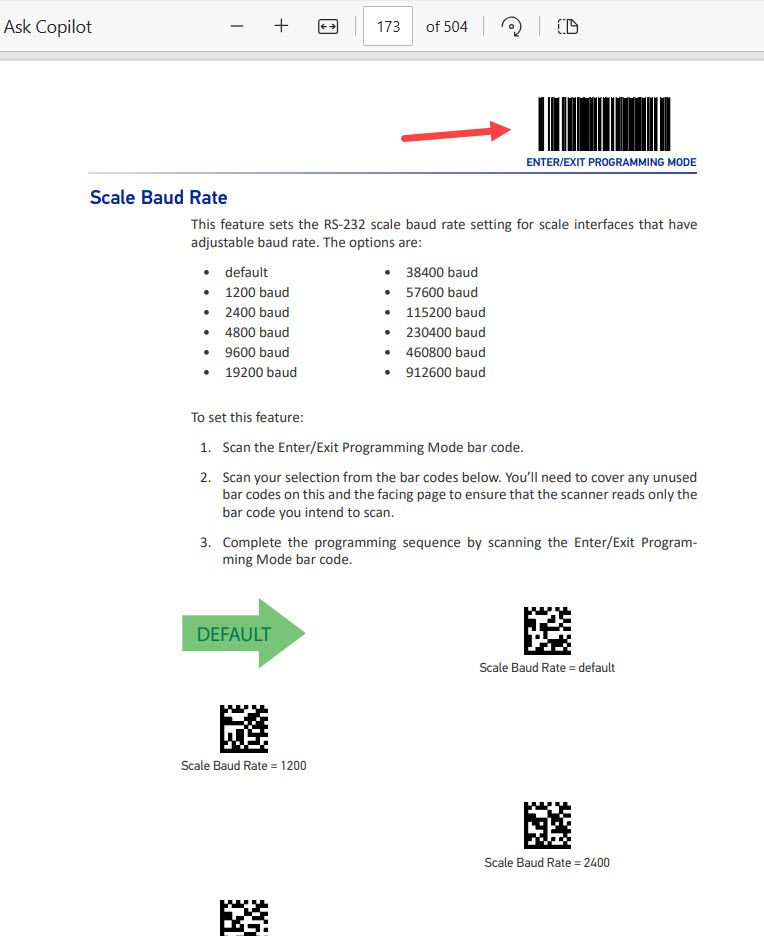
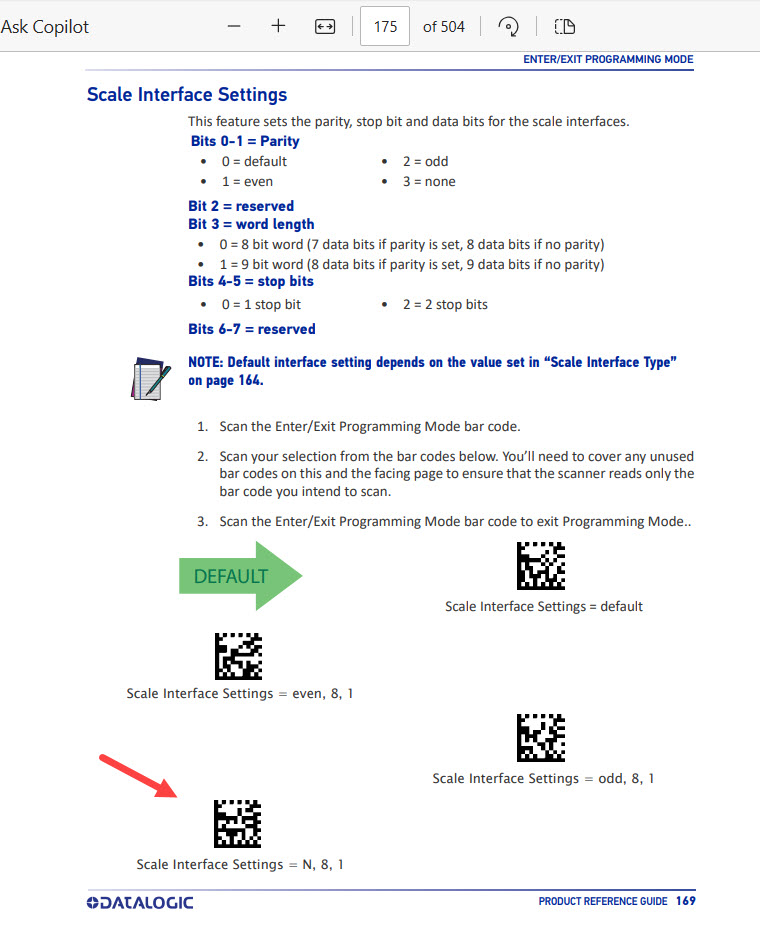
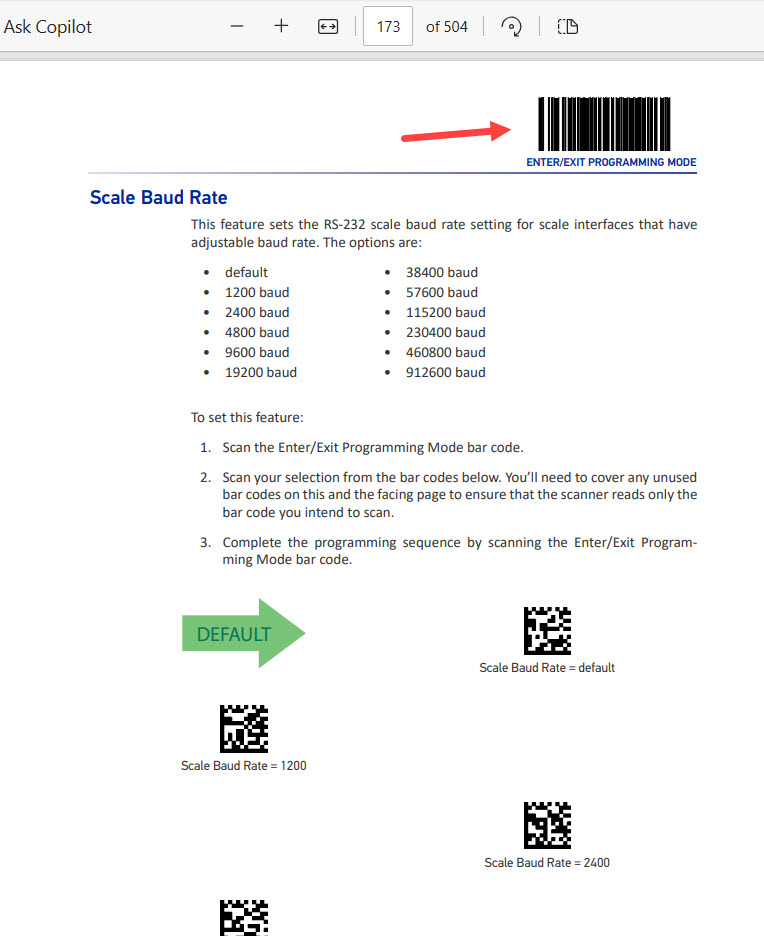
If you don’t know, the safest thing is setting device COM Ports as )600 8 N 1 mode by using the Barcode and QR Codes which are found in the booklet.
To do this, read the barcodes and QR codes below in numerical order.
These barcodes permanently change your device’s Com port reading settings.
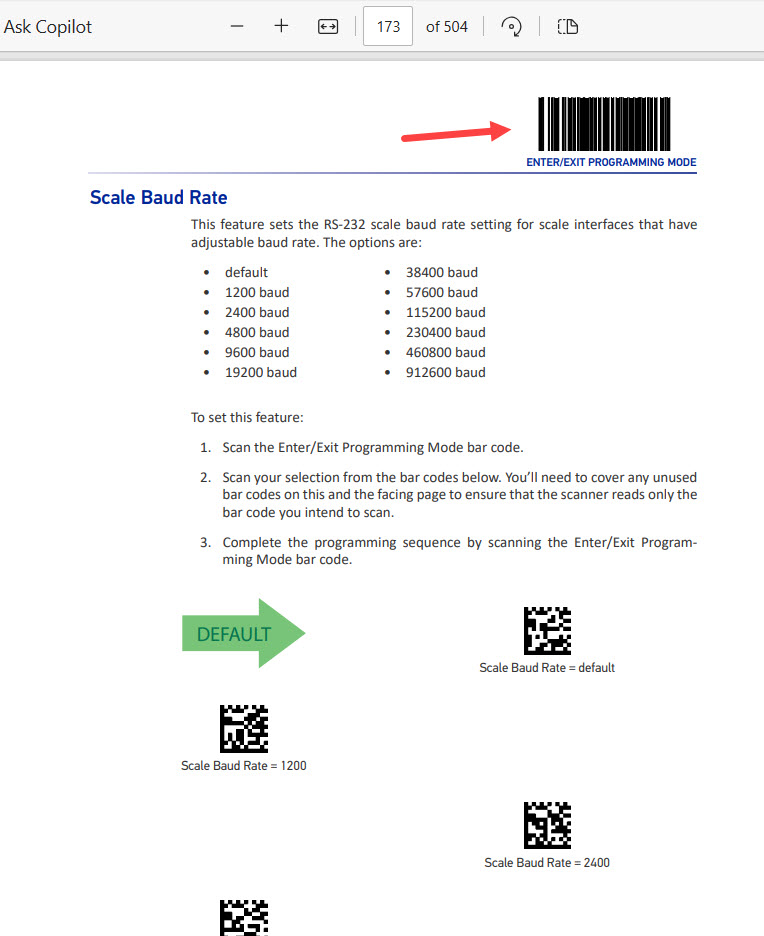
Enter Barcode;
9600 QR Code;
Exit Barcode;
Enter Barcode;
Scale Interface Settings;
Exit Barcode;
You can check this user manuel as reference.
4.2.1. Service Section
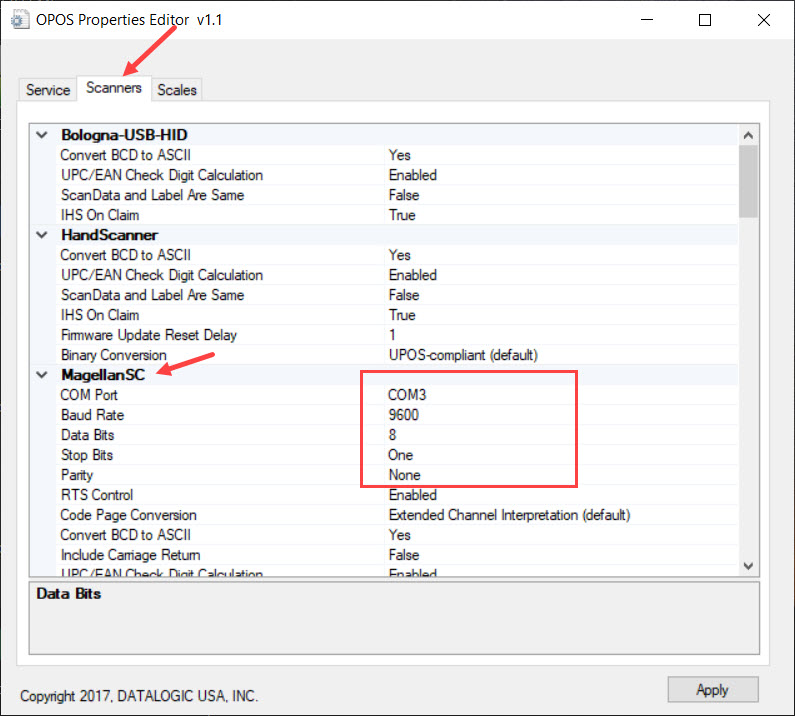
4.2.2. Scanners Section
MagellanSC Part;
COM Port: You need to select your COM Ports accordingly
Baud Rate: Must be 9600
Data Bits: Must be 8
Stop Bits: Must be One
Parity: Must be None
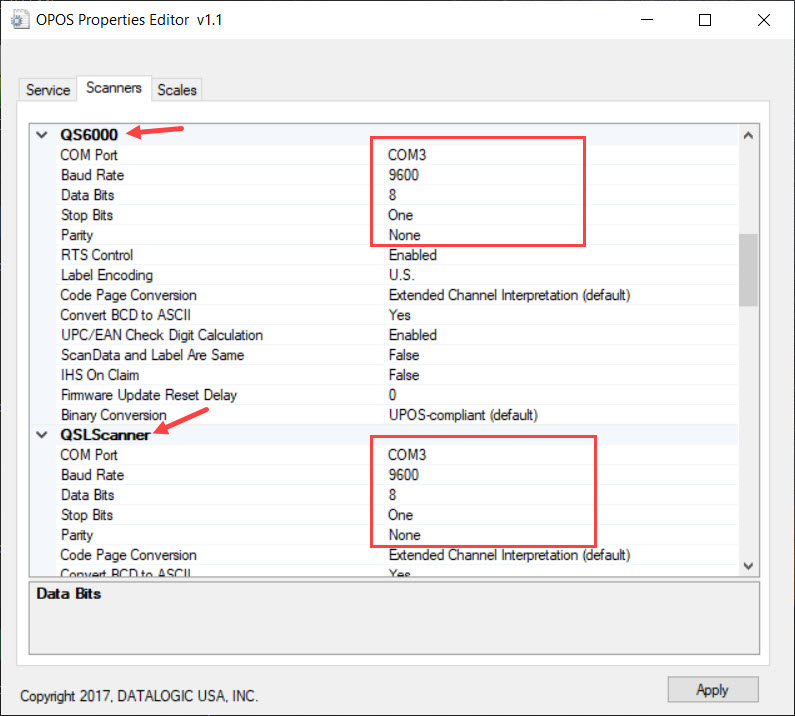
QS6000 and QSL Scanner Parts;
COM Port: You need to select your COM Ports accordingly
Baud Rate: Must be 9600
Data Bits: Must be 8
Stop Bits: Must be One
Parity: Must be None
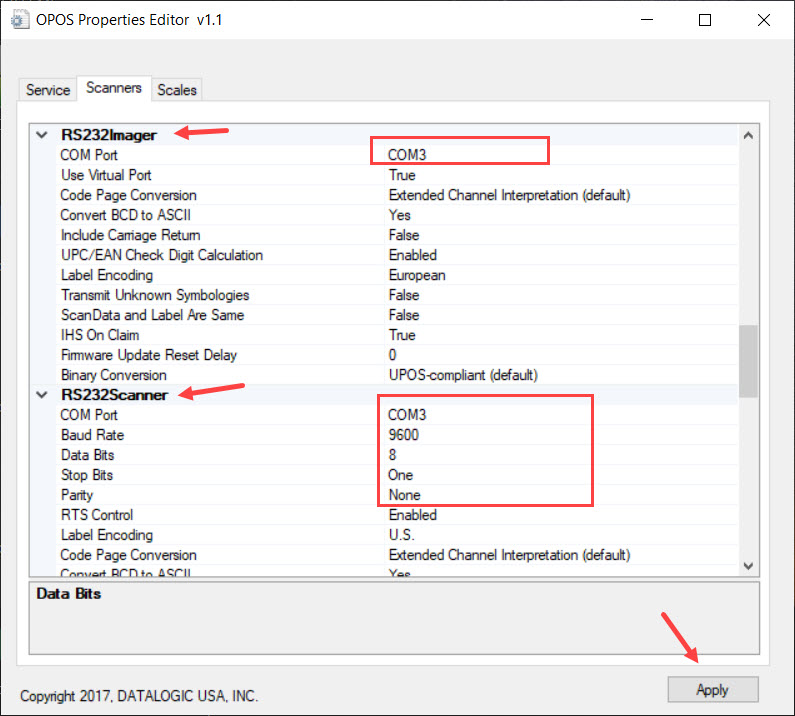
RS232Imager and RS232Scanner Parts;
COM Port: You need to select your COM Ports accordingly
Baud Rate: Must be 9600
Data Bits: Must be 8
Stop Bits: Must be One
Parity: Must be None
After completing necessary editings, click on Apply button.
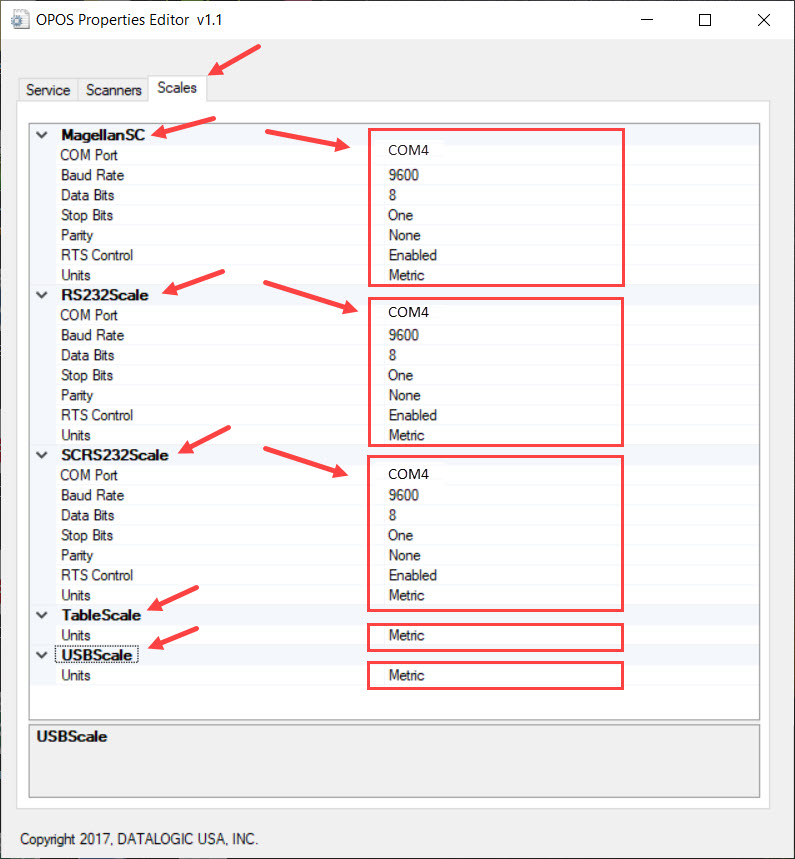
4.2.3. Scales Section
COM Port: You need to select your COM Ports accordingly
Baud Rate: Must be 9600
Data Bits: Must be 8
Stop Bits: Must be One
Parity: Must be None
RTS Control: Enabled
Units: Metric

