8.13. How to Configure Time Clock Module?
In this document it will be explained how to configure Time Clock Module which comes along SambaPOS 5.7.0. version.
How It Works?
1. How to Activate Time Clock Module?
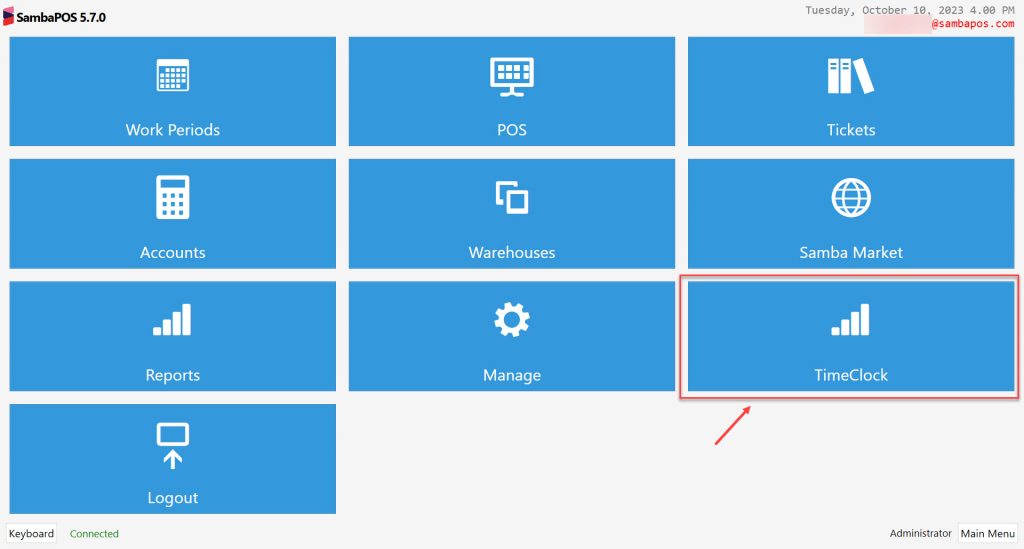
After you download and install the SambaPOS 5.7.0. version from the Navigation Screen you need to click on TimeClock section.
2. Settings
2.1. Settings Screen
Main Menu > Time Clock > Settings > Settings
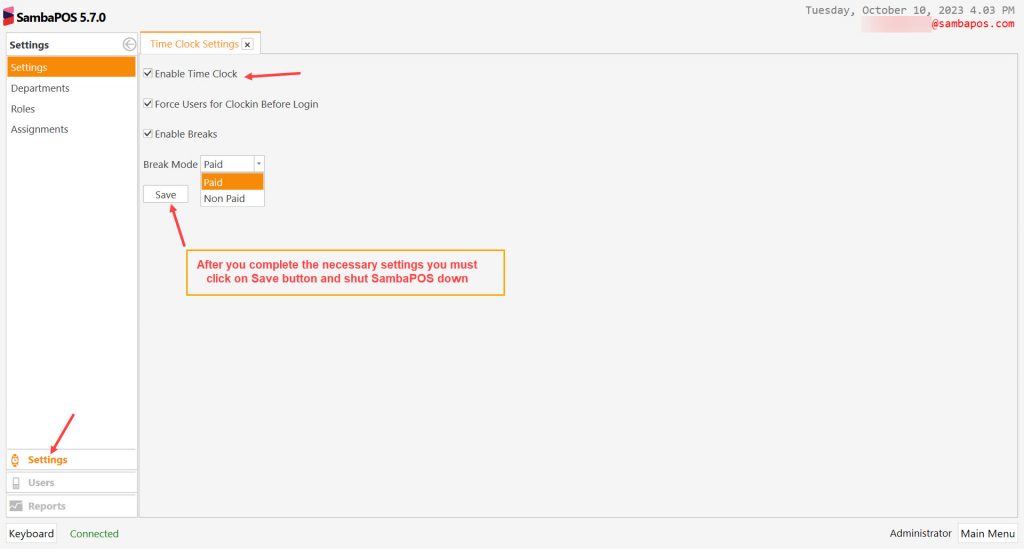
Enable Time Clock: Click on this box to activate the Time Clock Module. Once you complete settings of this part you need to shut SambaPOS down completely.
Force User for Clock in Before Login: If you want to prevent users to Login without Clocking in you can select this box.
Enable Breaks: This is the choice which gives to select the Break Option.
If you select this check box your users will be seeing the Break Option. They can take a Break or Clock Out. In here it can be displayed whether the breaks will be Paid or non Paid.
Save: Once you complete settings of this part you need to shut SambaPOS down completely.
2.2. Departments Screen
Main Menu > Time Clock > Settings > Departments
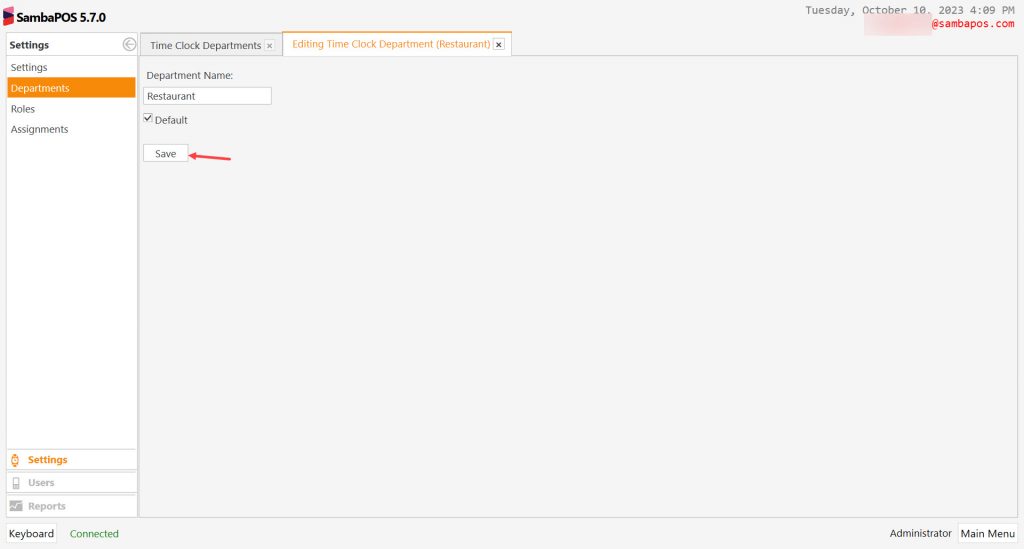
You can set your departments and their related user roles from this section.
Department: Restaurant
Role: Waiter
2.3. Roles Screen
Main Menu > Time Clock > Settings > Roles

In here you can set user department and user role.
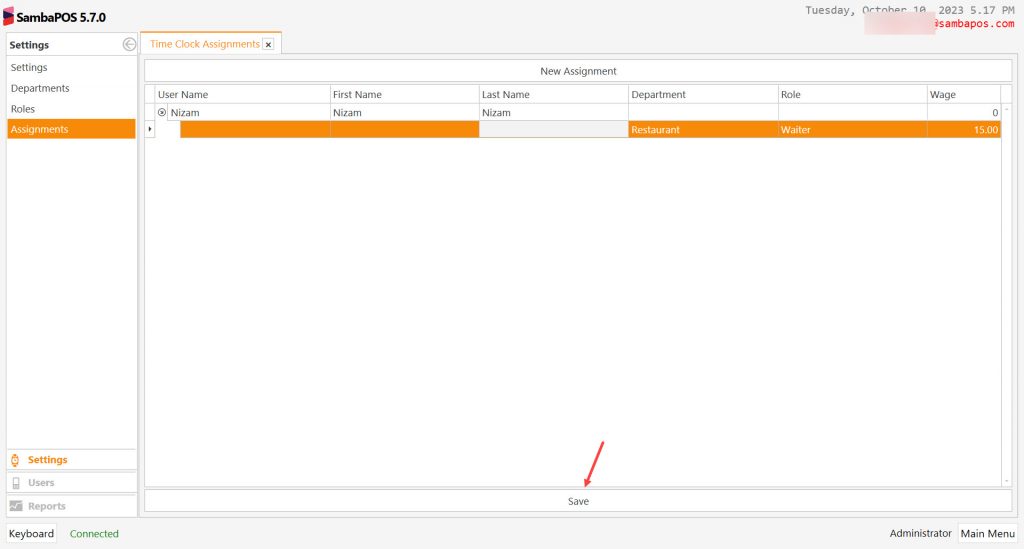
2.4. Assignments Screen
Main Menu > Time Clock > Settings > Assignments
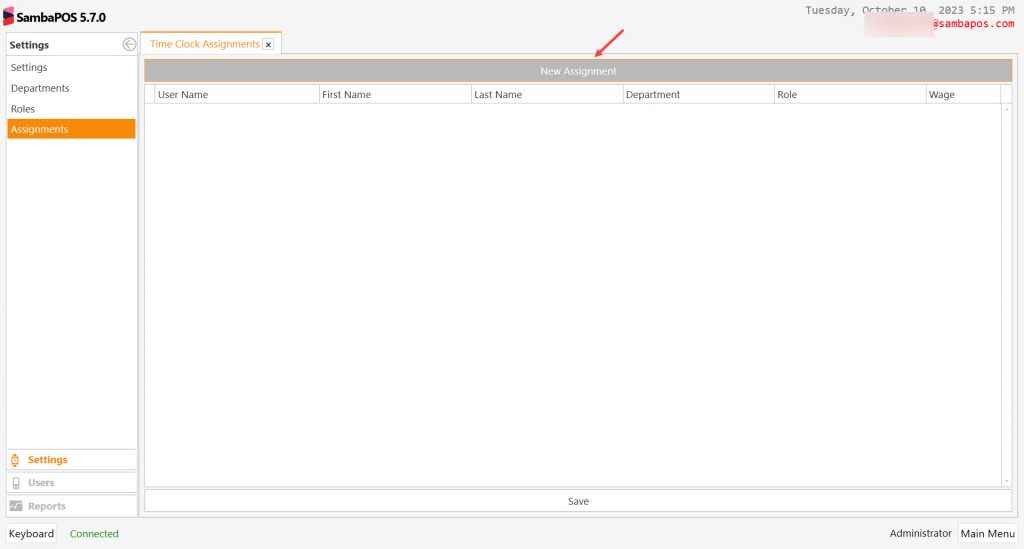
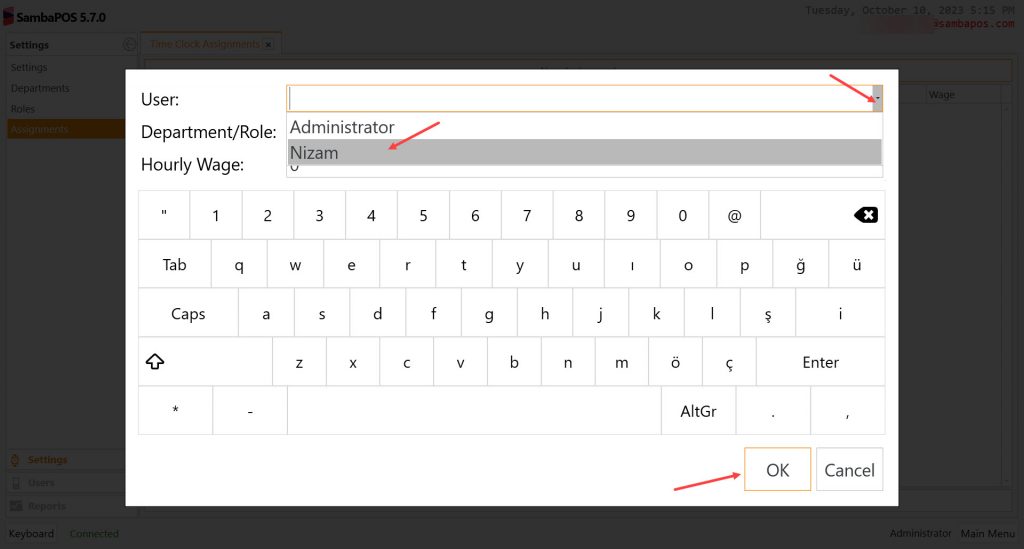
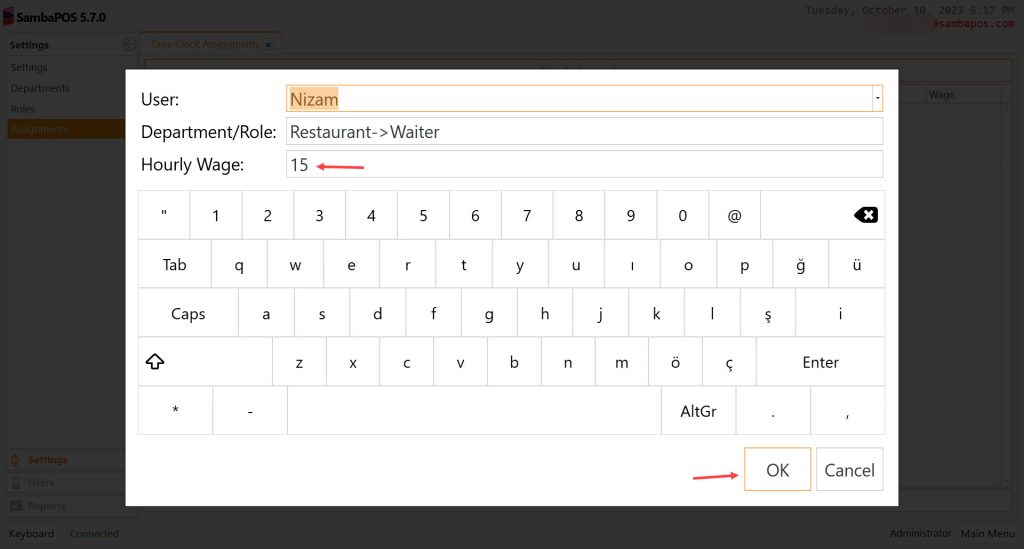
In here when you click on New Assignment you will see the assigned users, departments and roles.
Once you see those details you will be able to set the hourly wage as well.(this is not mandatory you can leave it as 0)
How to Use;
After you complete the above steps configuration becomes ready to be used on the PIN screen.
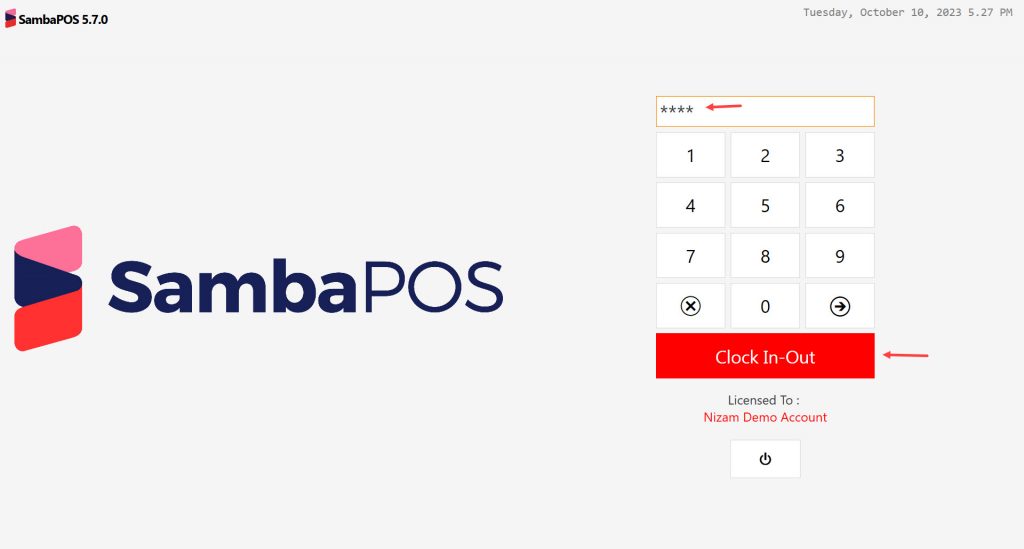
If you selected related settings form the settings screen after you enter the PIN it you will see a popup says You Must Clockin Before Login.
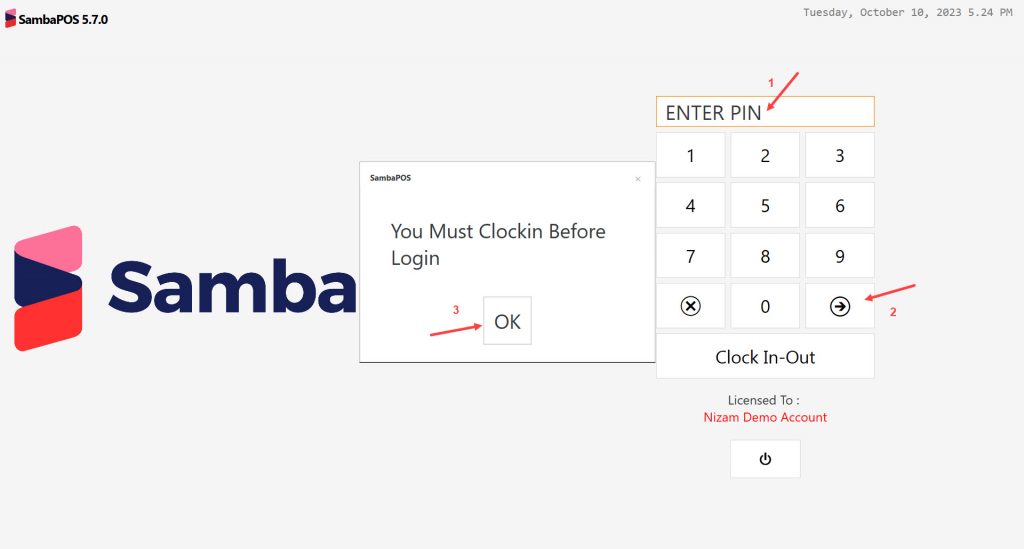
In here after you enter the PIN click on Clock In-Out button and then click on Clock In button on the next screen.

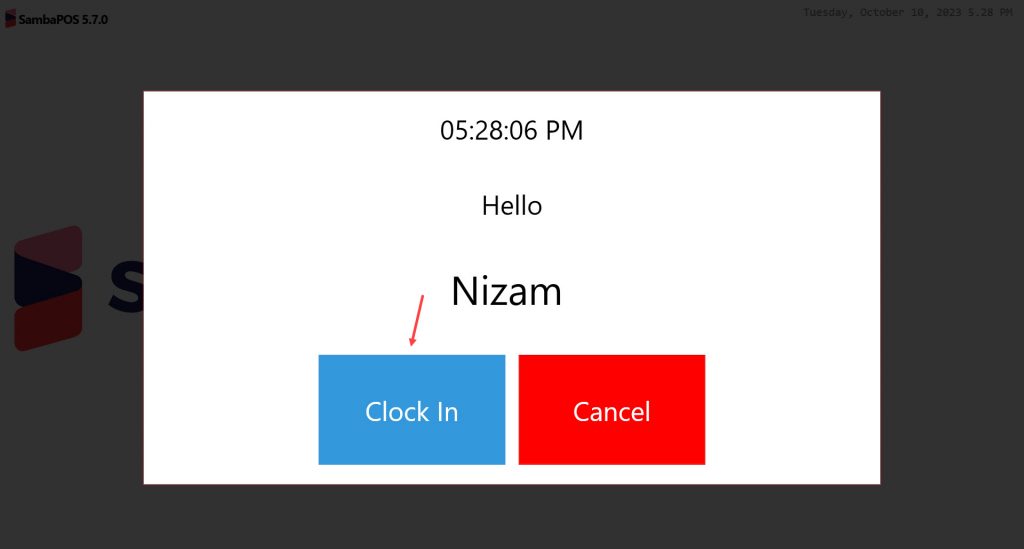
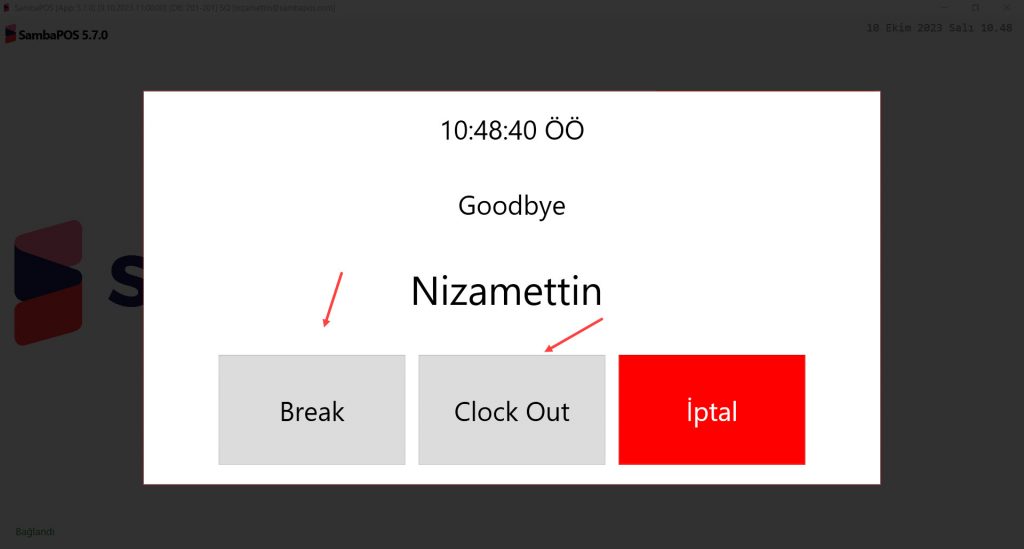
When user wants to give a break or Clock Out you need to enter the PIN and click on Clock In-Out button and then click on the related button accordingly.
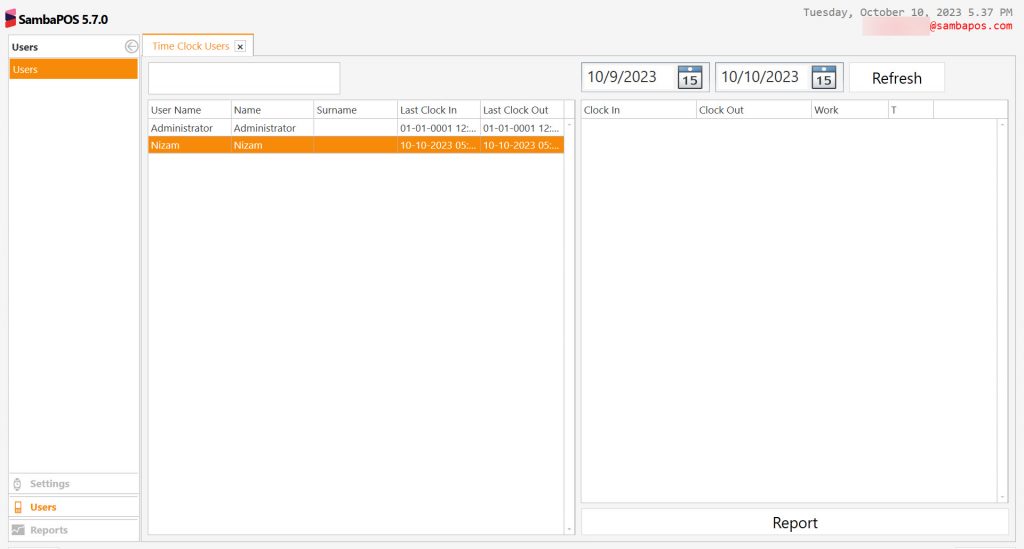
3. Users
In here you can check your users Clock In – Clock Outs and get the reports.
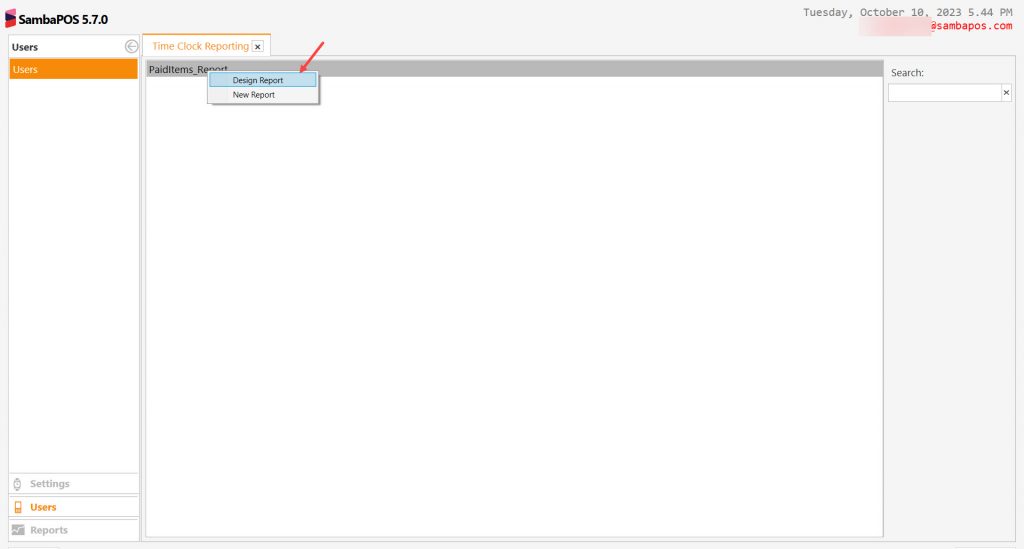
4. Reports
In the Reports section you can create new reports or visiaully edit them by right clicking on your mouse.