6.15. How to Implement takeaway.com Integration?
In this document, it will be explained how to configure takeaway.com integration.
Country List of Integration
takeaway.com Integration works on the below mentioned countries;
Netherland > thuisbezorgd.nl
Switzerland > just-eat.ch
Denmark > just-eat.dk
France > just-eat.fr
Norway > just-eat.no
Austria > lieferando.at
Germany > lieferando.de
Poland > pyszne.pl
Belgium > takeaway.com – België
Romania > takeaway.com – Roemenië
Bulgaria > takeaway.com – Bulgarije
Portugal > takeaway.com – Portugal
Luxemburg > takeaway.com – Luxemburg
1. Before Installation
1.1. Hardware, Operating System and SambaPOS Requirements
1.2. About takeaway.com Integration Module License
2. Getting takeaway.com API Key
3. SambaPOS Settings
3.1. SambaPOS License Activation Check
3.2. Message Server Settings
3.2.1. SambaPOS Message Server Controls and Settings
3.2.2. SambaPOS Manage Message Server Settings
3.3. SambaPOS Advanced Delivery Service Setup
3.4. SambaPOS Creating Deliverer Entities
3.5. SambaPOS Adding Application
3.6. SambaPOS Creating User
3.7. SambaPOS Creating Default Order Tag
3.8. SambaPOS Creating Ticket Type
3.9. SambaPOS Creating Template to Identify Ticket Type
3.10. SambaPOS Adding Tip Calculation
3.11. Adding Actions
3.11.1. Adding PCK-Close Ticket Action
3.11.2. Adding PCK-Display Ticket Action
3.11.3. Adding PCK-Load Ticket Action
3.11.4. Adding PCK-ACM Pay Ticket by Cash Action
3.11.5. Adding PCK-ACM Pay Ticket by Credit Card Action
3.11.6. Adding PCK-Update Ticket’s Pickup Status Action
3.12. Adding Rules
3.12.1. Adding PCK-Display Ticket Rule
3.12.2. Adding PCK-Pay Ticket Rule
3.12.3. Adding PCK-Pay Ticket by CC Rule
3.12.4. Adding PCK-Update Paid PickupTicket Status
3.12.5. Adding PCK-Update New Pickup Ticket Status
4. takeaway.com Integration Settings
4.1. SambaIn Settings
4.2. Adding Missing Categories on SambaPOS
4.3. Other Settings
5. Orders
6. SambaPOS Order Management
1. Before Installation
1.1. Hardware, Operating System and SambaPOS Requirements
You must have below configurations to use Takeaway Integration;
- Windows 7 or above Windows Operating System,
- MSSQL 2008 or above version of SQL Server,
- Min SambaPOS 5.3.6 version.
- You should be starting with these configurations.
1.2. About takeaway.com Integration Module License
If you don’t have SambaPOS – takeaway.com Integration License, you have to purchase a license by using SambaPOS CP website.
To Download takeaway.com application click here.
Important Note:
Your takeaway.com Integration Module License and SambaPOS V5 Pro license have to be defined under the same e-mail address on our CP website.
2. Getting takeaway.com API Key
You need to register on https://www.takeaway.com/ website and get in touch with takeaway.com Company for your Restaurant API Key, User Name, Password and Restaurant Id from them.
3. SambaPOS Settings
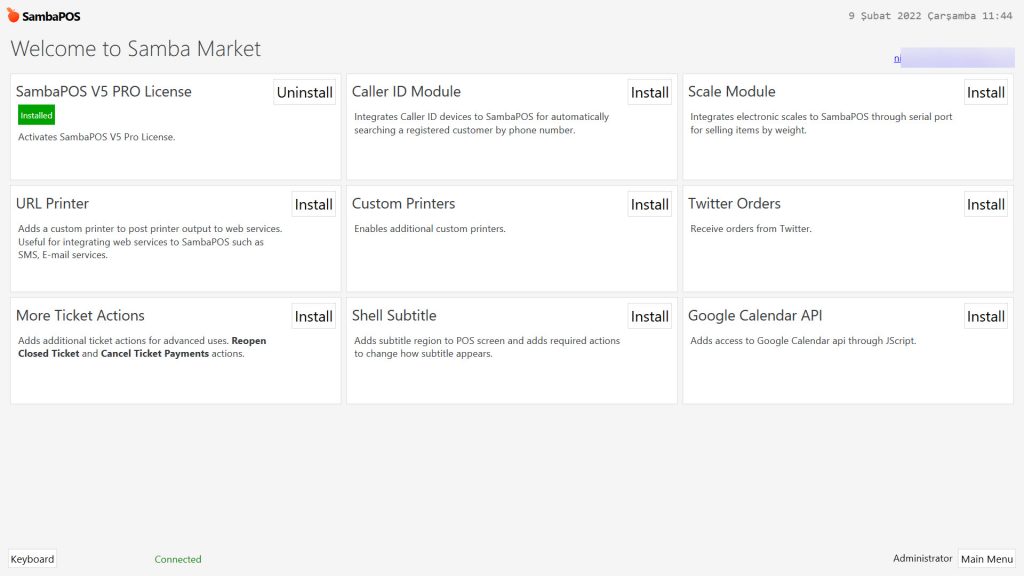
3.1. SambaPOS License Activation Check
Check the SambaPOS Main License status.
3.2. Message Server Settings
3.2.1. SambaPOS Message Server Controls and Settings
Takeaway Module uses SambaPOS Message Server for communication. You might be using SambaPOS Message Server with default settings. If you don’t use Message Server or if using it with different settings than default in this case you have to configure necessary settings by following below explanations.
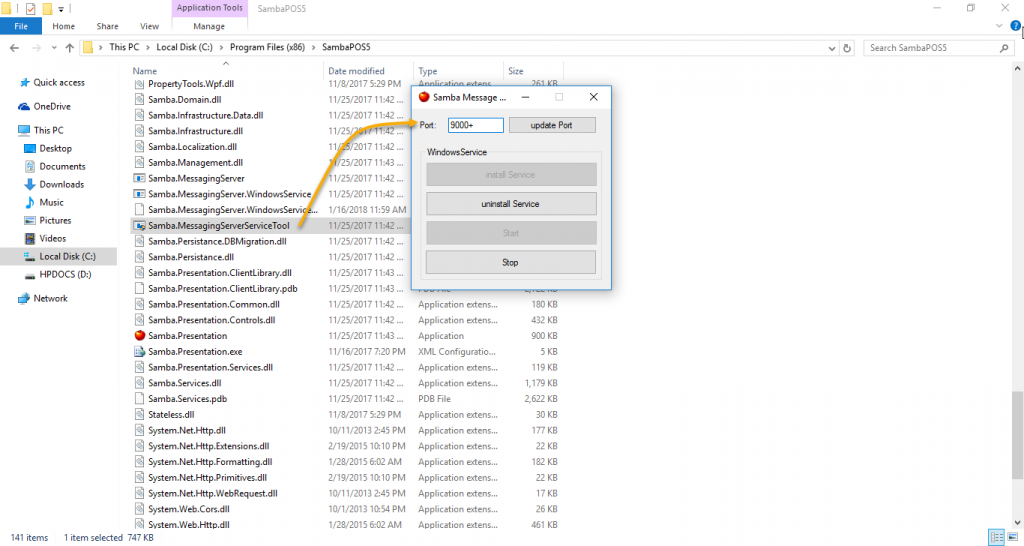
To configure Message Server Settings, execute “Samba.MessagingServerServiceTool.exe” file which is located in the directory that SambaPOS is installed.
Port: 9000+
Note: Port has to be 9000+ By checking image below you can see how it is supposed to be simply configured and also notice that it has to be on Start status.
3.2.2. SambaPOS Manage Message Server Settings
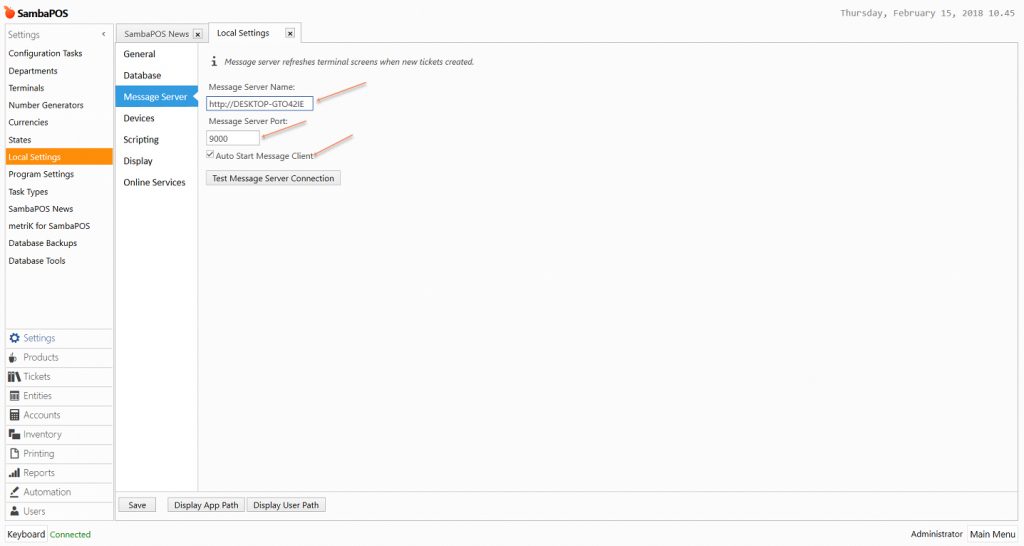
Message Server settings are supposed to be configured also in SambaPOS by following the settings above. Go to Manage > Settings > Local Settings > Message Server, in here perform the mentioned settings and click on SAVE button.
Message Server Name: http://computer_name (Name of SambaPOS V5 installed computer)
or http://123.123.123.123 (IP address of SambaPOS V5 installed computer)
Message Server Port: 9000
Auto Start Message Client: [X] (Has to be selected)
3.3. SambaPOS Advanced Delivery Service Setup
After completing pre settings, it is necessary to prepare the screens which will be used in SambaPOS and the needed procedures automatically by installing Configuration Task.
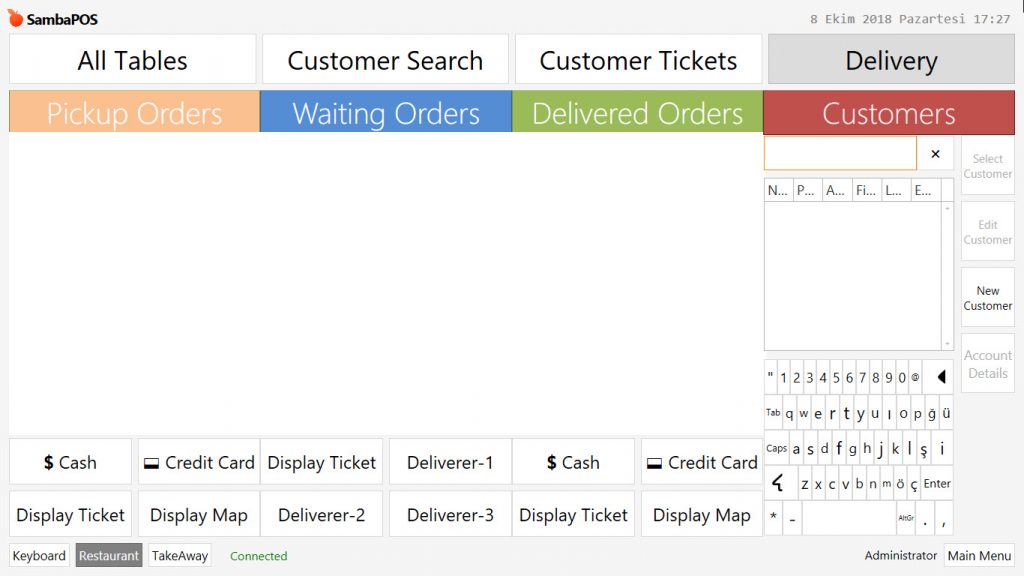
Go to Manage > Settings > Configuration Tasks from here click on Advanced Delivery Screen Setup link and perform the installation. This installation automatically creates all the necessary SambaPOS definitions and the screens.
In here there are some unnecessary parts, (Unconfirmed Label Widget Window) so that you need to remove them from entity screen. Open the design menu by right clicking of mouse and remove those 3 parts one by one.
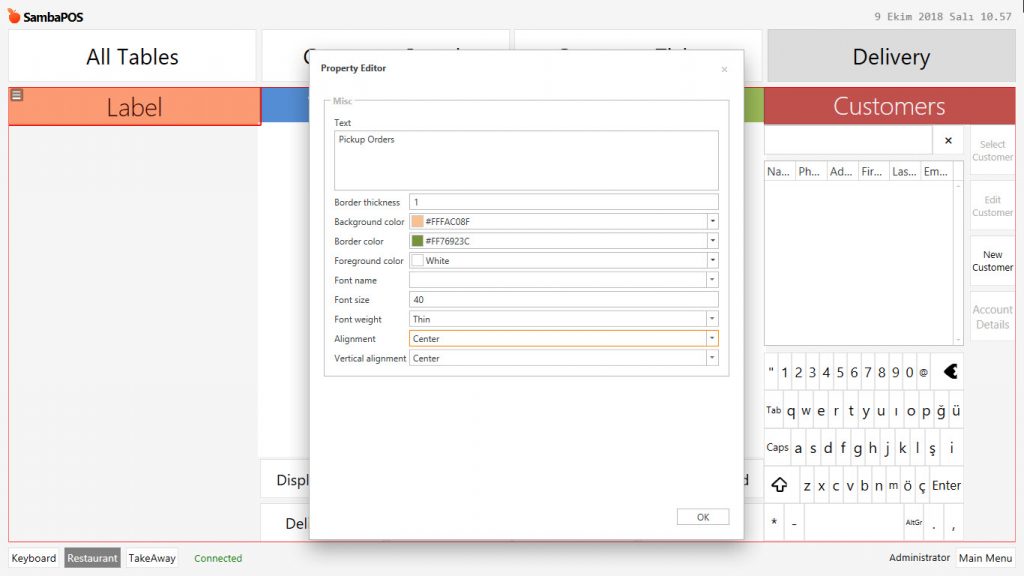
After you remove unnecassary parts, you nee to add another field like shown in the image below;
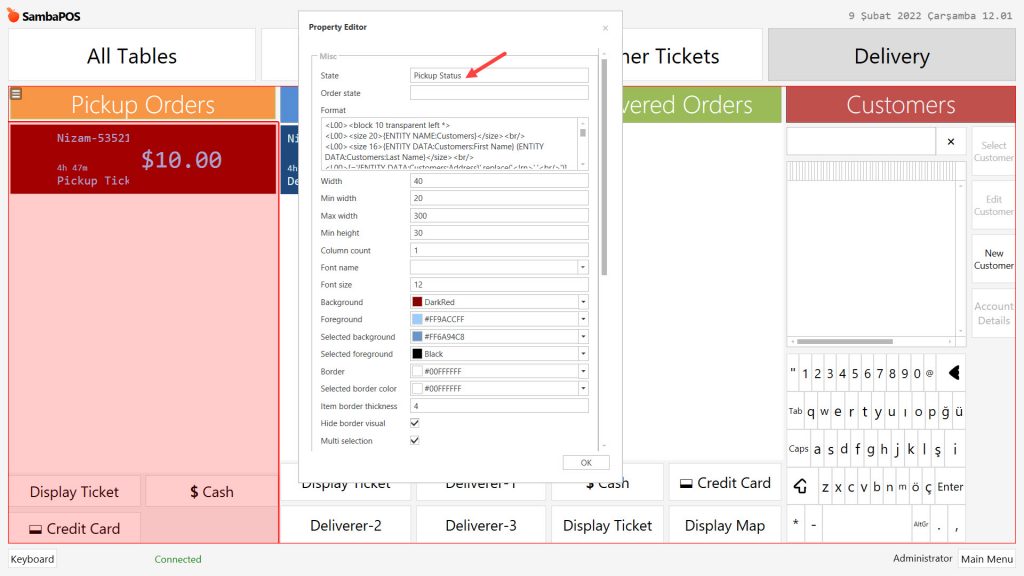
To do that, open the design menu by right clicking mouse and in the design menu select Add Label Widget and configure the settings like below image;

After that you need to add Ticket Lister as well;
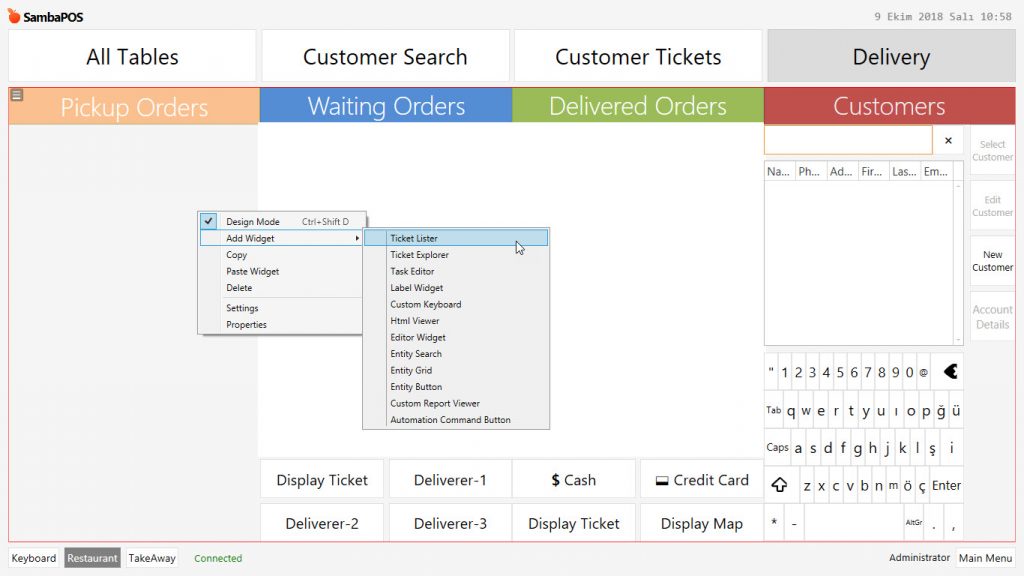
Copy and paste below code group into Format field;
<L00><block 10 transparent left *><L00><block 20><size 40>${TICKET TOTAL}</size></block> |
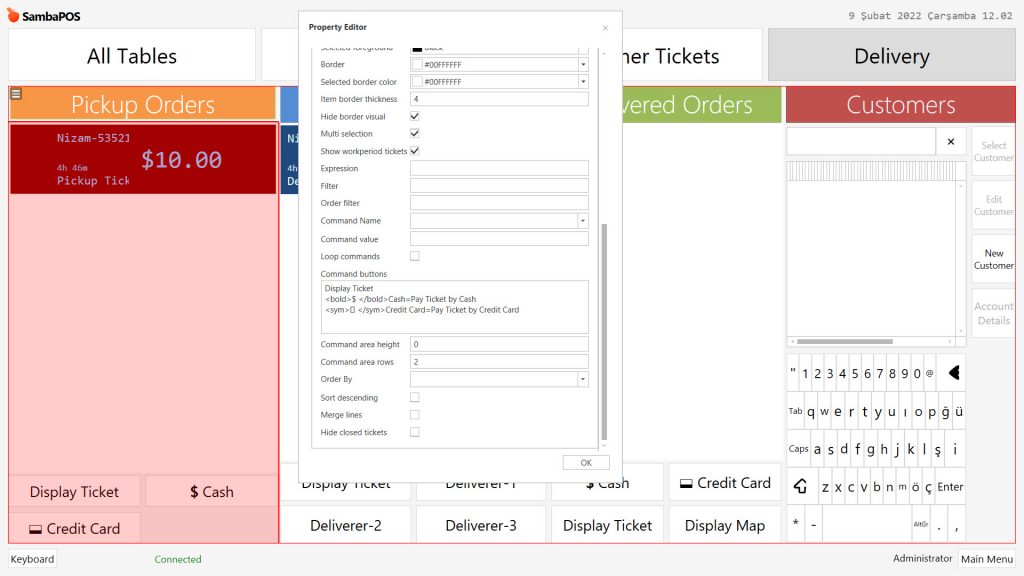
Copy and paste below code group into Command Buttons field;
<bold>$ </bold>Cash=Pay Ticket by Cash |
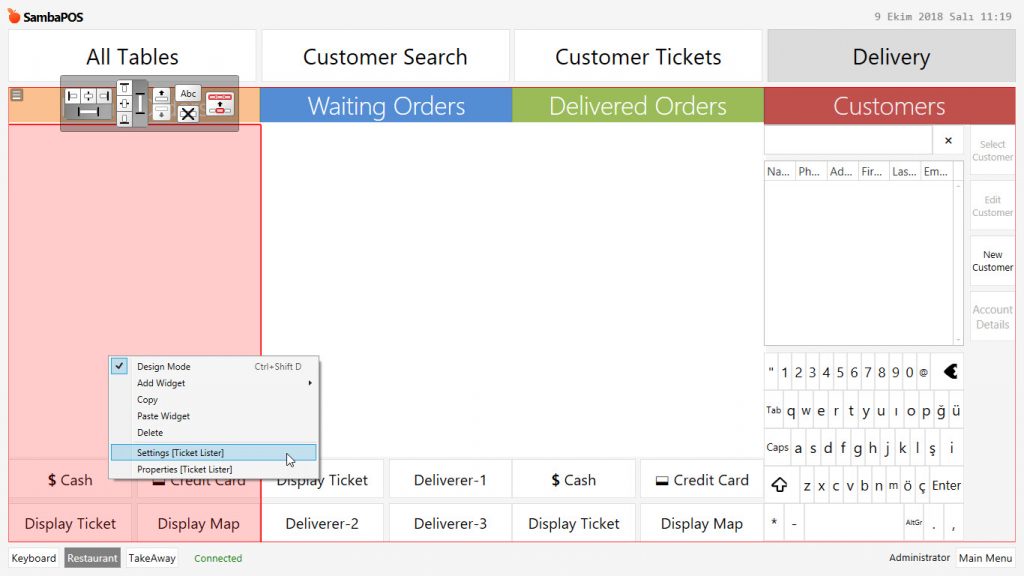
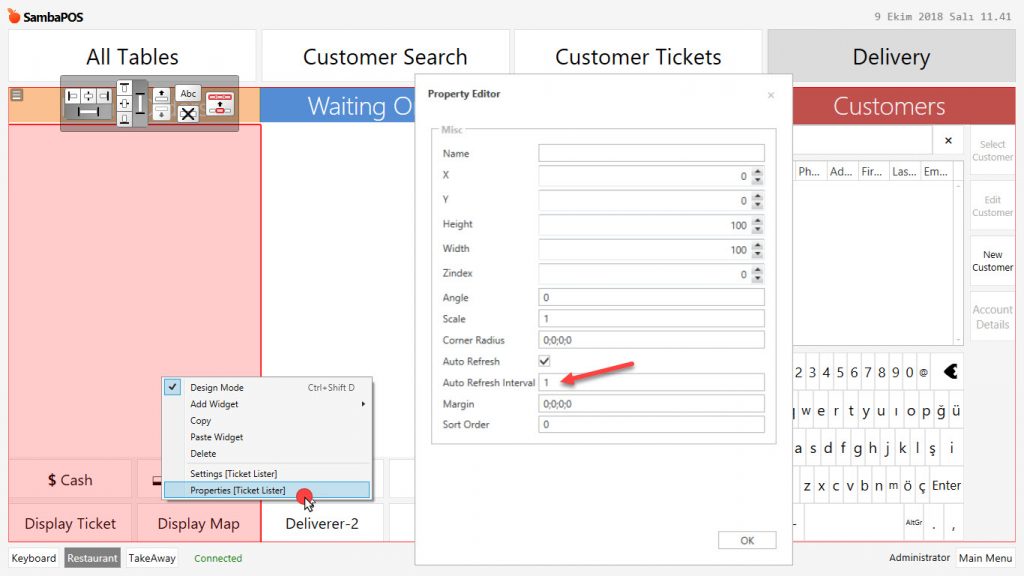
To be able to display the orders as soon as they are received, you need to change Auto Refresh Interval from 0 to 1 for both Waiting Orders and Pickup Orders fields.
For Waiting Orders Field;
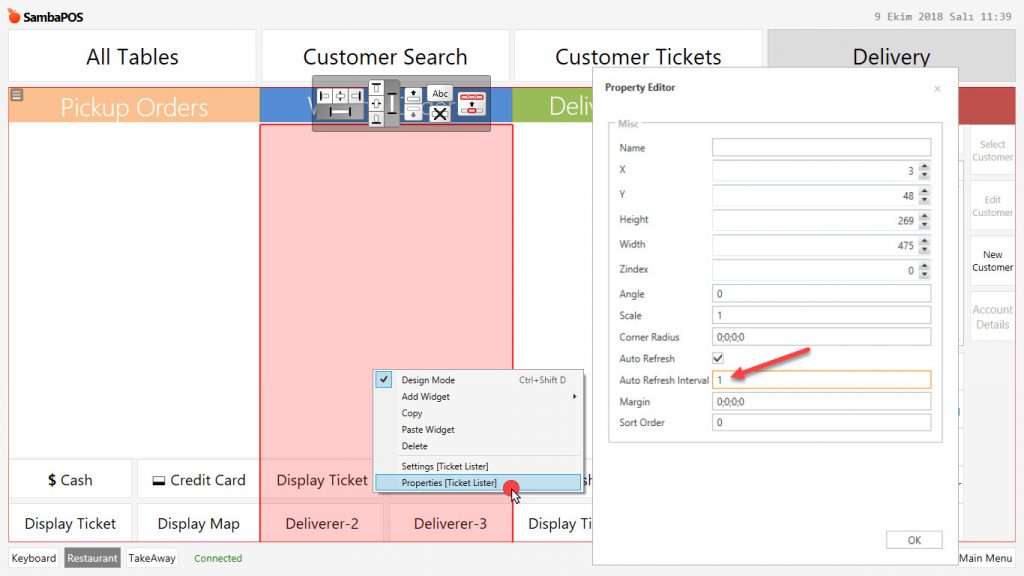
For Pickup Orders Field;
Once you finished configurations close design menu by right clicking mouse so that changes will be saved.
Note 1: After completing necessary editings, go to Manage> Entities > Entities from this menu, add as many as needed Delivery Service Staff.
Note 2: Manage > Tickets >Ticket Types from here click on Delivery Ticket link and check the Tax Included box is selected or not, if not then select it.

After completing necessary editings, click on Save button.
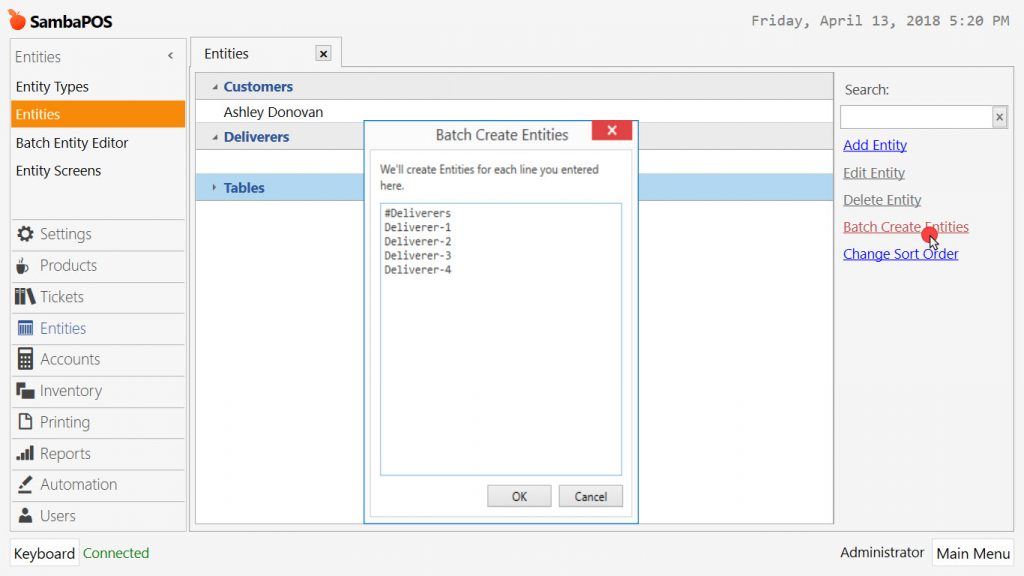
3.4. SambaPOS Creating Deliverer Entities
If you already have Deliverers as Entities, the import file which mentioned above will add those deliverers automatically into Takeaway Entity Screen. If you don’t have, you need to create them according to steps below;
Go to Manage > Entities > Entities > from here click on Batch Create Entities link, in the window put # symbol and create your Deliverers. After completing necessary editings, click on Ok button.
3.5. SambaPOS Adding Application
Important Note:
After creating takeaway.com Application on SambaPOS, you need to restart the SambaPOS Messaging Server from Windows Services.
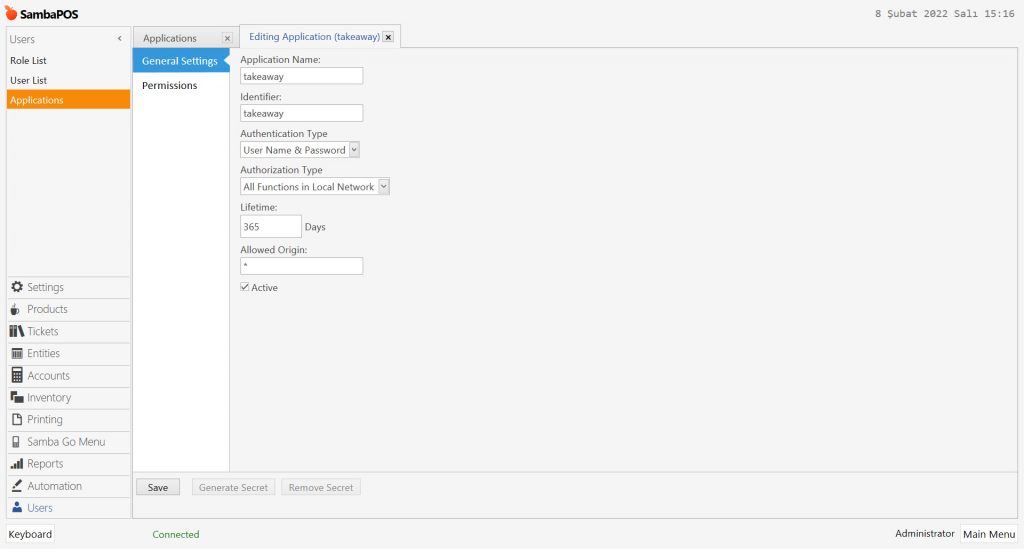
Manage > Users > Users > Applications in here create a new Application by clicking on Add Application link from right menu. Write the exact same information below into the application;
- Application Name: takeaway
- Identifier: takeaway
- Authentication Type: User Name & Password
- Authorization Type: All Functions in Local Network
- Lifetime: 365
- Allowed Origin: *
In Permissions section click on Enable Default Functions button and save the Application by clicking on Save button.

After completing necessary editings, click on Save button.
3.6. SambaPOS Creating User
Important Note:
After creating takeaway.com User on SambaPOS, you need to restart the SambaPOS Messaging Server from Windows Services.
It is necessary to create a new User for Takeaway. This User will be used for only communication between SambaPOS API and Takeaway Integration. It must not be used for daily working periods.
Manage > Users > User List from here create a user by clicking on Add User link from right menu and write the exact same information into User;
- User Name: takeaway
- Pin Code: 2122520635
- Password: 2122520635
- User Role: Admin
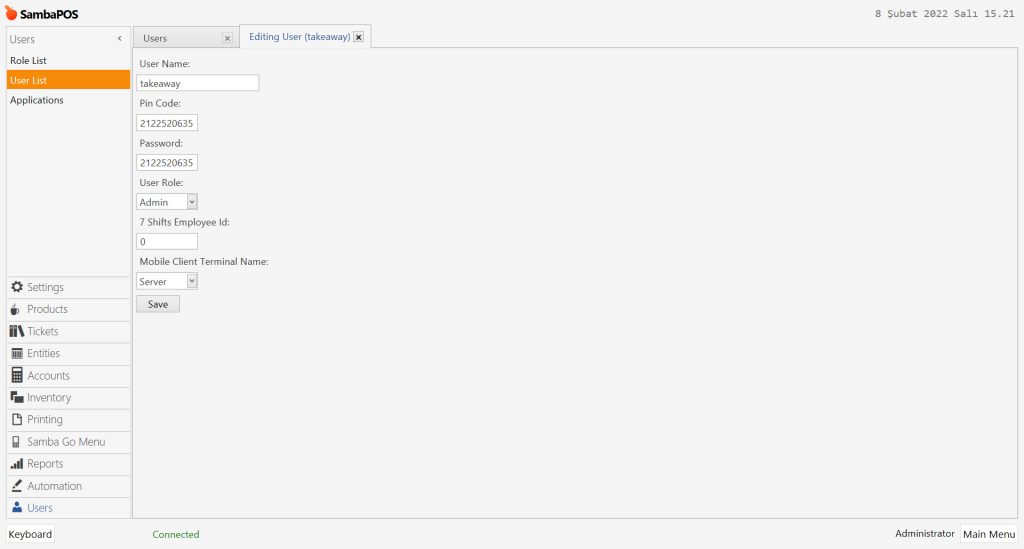
After completing necessary editings, click on Save button.
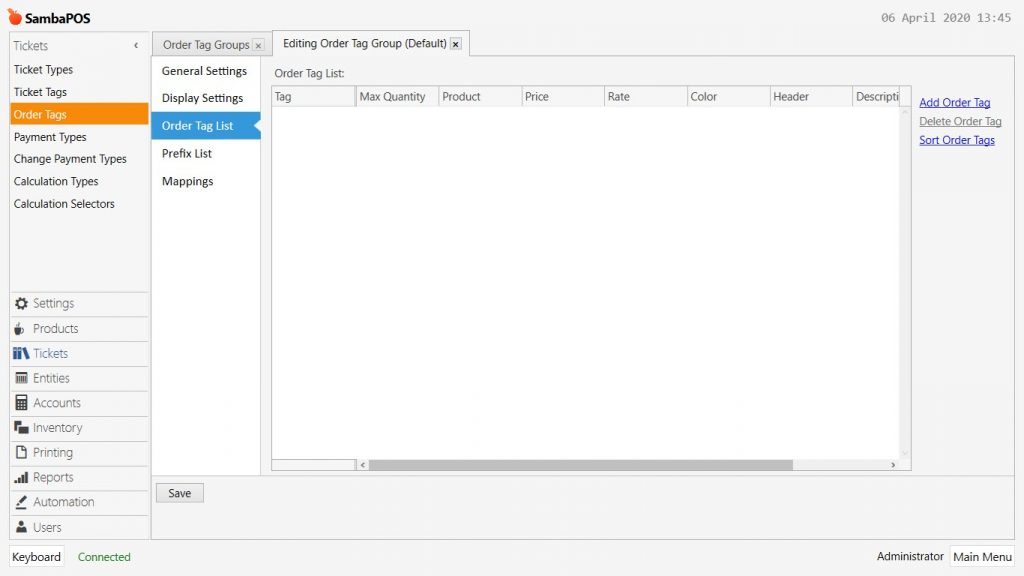
3.7. SambaPOS Creating Default Order Tag
Go to Main Menu > Manage > Tickets > Order Tags > Here click on Add Order Tag Group.
Genereal Settings Section;
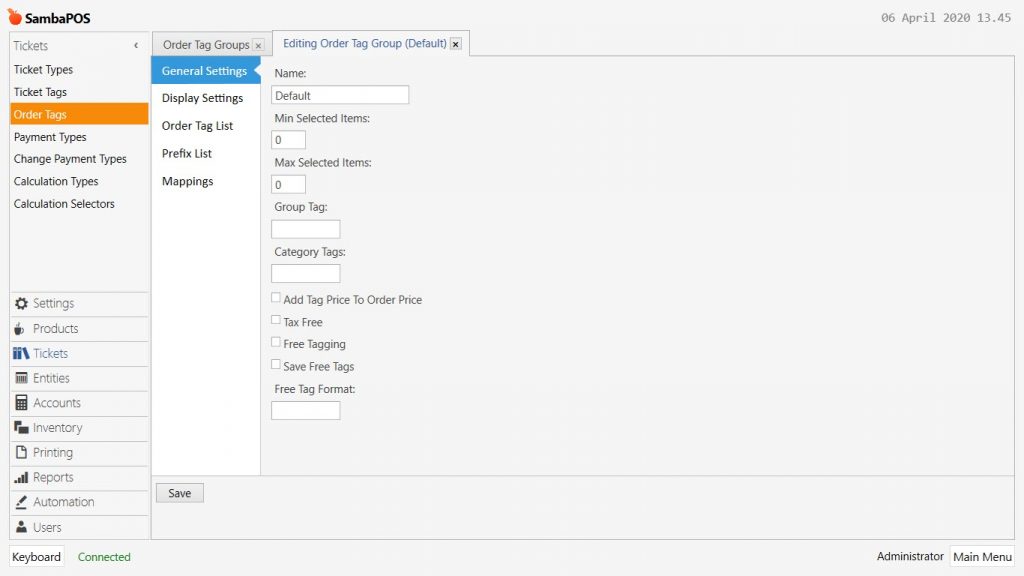
Name: Default
Order Tag List Section;
Leave this section empty;
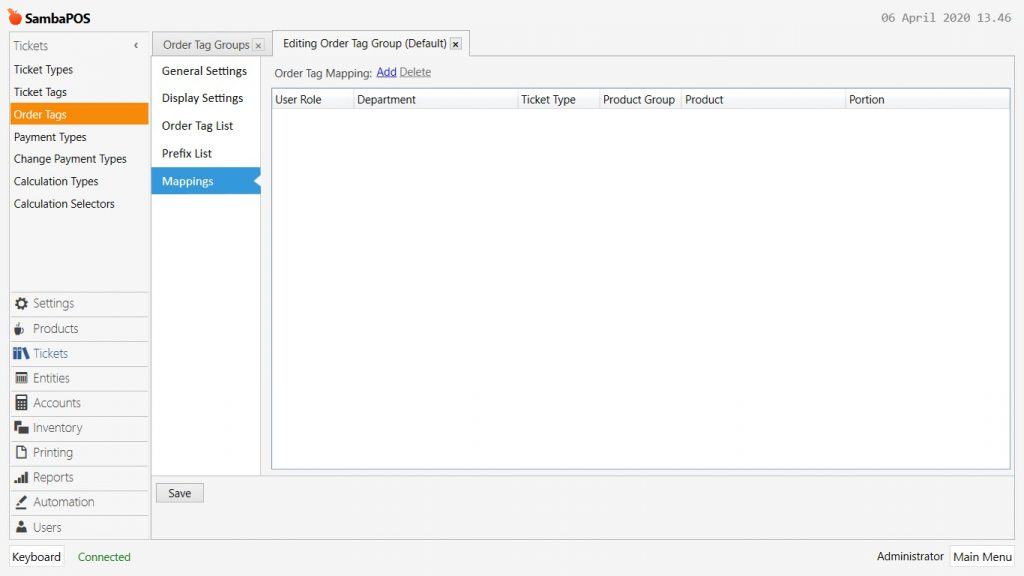
Mappings Section;
Leave mappings empty as well;
3.8. SambaPOS Creating Pickup Ticket Type
Go to Main Menu > Manage > Tickets > Ticket Types > here click on Add Ticket Type.
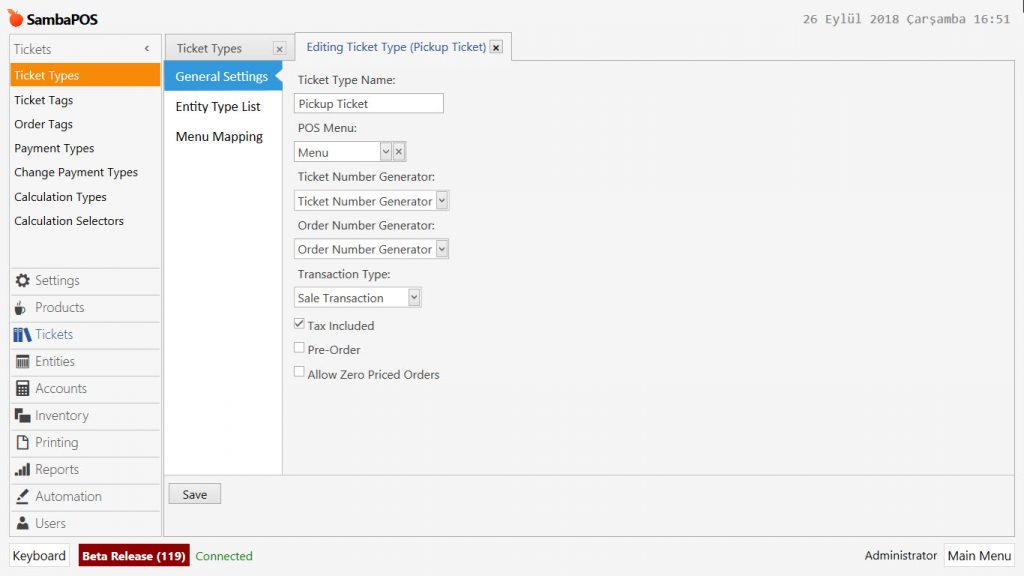
After completing necessary editings, click on Save button.
3.9. SambaPOS Creating Printing Template to Identify Ticket Type
Go to Main Menu > Manage > Printing > Printer Templates > Ticket Template > here, add below code group into Template field;
<L00>Ticket Type:{TICKET TYPE}
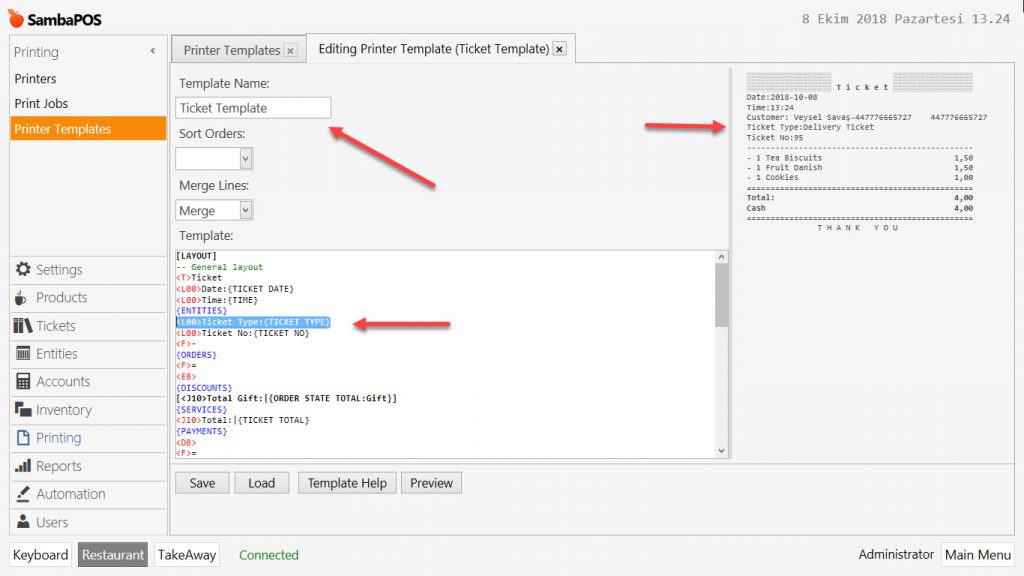
After completing necessary editings, click on Save button.
3.10. SambaPOS Adding Tip Calculation
You can apply the steps of this document for Tip Calculation process.
3.11. SambaPOS Adding Actions
3.11.1. Adding PCK-Close Ticket Action
Main Menu > Manage > Automation > Actions > Here, click on Add Action button.
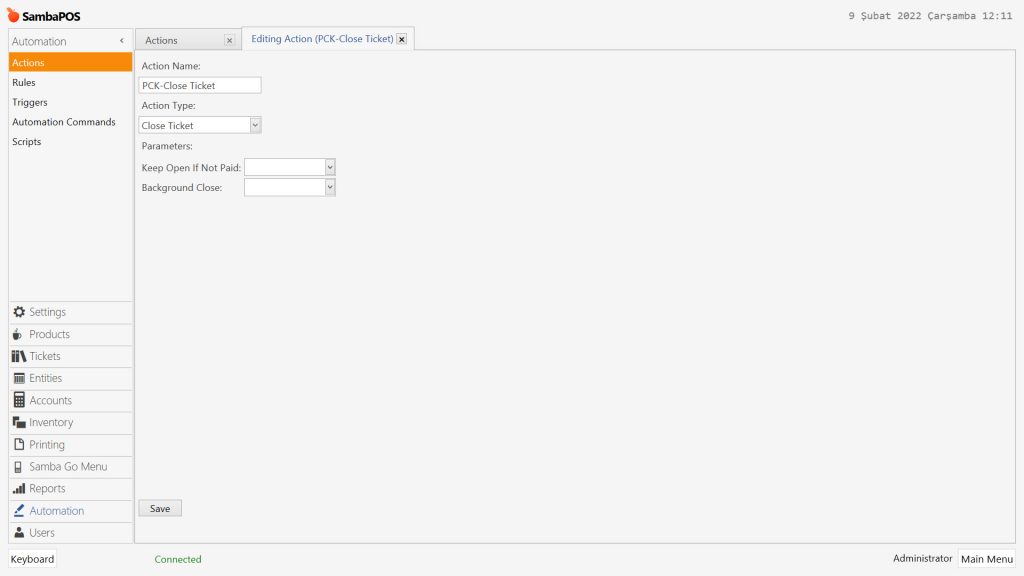
Action Name: PCK-Close Ticket
Action Type: Close Ticket
After completing necessary editings, click on Save button.
3.11.2. Adding PCK-Display Ticket Action
Main Menu > Manage > Automation > Actions > Here, click on Add Action button.
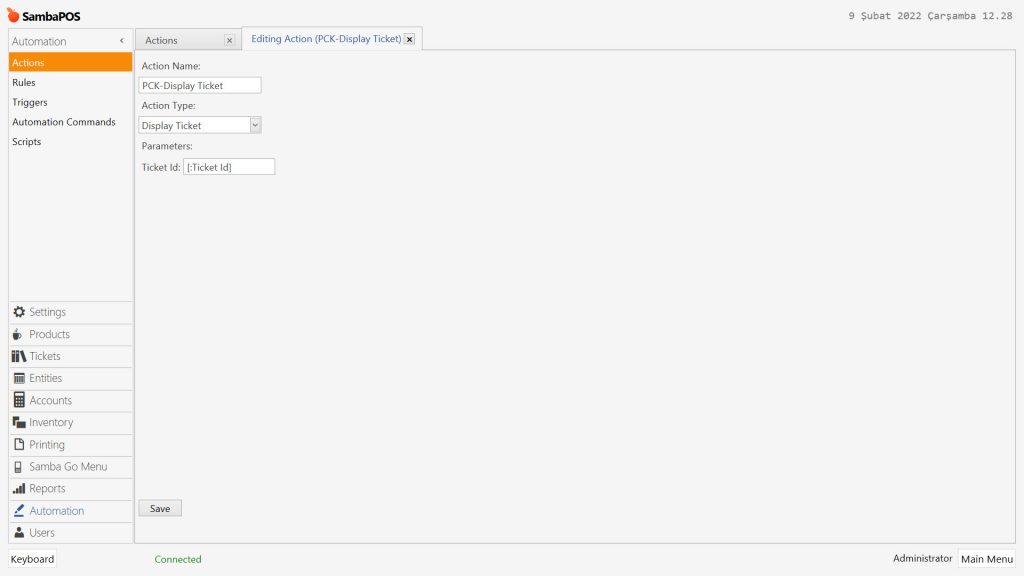
Action Name: PCK-Display Ticket
Action Type: Display Ticket
Parameters:
Ticket Id: [:Ticket Id]
After completing necessary editings, click on Save button.
3.11.3. Adding PCK-Load Ticket Action
Main Menu > Manage > Automation > Actions > Here, click on Add Action button.
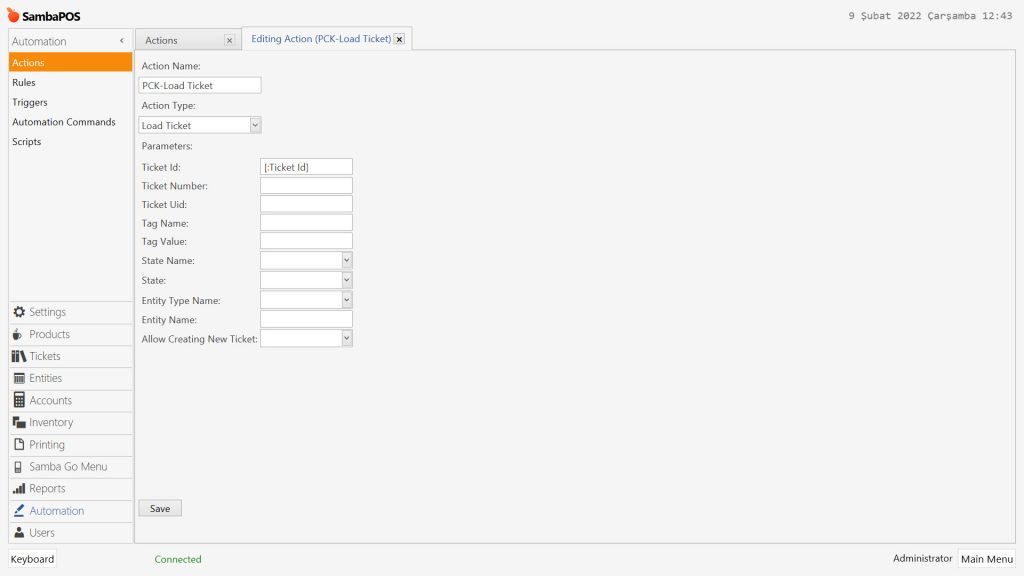
Action Name: PCK-Load Ticket
Action Type: Load Ticket
Parameters:
Ticket Id: [:Ticket Id]
After completing necessary editings, click on Save button.
3.11.4. Adding PCK-ACM Pay Ticket by Cash Action
Main Menu > Manage > Automation > Actions > Here, click on Add Action button.
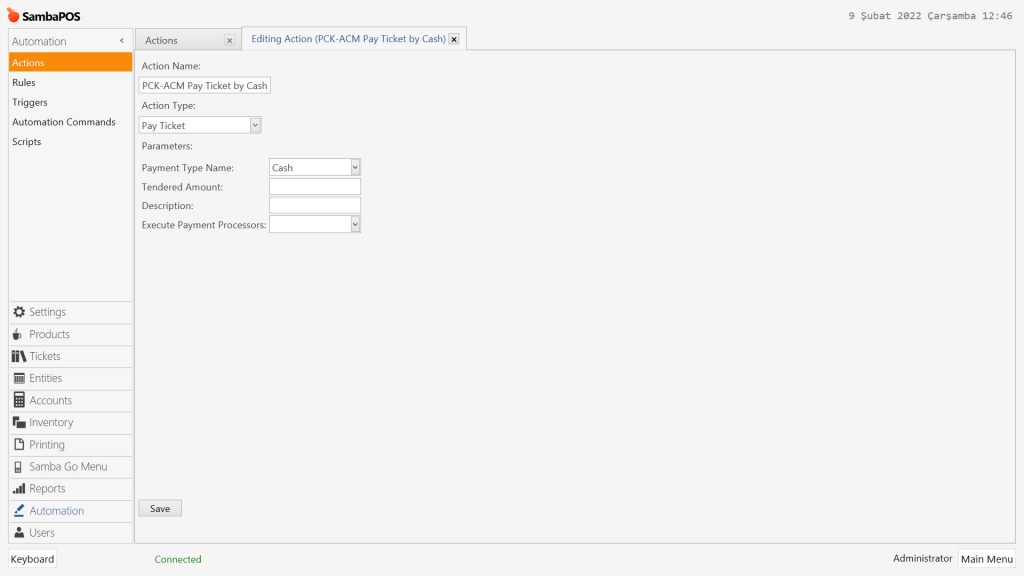
Action Name: PCK-ACM Pay Ticket by Cash
Action Type: Pay Ticket
Parameters:
Payment Type Name: Cash
After completing necessary editings, click on Save button.
3.11.5. Adding PCK-ACM Pay Ticket by Credit Card Action
Main Menu > Manage > Automation > Actions > Here, click on Add Action button.
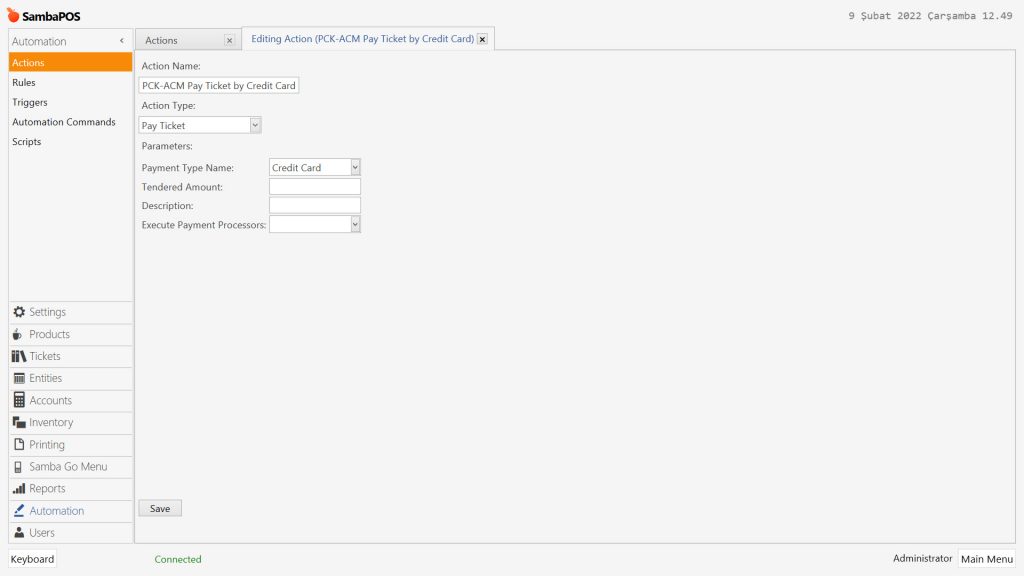
Action Name: PCK-ACM Pay Ticket by Credit Card
Action Type: Pay Ticket
Parameters:
Payment Type Name: Credit Card
After completing necessary editings, click on Save button.
3.11.6. Adding PCK-Update Ticket’s Pickup Status Action
Main Menu > Manage > Automation > Actions > Here, click on Add Action button.
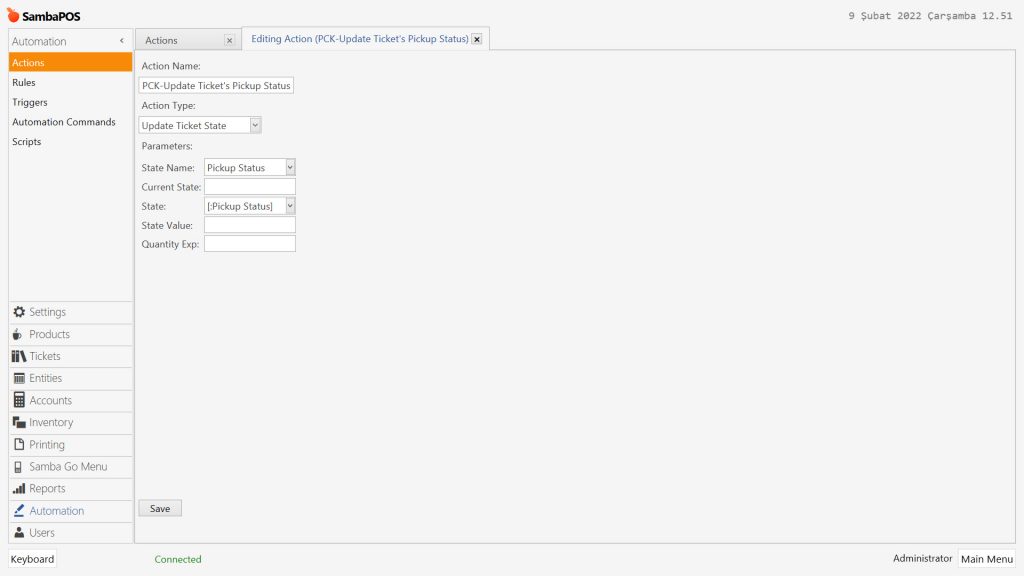
Action Name: PCK-Update Ticket’s Pickup Status
Action Type: Update Ticket State
Parameters:
State Name: Pickup Status
State: [:Pickup Status]
After completing necessary editings, click on Save button.
3.12. SambaPOS Adding Rules
3.12.1. Adding PCK-Display Ticket Rule
Main Menu > Manage > Automation > Rules > Here, click on Add Rule button.
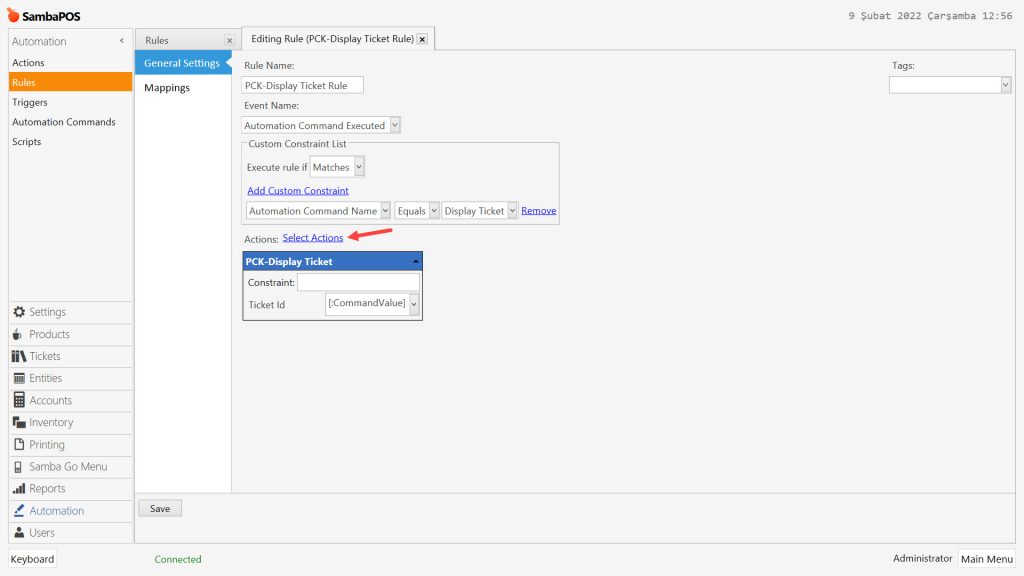
Rule Name: PCK-Display Ticket Rule
Event Name: Automation Command Executed
Execute Rule if: Matches
Add Custom Constraint:
Automation Command Name|Equals|Display Ticket
Select Actions:
Action: PCK-Display Ticket
Ticket Id: [:CommandValue]
After completing necessary editings, click on Save button.
3.12.2. Adding PCK-Pay Ticket Rule
Main Menu > Manage > Automation > Rules > Here, click on Add Rule button.

Rule Name: PCK-Pay Ticket Rule
Event Name: Automation Command Executed
Execute Rule if: Matches
Add Custom Constraint:
Automation Command Name|Equals|Pay Ticket by Cash
Select Actions:
Action1: PCK-Load Ticket
Ticket Id: [:CommandValue]
Action2: PCK-ACM Pay Ticket By Cash
Action3: PCK-Close Ticket
After completing necessary editings, click on Save button.
3.12.3. Adding PCK-Pay Ticket by CC Rule
Main Menu > Manage > Automation > Rules > Here, click on Add Rule button.
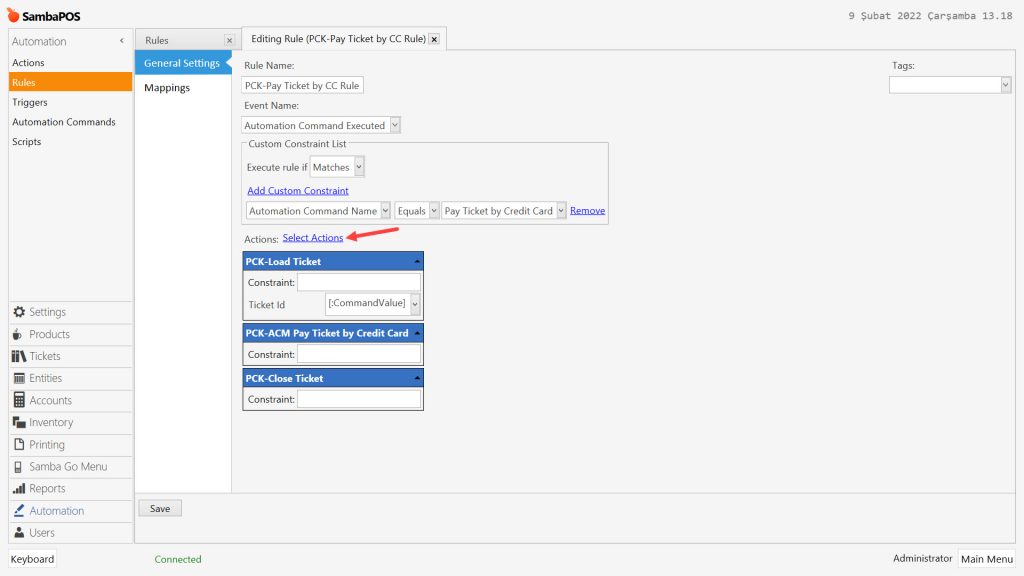
Rule Name: PCK-Pay Ticket by CC Rule
Event Name: Automation Command Executed
Execute Rule if: Matches
Add Custom Constraint:
Automation Command Name|Equals|Pay Ticket by Credit Card
Select Actions:
Action1: PCK-Load Ticket
Ticket Id: [:CommandValue]
Action2: PCK-ACM Pay Ticket By Credit Card
Action3: PCK-Close Ticket
After completing necessary editings, click on Save button.
3.12.4. Adding PCK-Update Paid PickupTicket status
Main Menu > Manage > Automation > Rules > Here, click on Add Rule button.
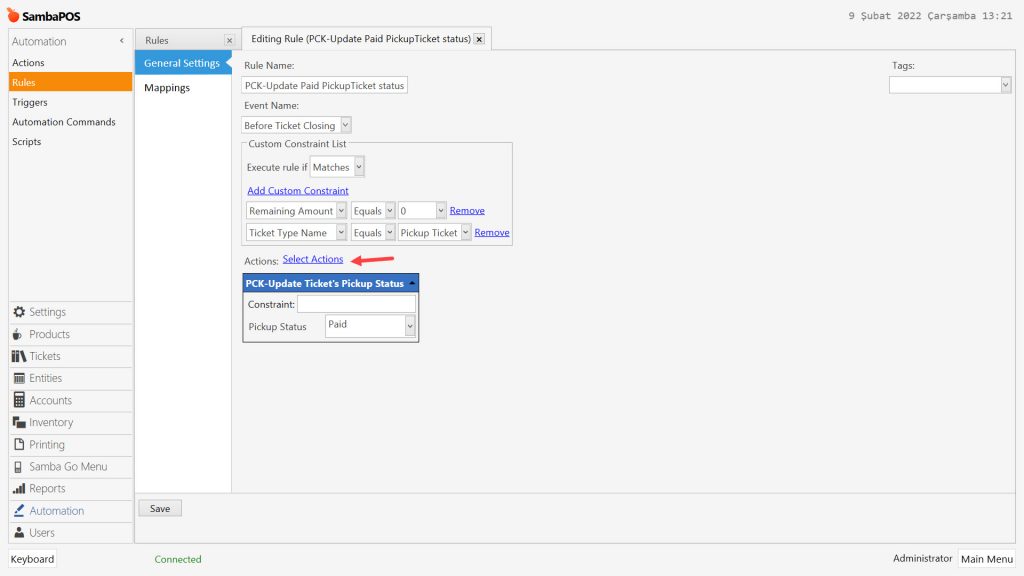
Rule Name: PCK-Update Paid PickupTicket status
Event Name: Before Ticket Closing
Execute Rule if: Matches
Add Custom Constraint:
Remaining Amount|Equals|0
Ticket Type Name|Equals|Pickup Ticket
Select Actions:
Action1: PCK-Update Ticket’s Pickup Status
Pickup Status: Paid
After completing necessary editings, click on Save button.
3.12.5. Adding PCK-Update New Pickup Ticket Status
Main Menu > Manage > Automation > Rules > Here, click on Add Rule button.
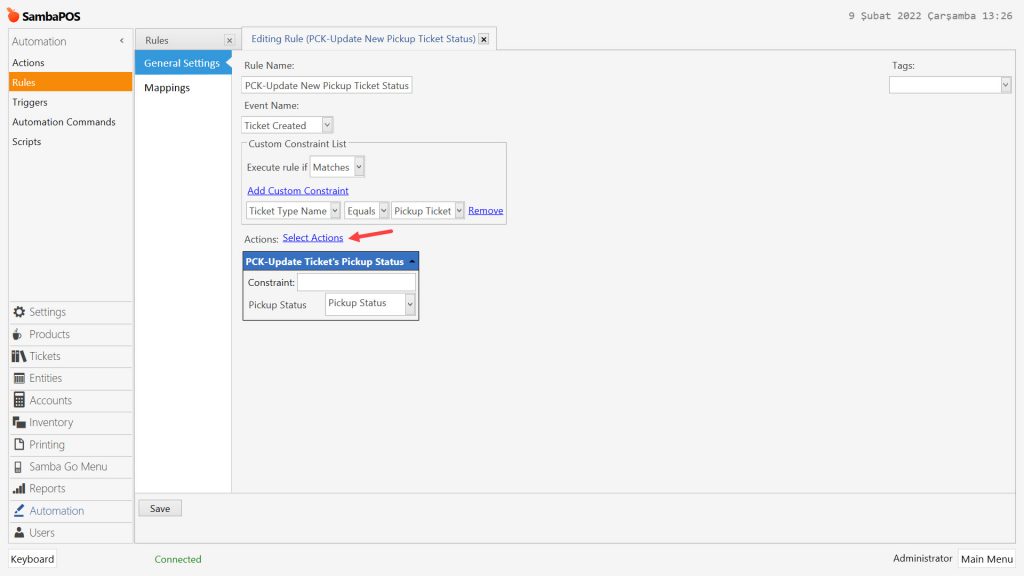
Rule Name: PCK-Update New Pickup Ticket Status
Event Name: Ticket Created
Execute Rule if: Matches
Add Custom Constraint:
Ticket Type Name|Equals|Pickup Ticket
Select Actions:
Action1: PCK-Update Ticket’s Pickup Status
Pickup Status: Pickup Status
After completing necessary editings, click on Save button.
4. takeaway.com Integration Settings
After completing SambaPOS definitions, install the takeaway.com Integration Module which can be downloaded from here.
4.1. SambaIn Settings
When the takeaway.com application executed for the first time, settings page will be appeared automatically. Configure the SambaIn settings section like in the image below.
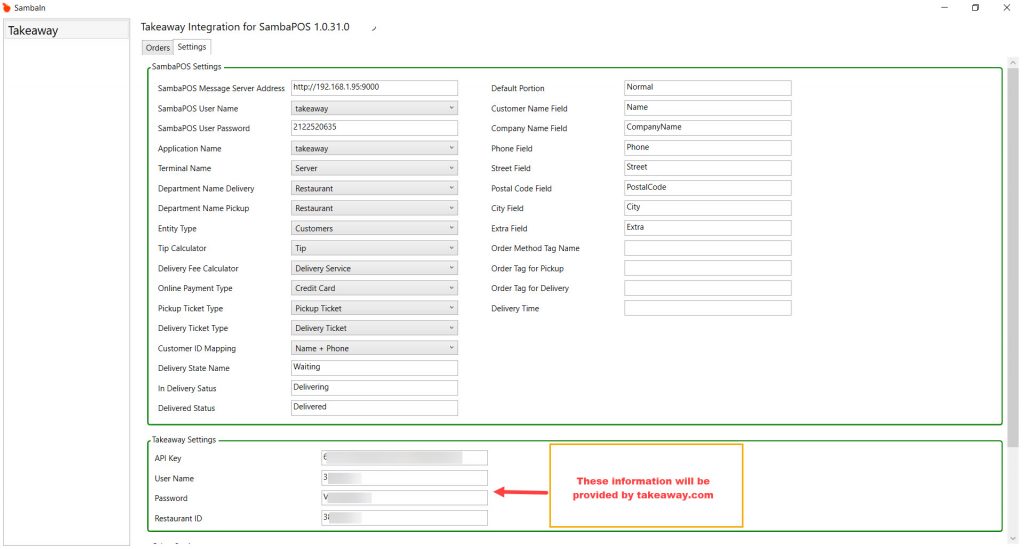
When you clicked on Save button, if you got the license and if your settings are correctly done, SambaPOS Settings Section will be covered by a Green Frame.
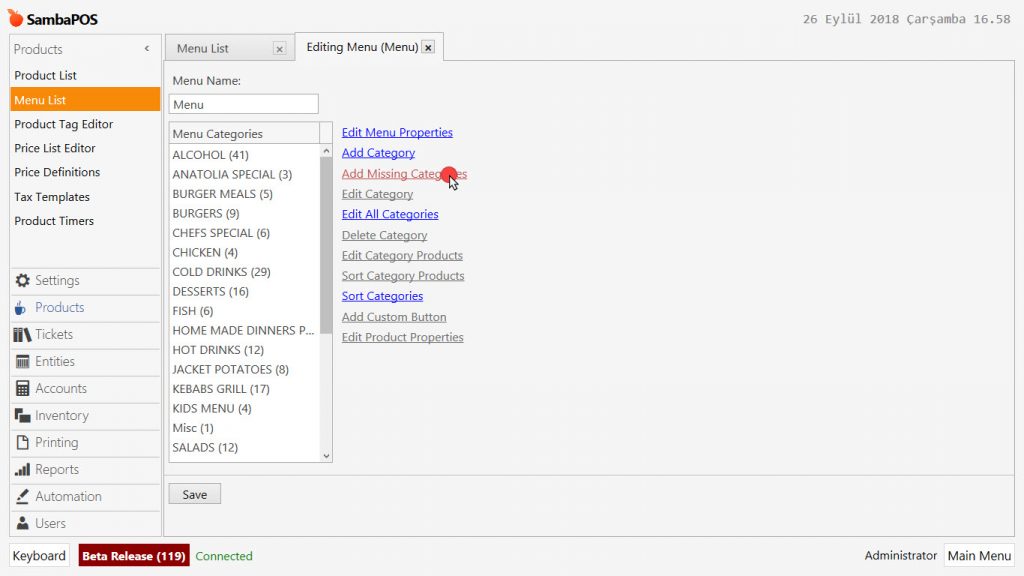
4.2. Adding Missing Categories on SambaPOS
You need to add new categories into your menu;
Go to Main Menu > Manage > Products > Menu List > here double click on Menu, click on Add Missing Categories button and then select Yes in the confirmation window.
4.3. Other Settings
In the Other Settings section, when you select Logging option, system will be saving errros to the logs.

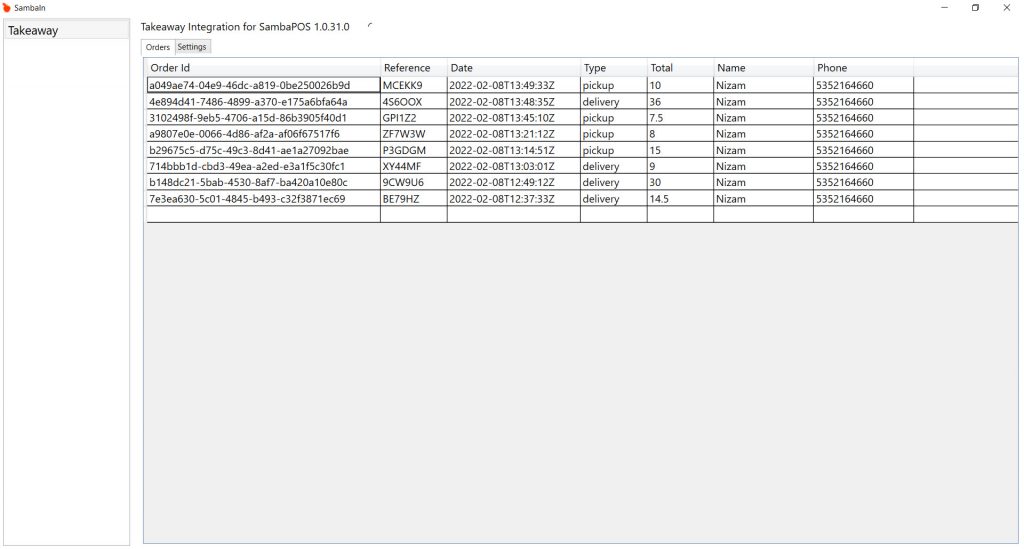
5. Orders
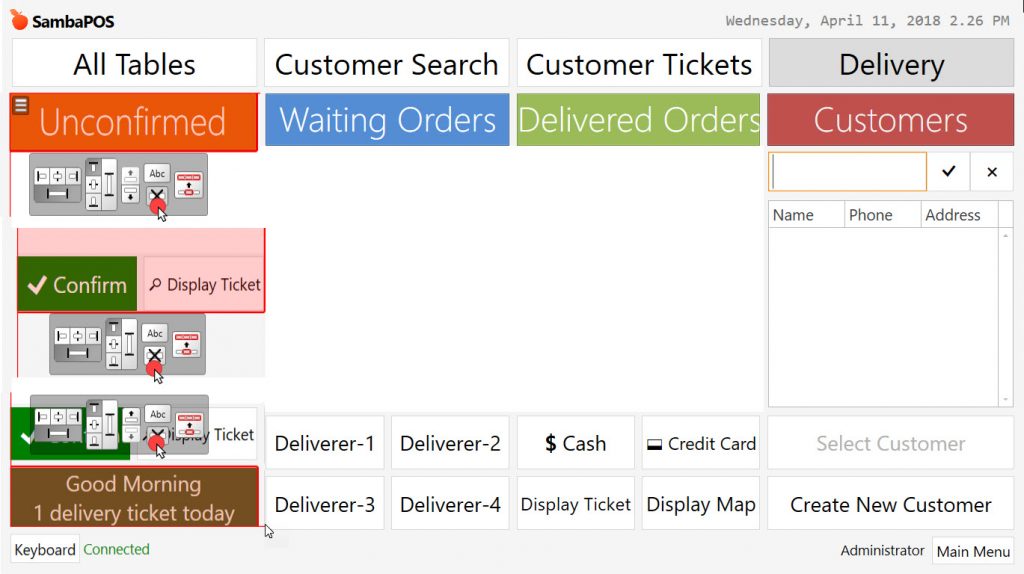
The orders will be started displaying on the Orders table automatically.
6. SambaPOS Order Management
Received Pickup Orders will be coming to Pickup Orders Field, Delivery Orders will be coming to Waiting Orders field.
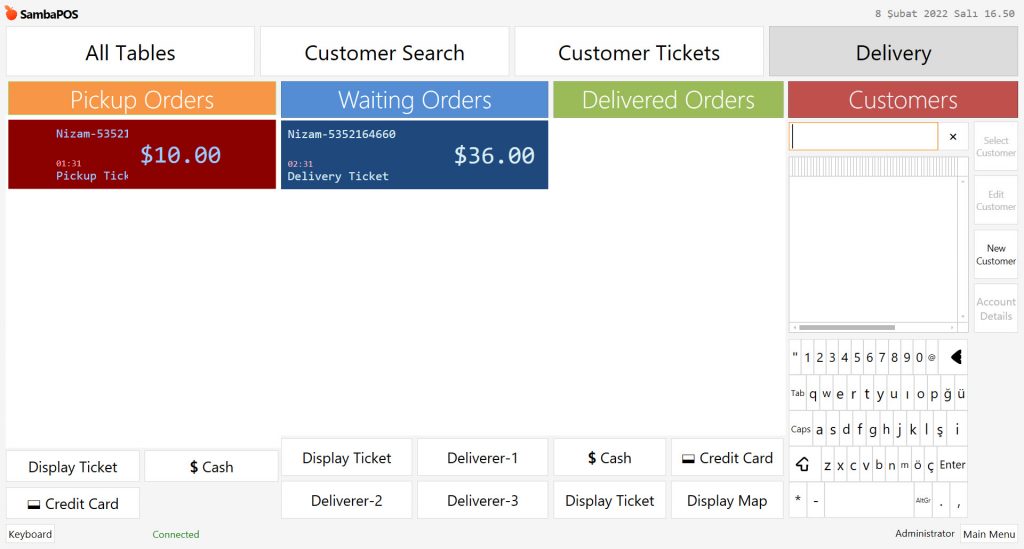
For the Pickup Orders, when the ticket selected and payment received, it will dissapper from the window. For the Delivery Orders, when the ticket selected and assigned to a deliverer, it will be transferred to Delivered Orders section.