6.14. PaymentSense Dojo Integration
In this document, it will be explained how to apply PaymentSense Dojo Integration for SambaPOS V5 Pro.
1. Moving Related DLL Files to Root Folder of SambaPOS
You need to move the below DLL files while the SambaPOS is completely shut down from the PaymentController folder (which can be found in the folder that SambaPOS is installed in) to the Root Folder that SambaPOS is installed in.
Samba.Modules.PSPaymentController.dll
Samba.Modules.PSPaymentOperations.dll
2. Configuring Custom Navigation Screen
Main Menu > Manage > Settings > Program Settings > Maintenance > here, create custom navigation screen buttons by clicking on Create Default Navigation Buttons.

After completing necessary editings, click on Save buton.
After creating buttons, go to Main Menu > Manage > Settings > Local Settings > Display > here, click on Allow Custom Navigation.
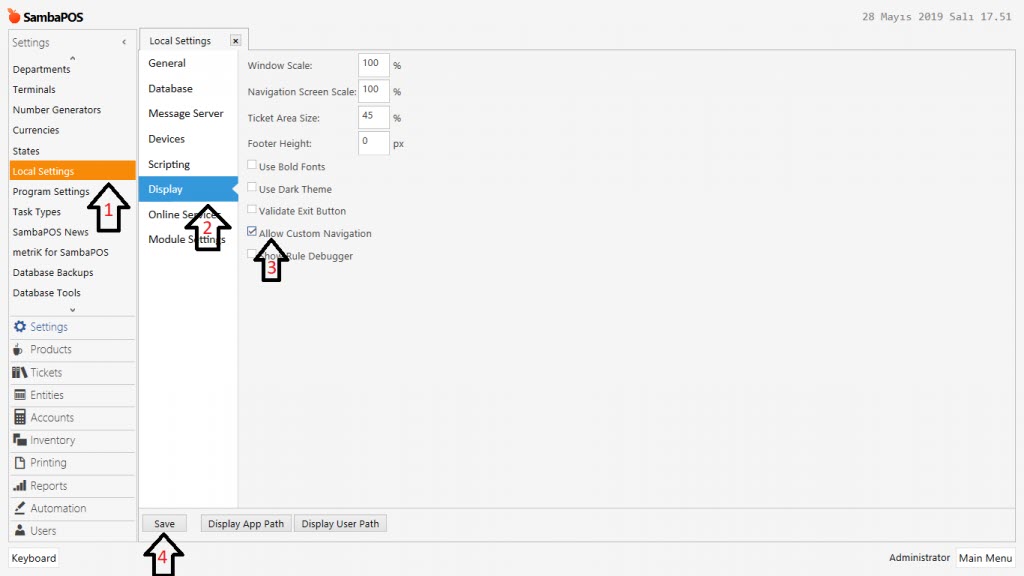
Display:
Allow Custom Navigation: Must be selected
After completing necessary editings, click on Save buton.
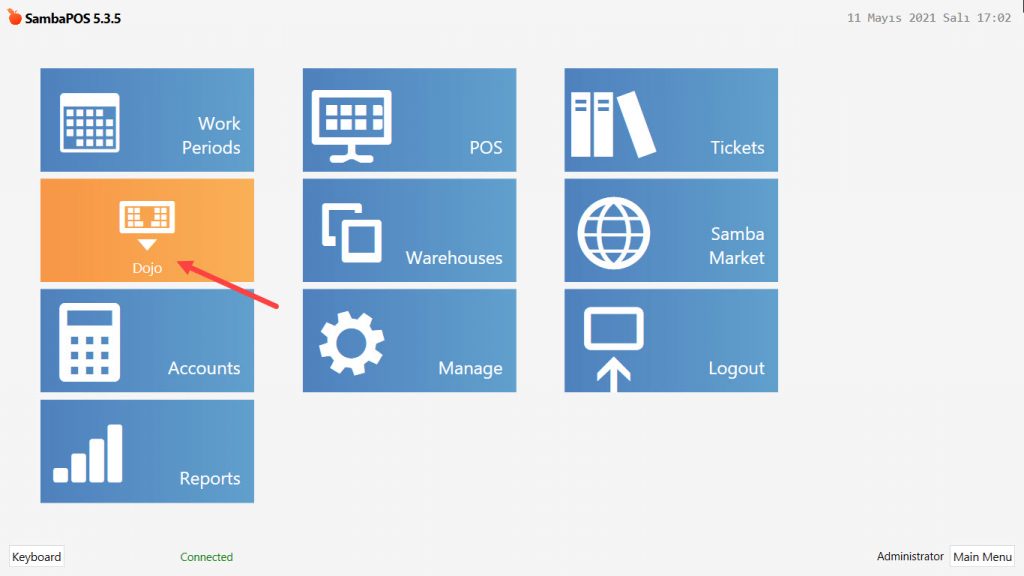
3. Adding Automation Command
Main Menu > Manage > Automation > Automation Commands > here click on Add Automation Command.
General Settings Section;
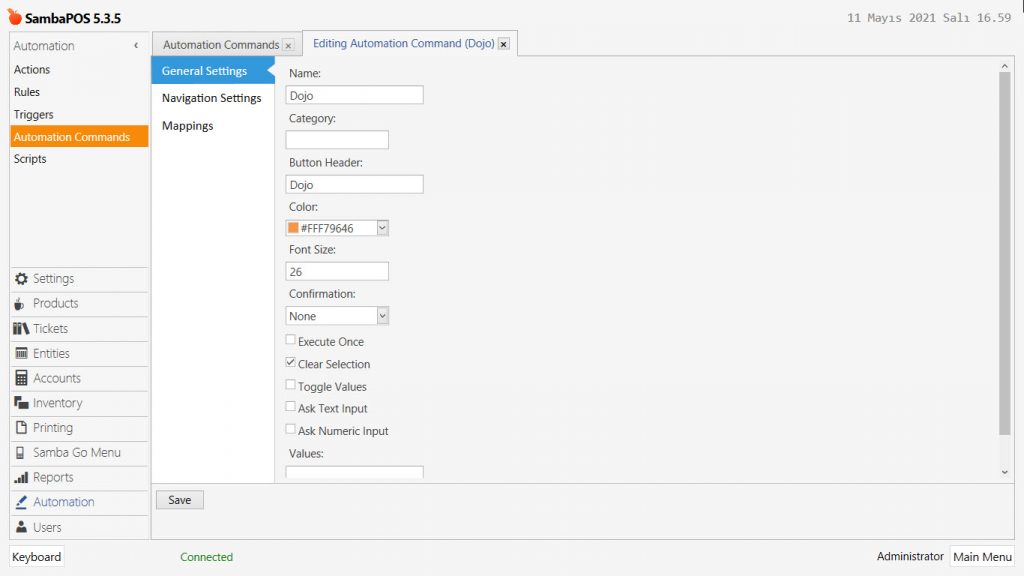
Name: Dojo
Button Header: Dojo
Clear Selection: Must be selected.
Navigation Settings Section;
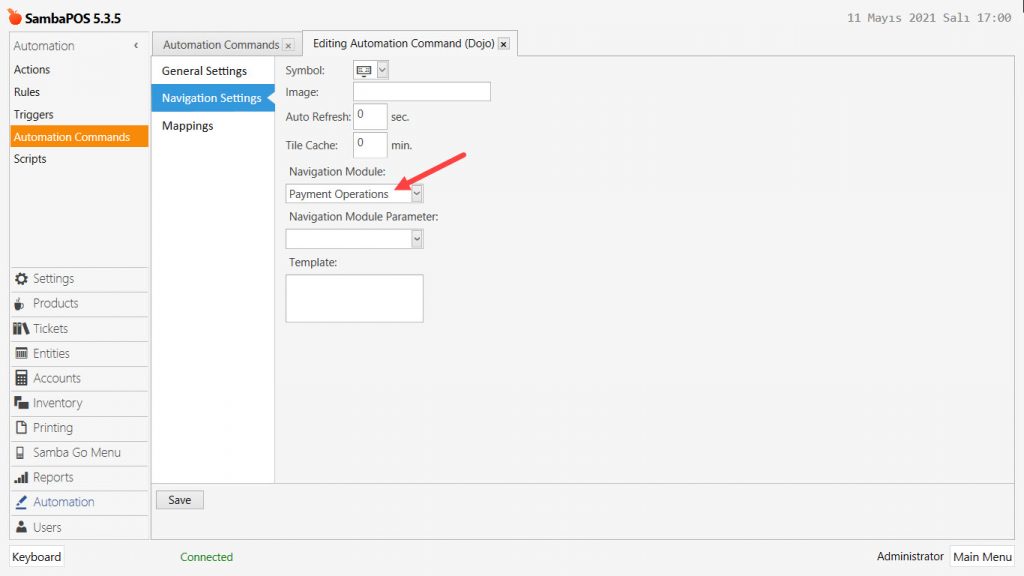
Navigation Module: Payment Operations
Mappings Section Settings;
In here add a row by clicking on Add button and configure the settings as below image.
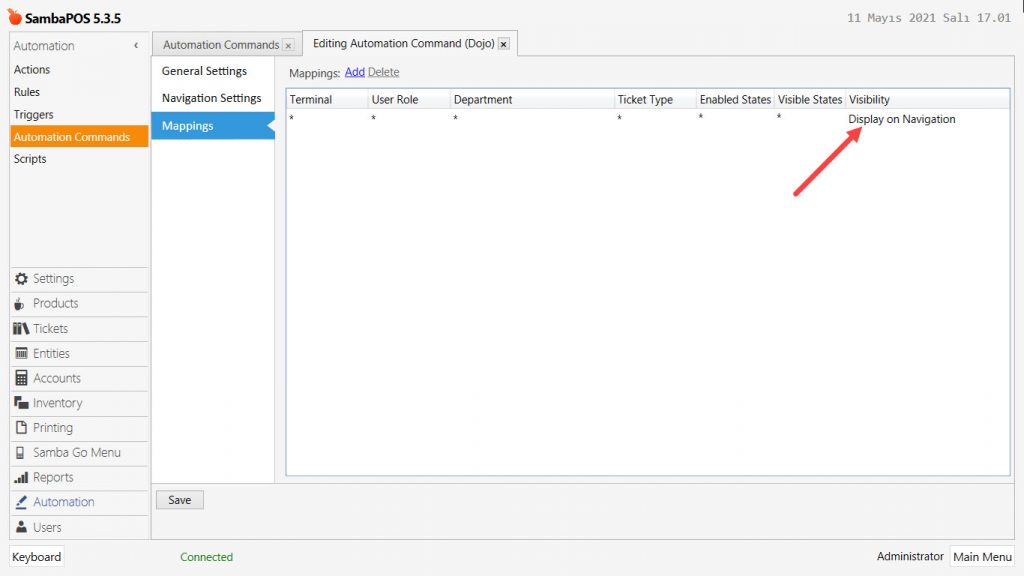
After completing necessary editings, click on Save buton.
When you finish with the above steps, Restart the SambaPOS 5 Pro.
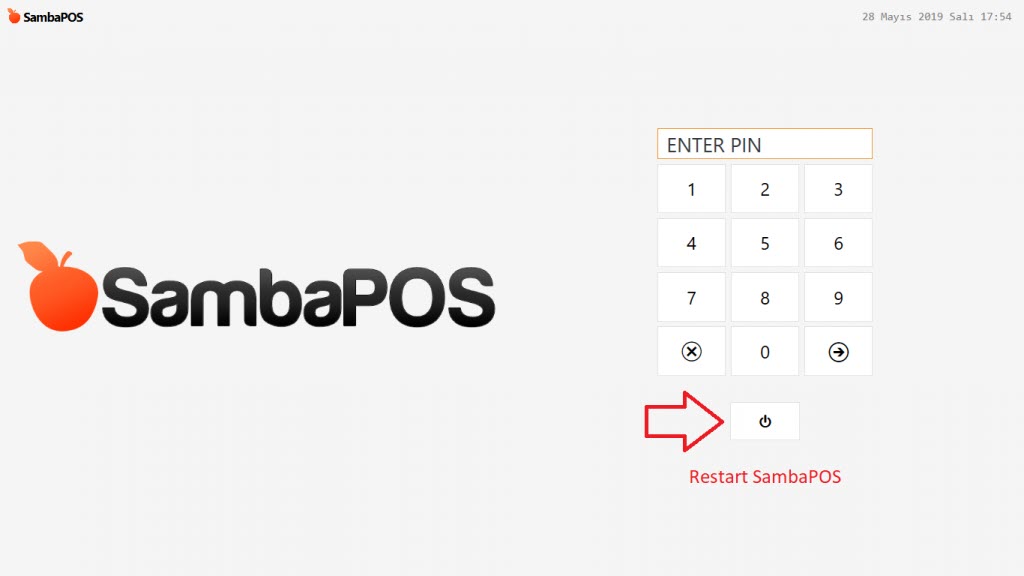
After restarting SambaPOS5 you can start using Dojo Automation Command.
4. Adding Tip Account
Main Menu > Manage > Accounts > Accounts > here click on Add Account.
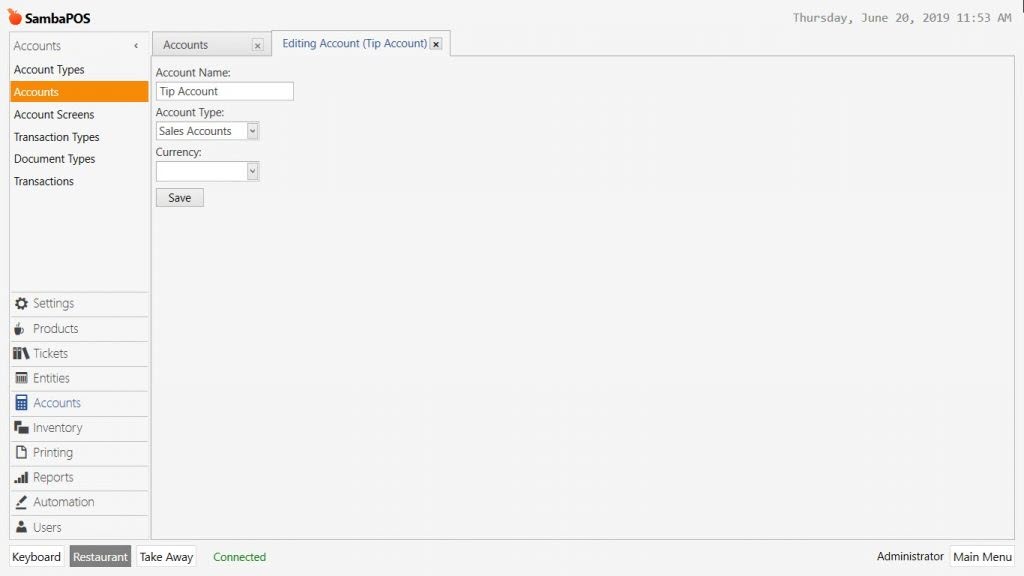
Name: Tip Account
Account Type: Sales Accounts
After completing necessary editings, click on Save buton.
5. Adding Tip Transaction Type
Main Menu > Manage > Accounts > Account Transaction Types > here click on Add Account Transaction Type.

Account Transaction Type Name: Sales Transactions
Source Account Type (Debit): Receivable Accounts
Target Account Credit (Credit): Tip Accounts
Default Source Account: Receivables
After completing necessary editings, click on Save buton.
6. Adding Calculation Type
Main Menu > Manage > Tickets > Calculation Types > here click on Add Calculation Type.
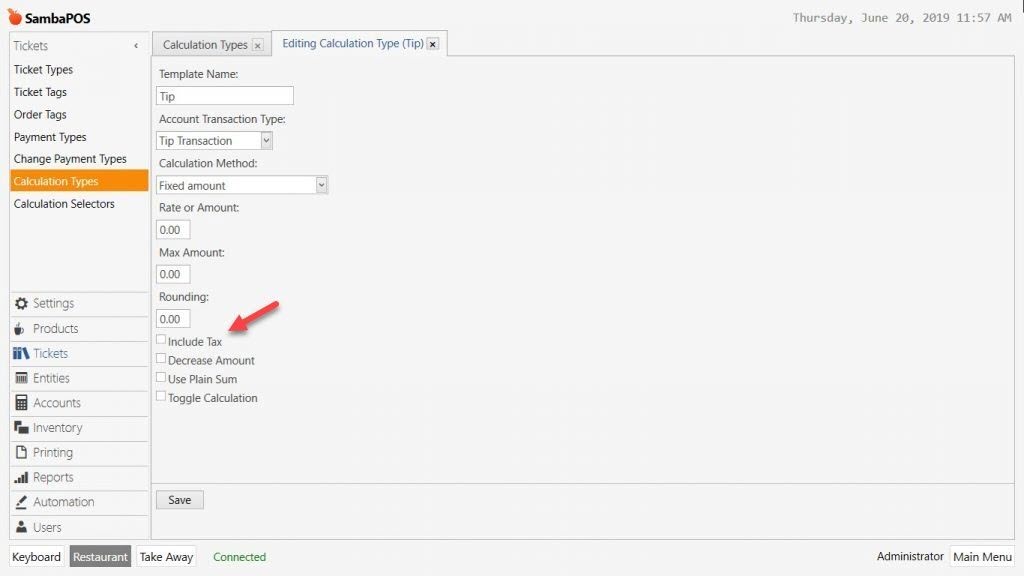
Template Name: Tip
Account Transaction Type: Tip Transaction
Calculation Method: Fixed Amount
Include Tax: Must be selected
After completing necessary editings, click on Save buton.
7. Adding Calculation Selector
Main Menu > Manage > Tickets > Calculation Selectors > here click on Add Calculation Selector.
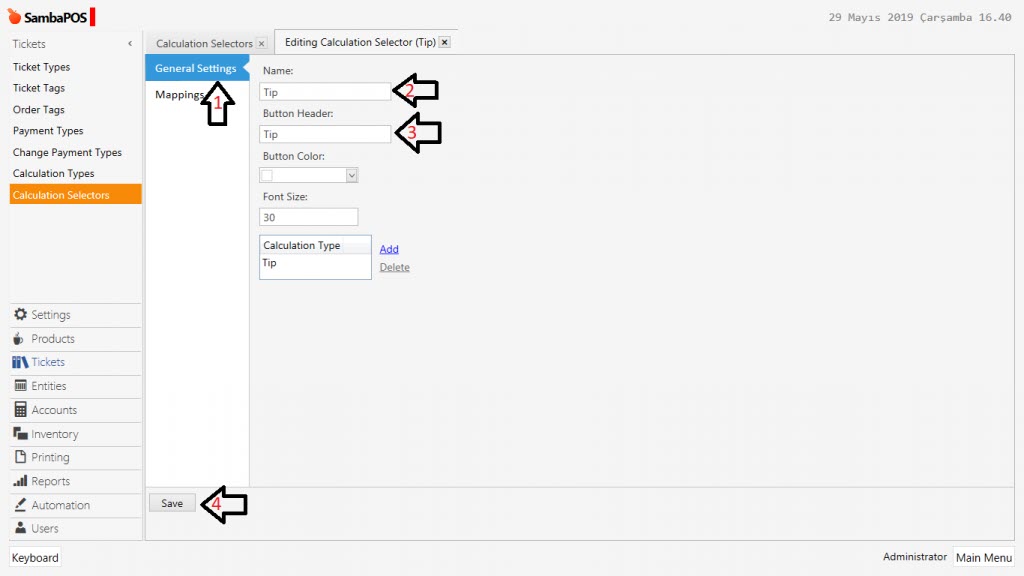
Name: Tip
Button Header: Tip
Calculation Type: Click on Add button and select Tip as calculation type.
After completing necessary editings, click on Save buton.
8. Configuring Module Settings (Program Settings)
Main Menu > Manage > Settings > Program Settings > Module Settings > here configure the settings according to below image.
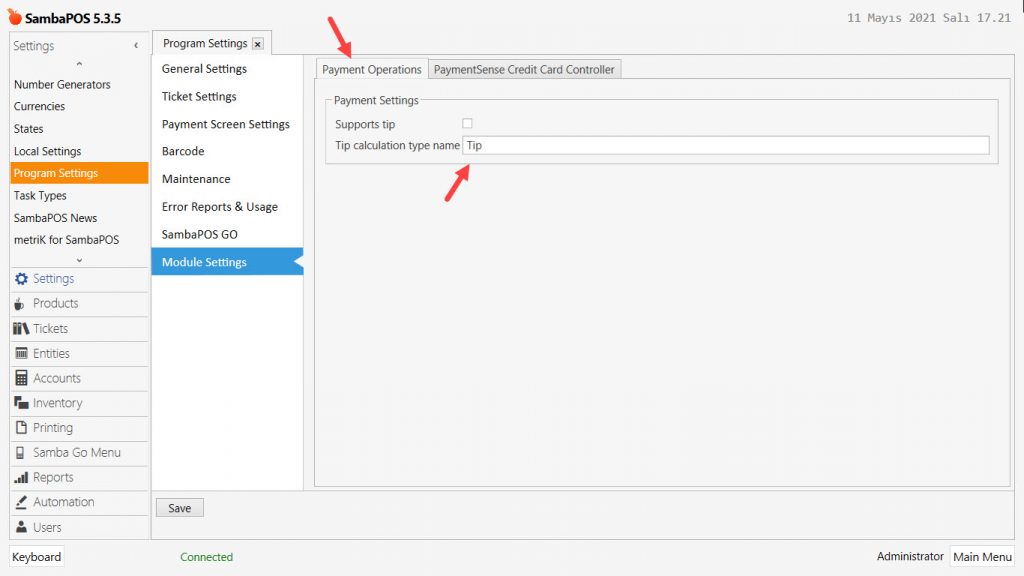
Payment Operations Section;
Tip: Type your Tip Calculation name exactly identical.
PaymentSense Credit Card Controller;

PaymentSense WSAddress: This will be provided by PaymentSense.
PaymentSense Token: This will be provided by PaymentSense.
9. Configuring Module Settings (Local Settings)
Main Menu > Manage > Settings > Local Settings > Module Settings > here configure the settings according to below image.
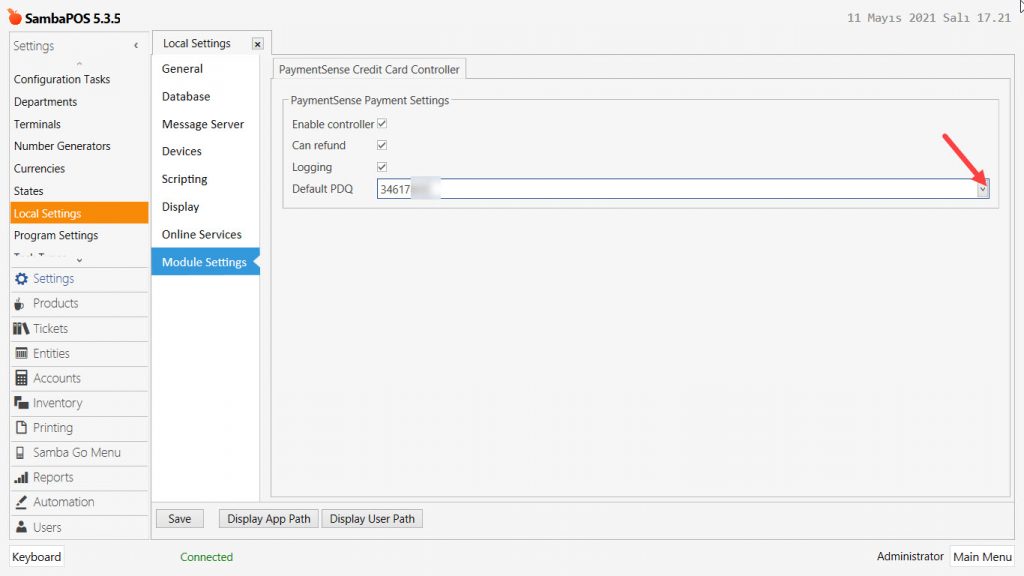
After completing necessary editings, click on Save buton.