4.90. How to Create Tables On The Fly?
In this document, it will be explained how to create tables on the fly on SambaPOS.
1. Adding Entity Screen
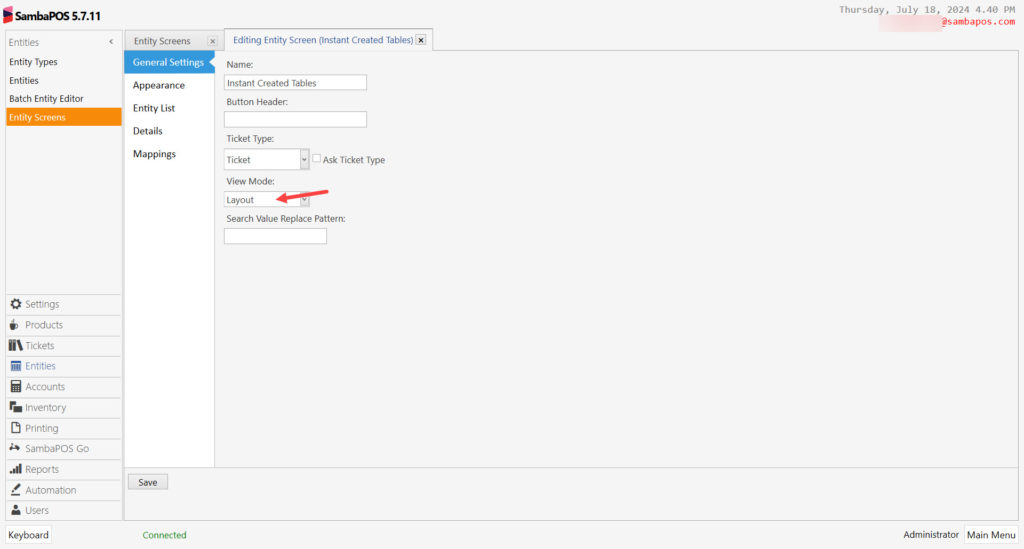
Main Menu > Manage > Entities > Entity Screens > Here, click on Add Entity Screen button.
General Settings Section;
Name: Instant Created Tables
View Mode: Layout
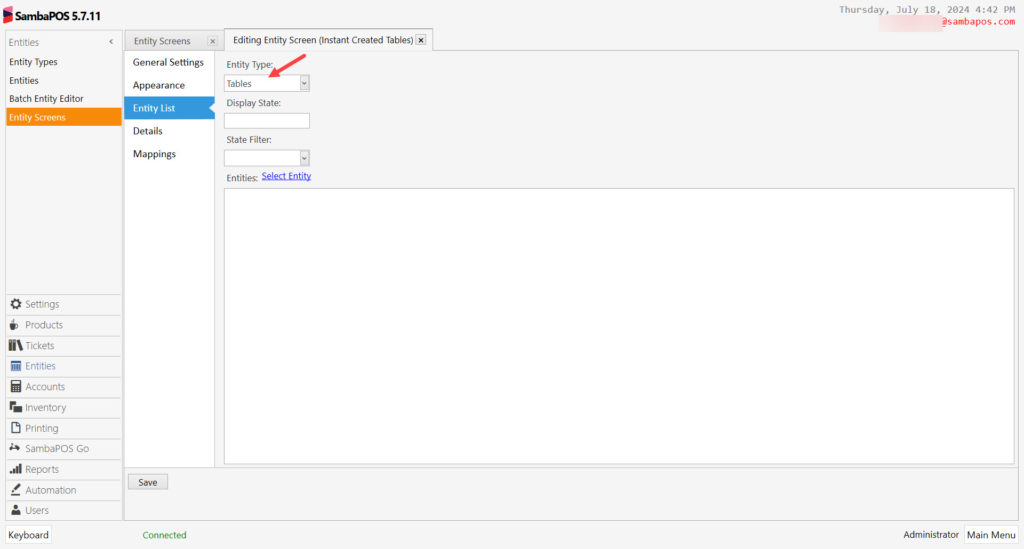
Entity List Section;
Entity Type: Tables
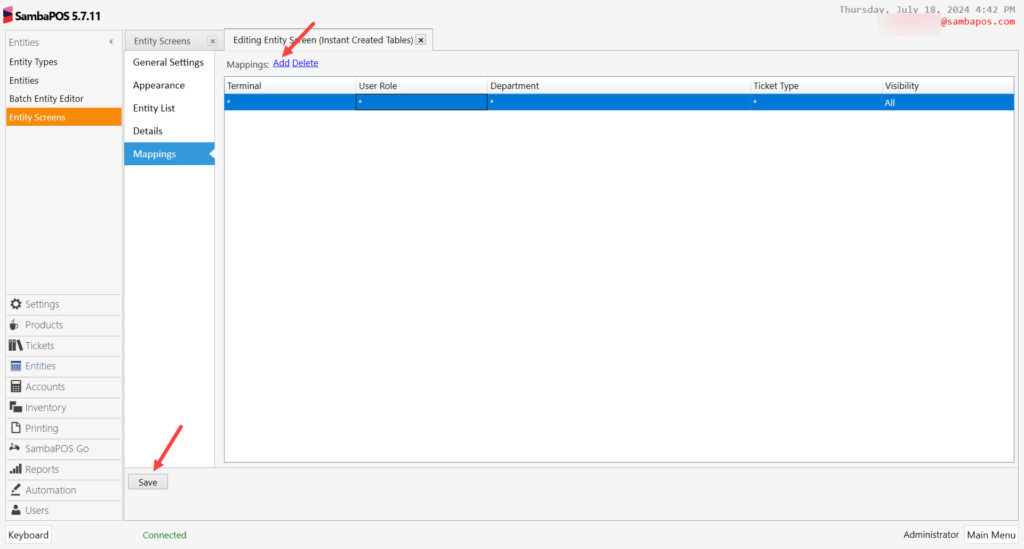
Mappings Section;
In here, add a line by clicking on Add button.
After completing necesssary editings click on Save button.
2. Adding Automation Command
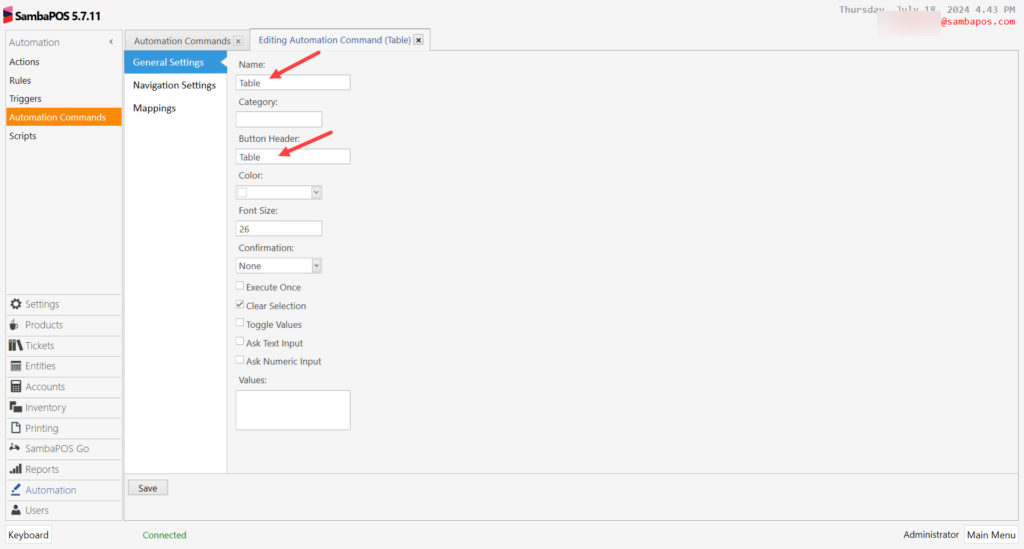
Main Menu > Manage > Automation > Automation Commands > Here, click on Add Automation Command button.
General Settings Section;
Name: Table
Button Header: Table
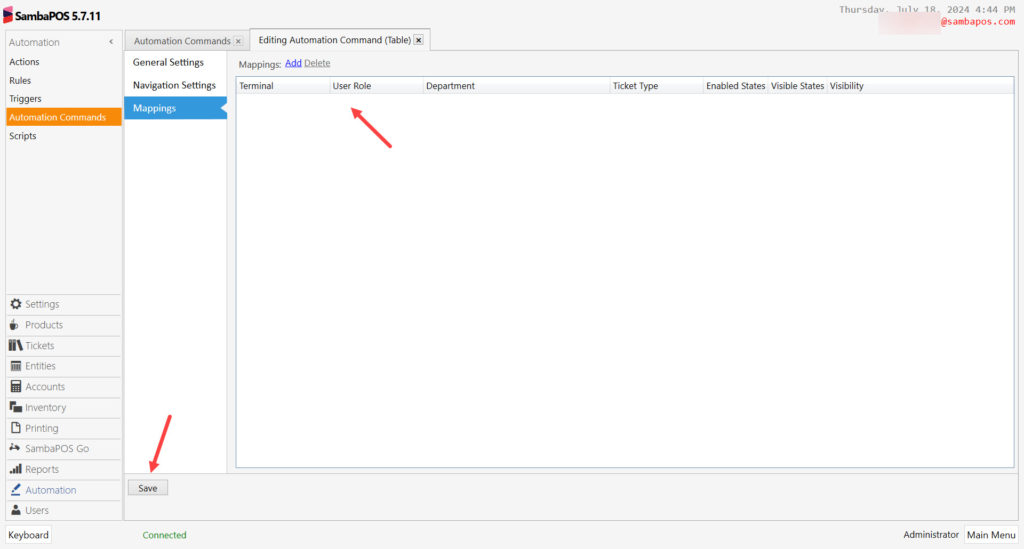
Mappings Section;
Leave the Mappings section empty.
After completing necesssary editings click on Save button.
3. Adding Actions
3.1. Adding Change Ticket Entity (Generic) Action
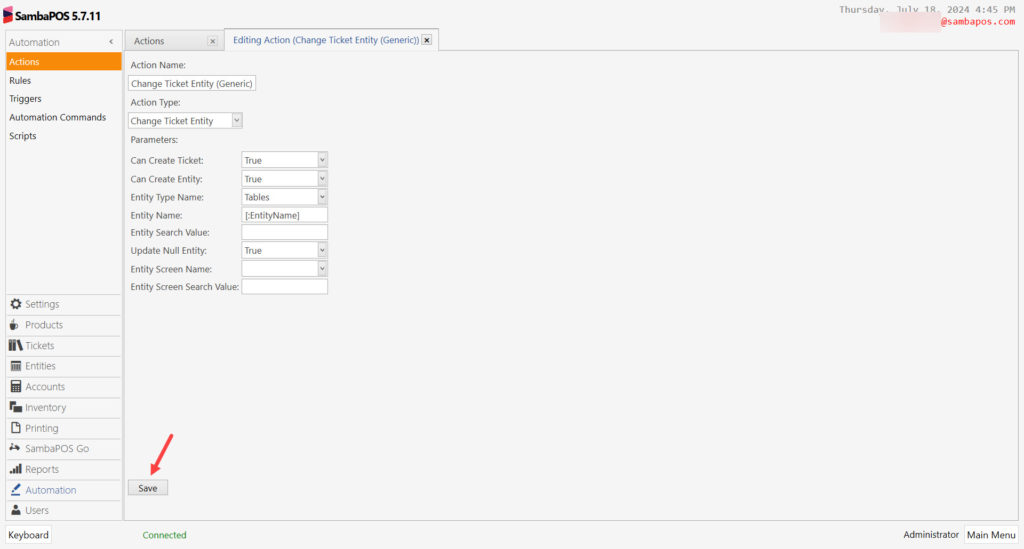
Main Menu > Manage > Automation > Actions > Here, click on Add Action button.
Action Name: Change Ticket Entity (Generic)
Action Type: Change Ticket Entity
Can Create Ticket: True
Can Create Entity: True
Entity Type Name: Tables
Entity Name: [:EntityName]
Update Null Entity: True
After completing necesssary editings click on Save button.
3.2. Adding Display Payment Screen Action
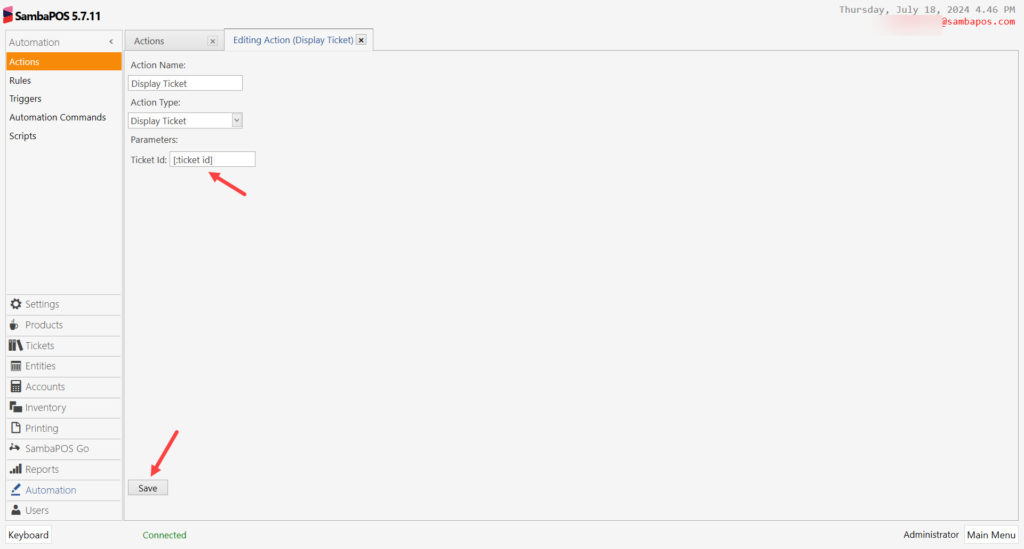
Main Menu > Manage > Automation > Actions > Here, click on Add Action button.
Action Name: Display Ticket
Action Type: Display Ticket
Parameters:
Ticket Id: [:ticket id]
After completing necesssary editings click on Save button.
3.3. Adding Execute Automation Command – Table Selection Action
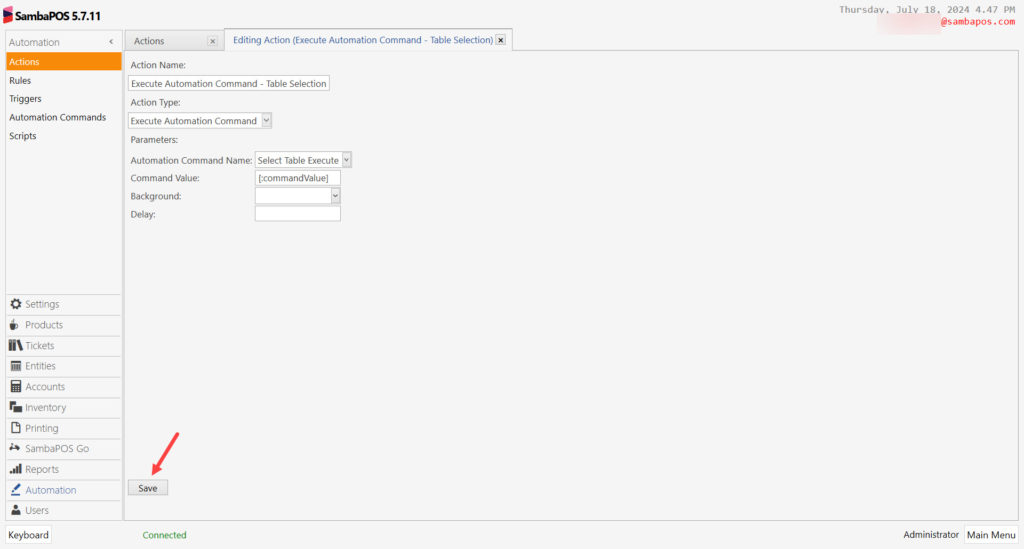
Main Menu > Manage > Automation > Actions > Here, click on Add Action button.
Action Name: Execute Automation Command – Table Selection
Action Type: Execute Automation Command
Parameters:
Automation Command Name: Select Table Execute
Command Value: [:commandValue]
After completing necesssary editings click on Save button.
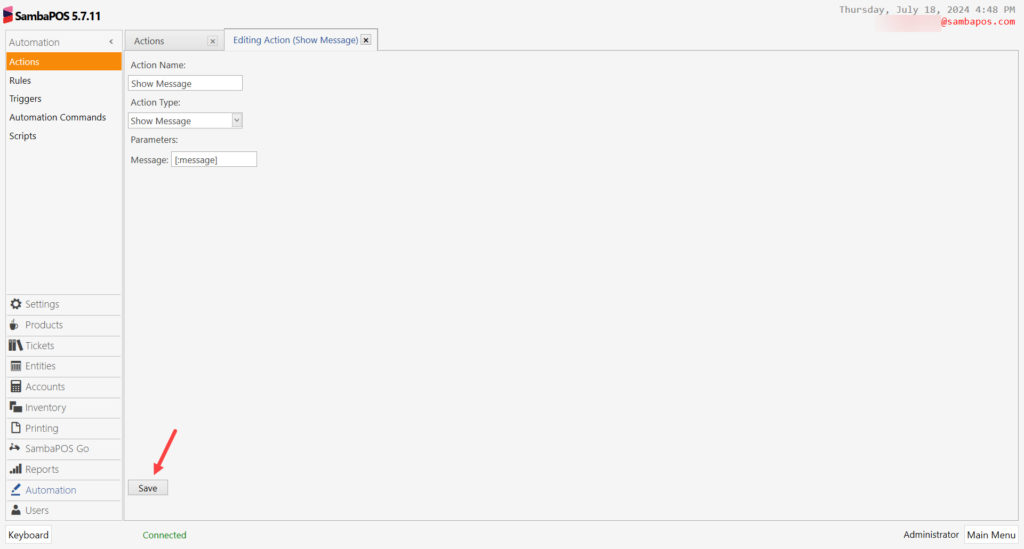
3.4. Adding Show Message Action
Main Menu > Manage > Automation > Actions > Here, click on Add Action button.
Action Name: Show Message
Action Type: Show Message
Parameters:
Message: [:message]
After completing necesssary editings click on Save button.
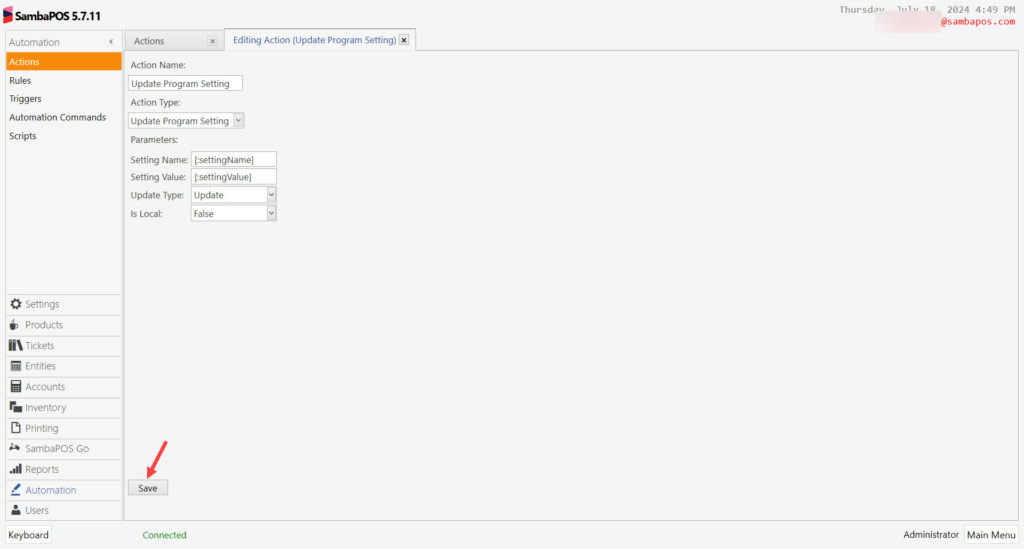
3.5. Adding Update Program Setting Action
Main Menu > Manage > Automation > Actions > Here, click on Add Action button.
Action Name: Update Program Setting
Action Type: Update Program Setting
Parameters:
Setting Name: [:settingName]
Setting Value: [:settingValue]
Update Type: Update
Is Local: False
After completing necesssary editings click on Save button.
4. Adding Rules
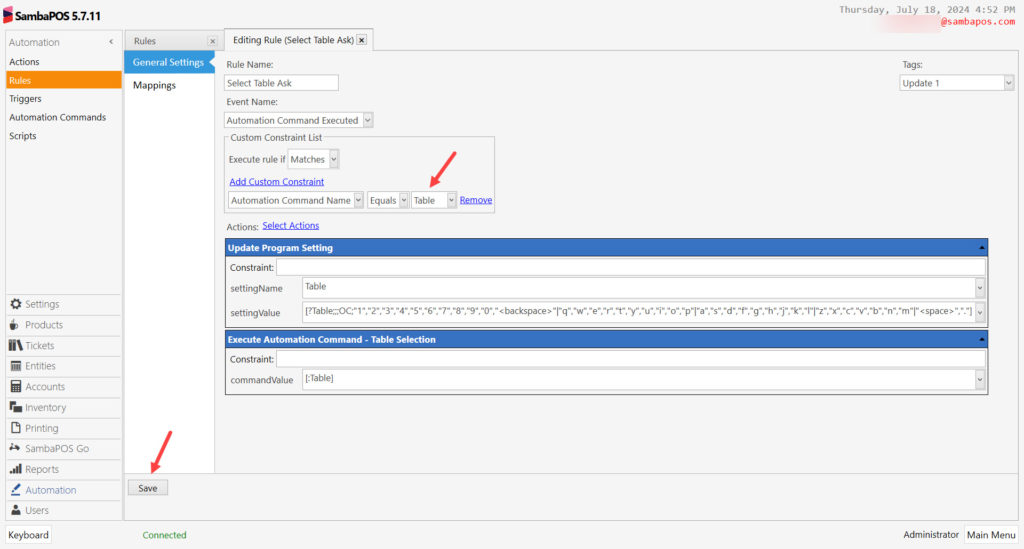
4.1. Adding Select Table Ask Rule
Main Menu > Manage > Automation > Rules > Here, click on Add Rule button.
Rule Name: Select Table Ask
Event Name: Automation Command Executed
Execute Rule If: Matches
Add Custom Constraints:
Automation Command Name|Equals|Table
Select Actions:
Action-1: Update Program Setting
SettingsName: Table
SettingValue: [?Table;;;OC;"1","2","3","4","5","6","7","8","9","0","<backspace>"|"q","w","e","r","t","y","u","i","o","p"|"a","s","d","f","g","h","j","k","l"|"z","x","c","v","b","n","m"|"<space>","."]
Action-2: Execute Automation Command – Table Selection
CommandValue: [:Table]
After completing necesssary editings click on Save button.
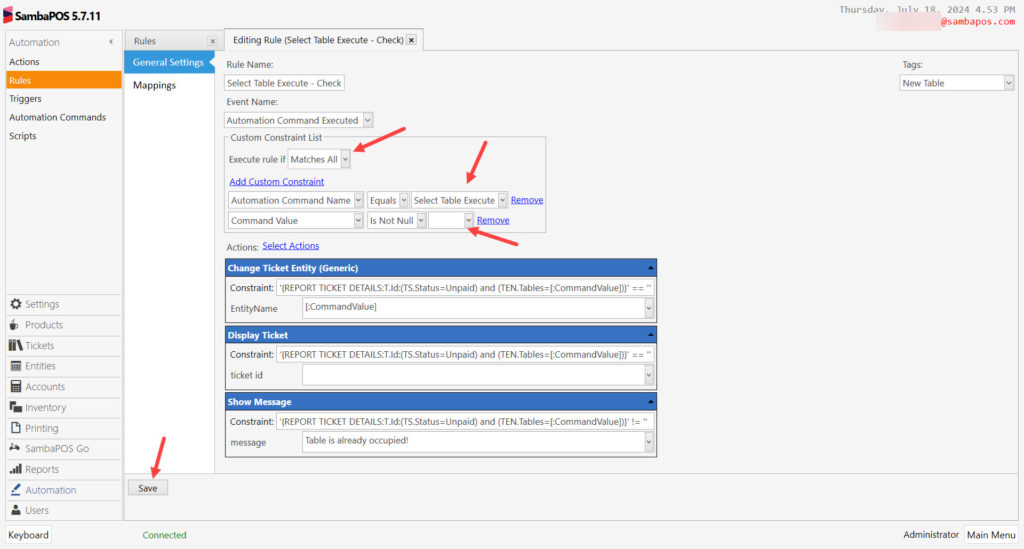
4.2. Adding Select Table Execute – Check Rule
Main Menu > Manage > Automation > Rules > Here, click on Add Rule button.
Rule Name: Select Table Execute – Check
Event Name: Automation Command Executed
Execute Rule If: Matches All
Add Custom Constraints:
Automation Command Name|Equals|Select Table Execute
Command Value|Is Not Null|
Select Actions:
Action-1: Change Ticket Entity (Generic)
Constraint: '{REPORT TICKET DETAILS:T.Id:(TS.Status=Unpaid) and (TEN.Tables=[:CommandValue])}' == ''
EntityName: [:CommandValue]
Action-2: Display Ticket
Constraint: '{REPORT TICKET DETAILS:T.Id:(TS.Status=Unpaid) and (TEN.Tables=[:CommandValue])}' == ''
Action-3: Show Message
Constraint: '{REPORT TICKET DETAILS:T.Id:(TS.Status=Unpaid) and (TEN.Tables=[:CommandValue])}' != ''
Message: Table is already occupied!
After completing necesssary editings click on Save button.
5. Editing Instant Created Tables Entity Screen
Main Menu > POS > Instant Created Tables > In here, activate Design Mode by right clicking mouse and add New Table Automation Command Button and Entity Grid Widgets as shown in the below video file;

