4.69. How to Add Line Separator
In this document, it will be explained how to add Line Separator on SambaPOS.
How it works;

1. Adding Automation Command
Main Menu > Manage > Automation > Automation Commands > Here click on Add Automation Command.
General Settings Section;
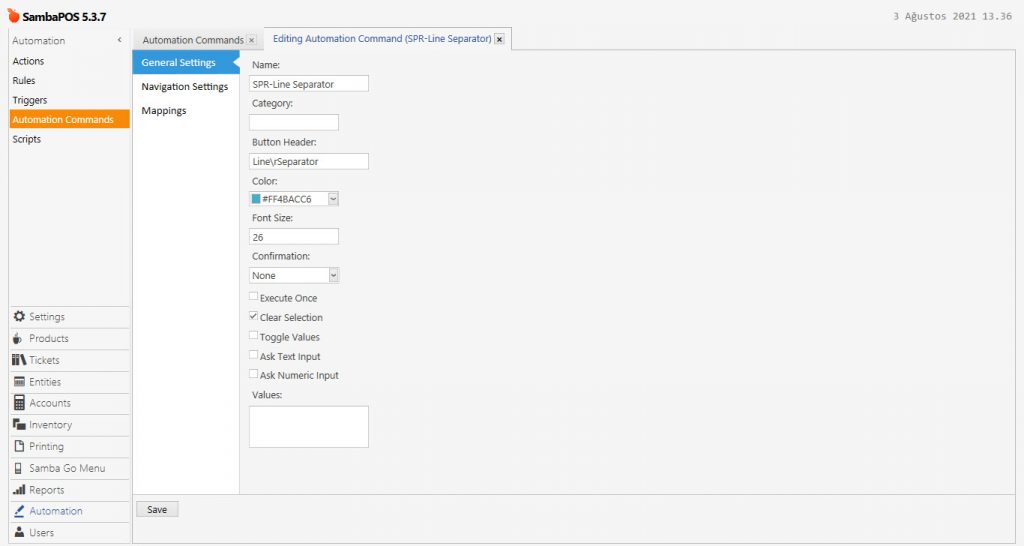
Name: SPR-Line Separator
Button Header: Line\rSeparator
Clear Selection: Must be selected
Mappings Section;
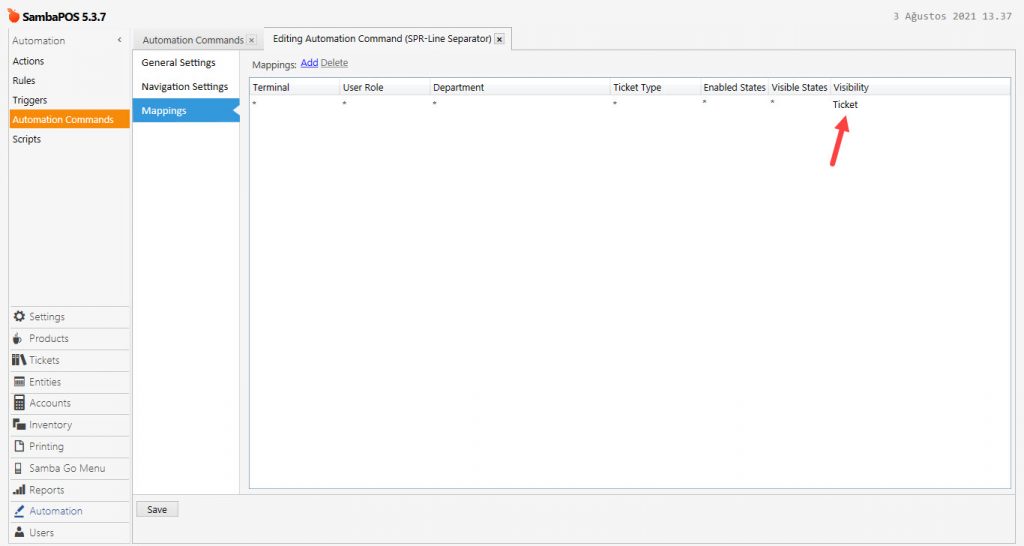
In here add a row by clicking on Add button and set it as above image.
After completing necessary editings, click on Save button.
2. Editing Printer Template
Main Menu > Manage > Printing > Printer Templates > Kitchen Orders Template > Add below code group into Template field;
|
|

After completing necessary editings, click on Save button.
3. Adding Action
Main Menu > Manage > Automation > Actions > Here click on Add Action.

Action Name: SPR-Line Separator
Action Type: Update Ticket Line Separator
Key: [:Key]
Content: [:Content]
Display Format:
<color red><bold>-----------------------------Main-----------------------------------</bold></color> |
After completing necessary editings, click on Save button.
4. Adding Rule
Main Menu > Manage > Automation > Rules > Here click on Add Rule.
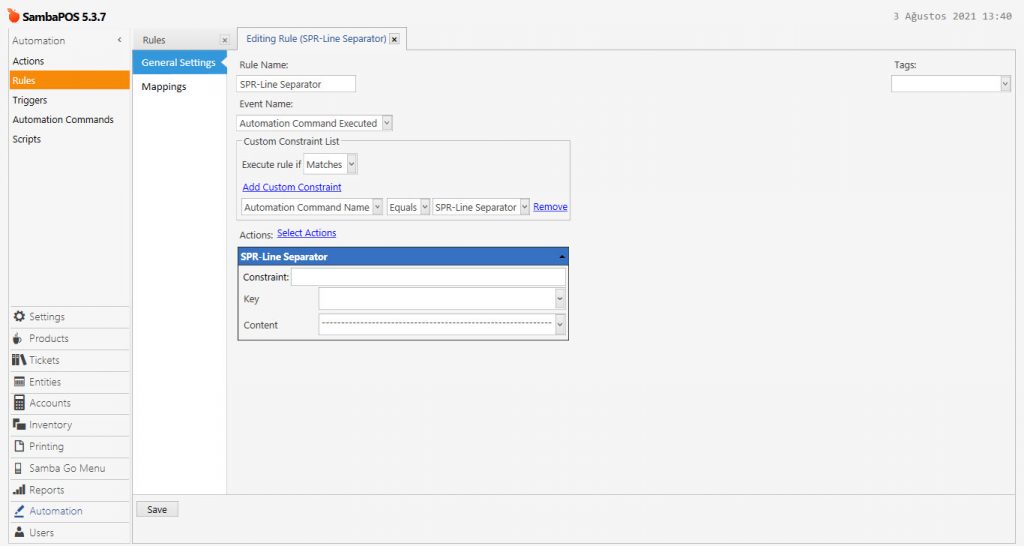
Rule Name: SPR-Line Separator
Event Name: Automation Command Executed
Execute Rule if: Matches
Add Custom Constraint:
Automation Command Name|Equals|SPR-Line Separator
Select Actions:
Action: SPR-Line Separator
Content:
------------------------------------------------------------
After completing necessary editings, click on Save button.