4.2.1. Switching Between Menus Manually
In this document, it will be explained how to switch manually between multiple menus.
How it works;
1. Adding Automation Commands
Main Menu > Manage > Automation > Automation Commands > here click on Add Automation Command.
General Settings Section;
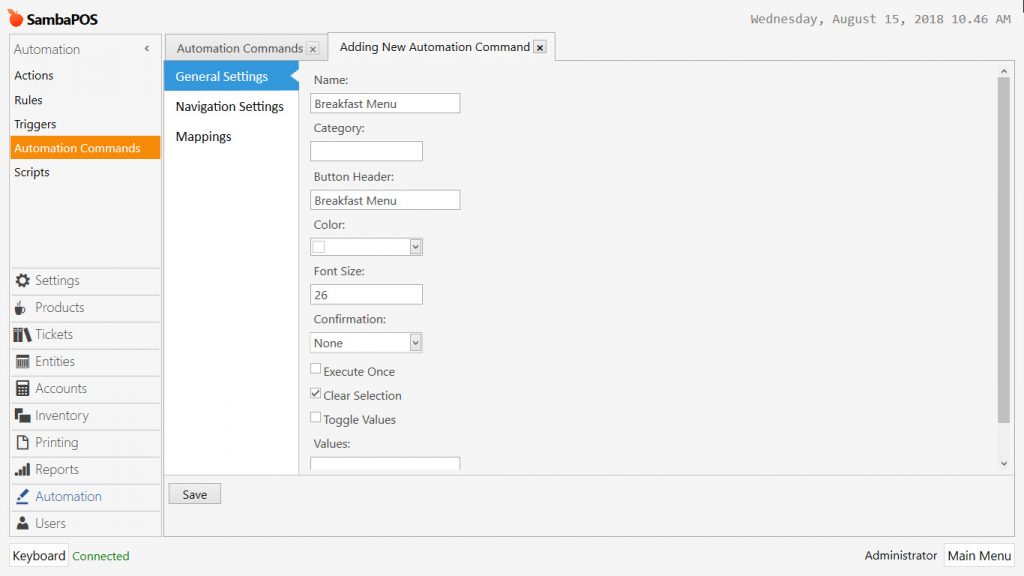
Name: Breakfast Menu
Button Header: Breakfast Menu
Clear Selection: This box has to be selected.
Mappings Section;
Mappings section has to be blank.
After completing necessary editings, click on Save button.
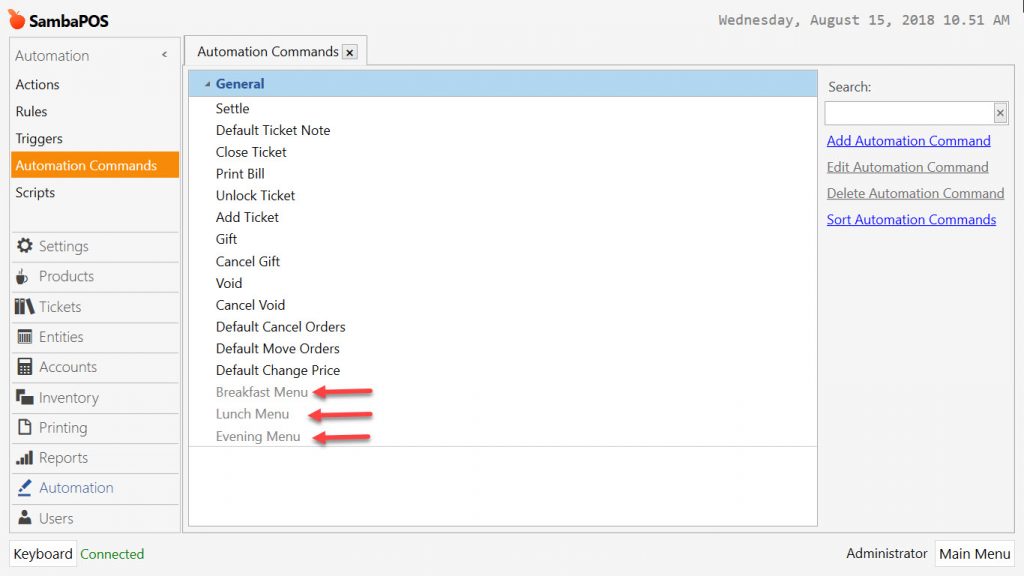
In the same way, create 2 more Automation Commands and name them as Lunch Menu and Evening Menu;
2. Adding Menus
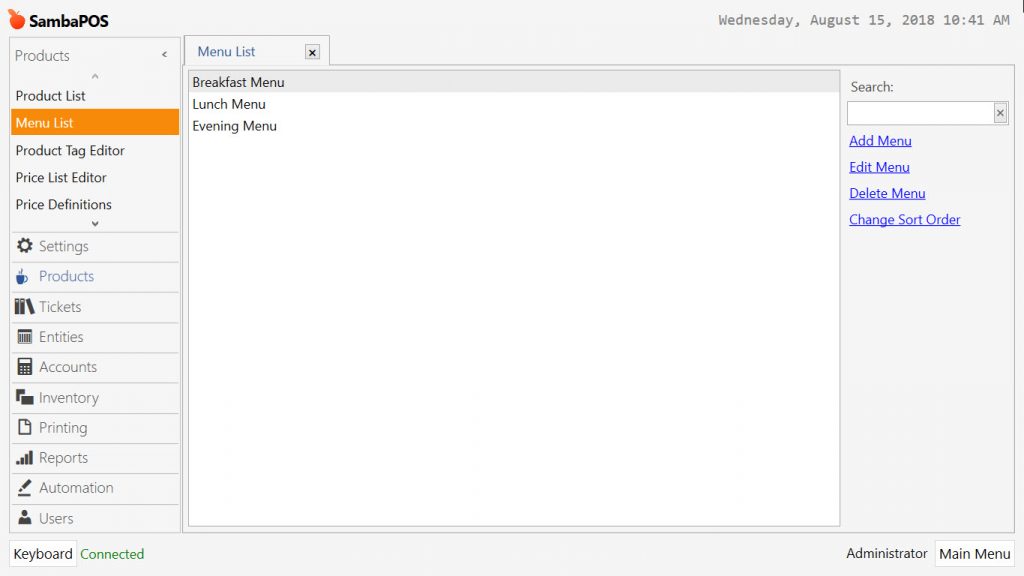
Main Menu > Manage > Products > Menu List > here click on Add Menu and add as many menus as you needed.
3. Customization of Menus
After you created your menus, select the Related Categories for Related Menus;

After completing necessary editings, click on Save button.
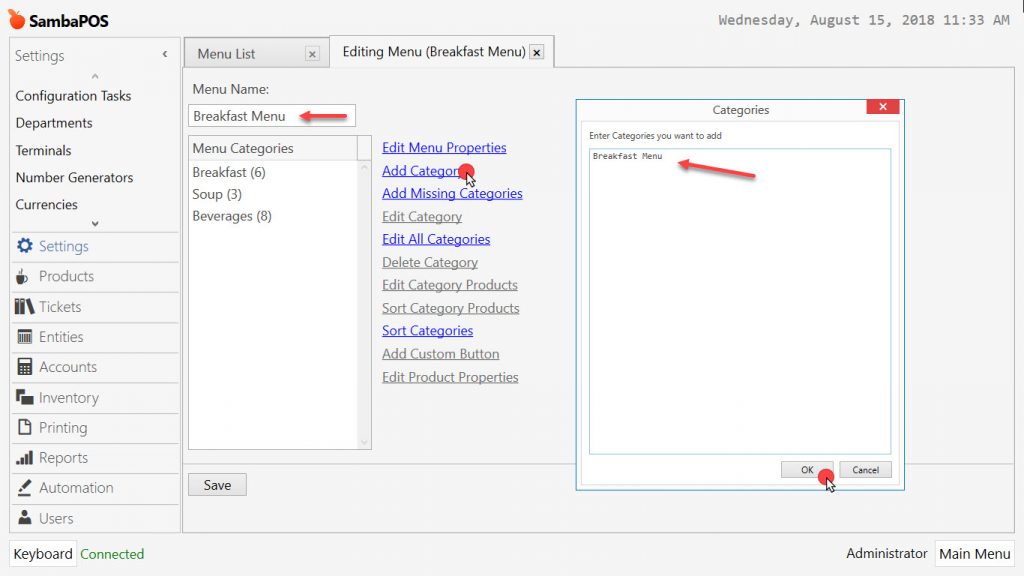
In the Menu List, double click on Breakfast Menu, click on Add Category and name the new category as Breakfast Menu.
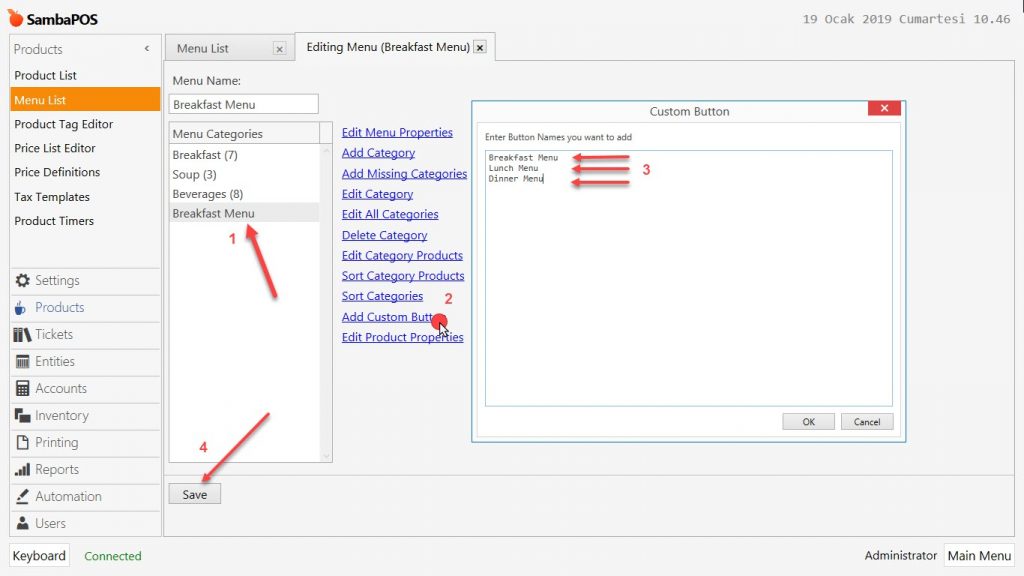
Select Breakfast Menu Category and click on Add Custom Button. In the window, add 3 buttons with names Breakfast Menu, Lunch Menu and Evening Menu.
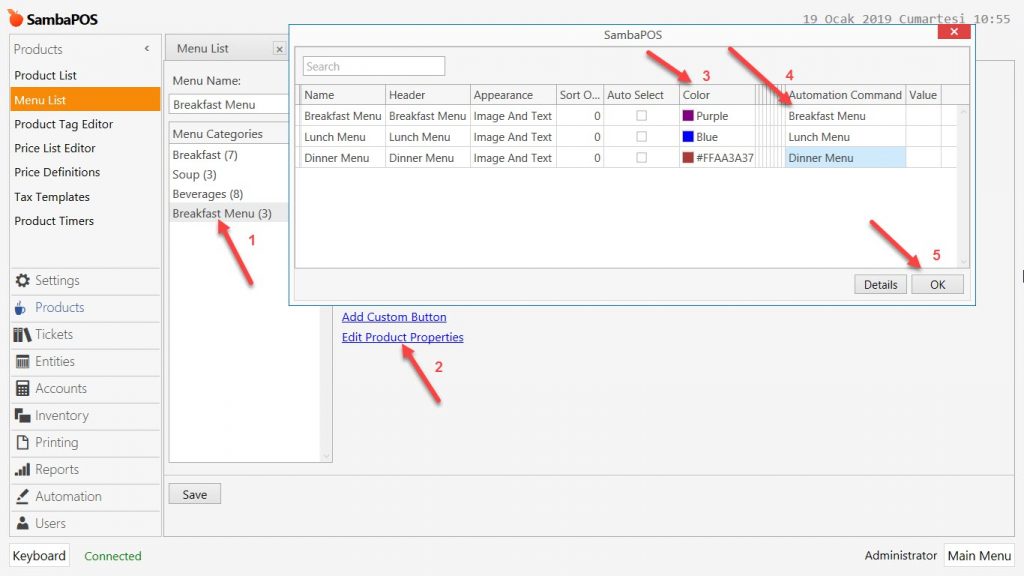
After adding Custom Buttons, it is necessary to assign related Automation Command to related button;
In order to set created menu category as Fast Menu, configure the settings below image;
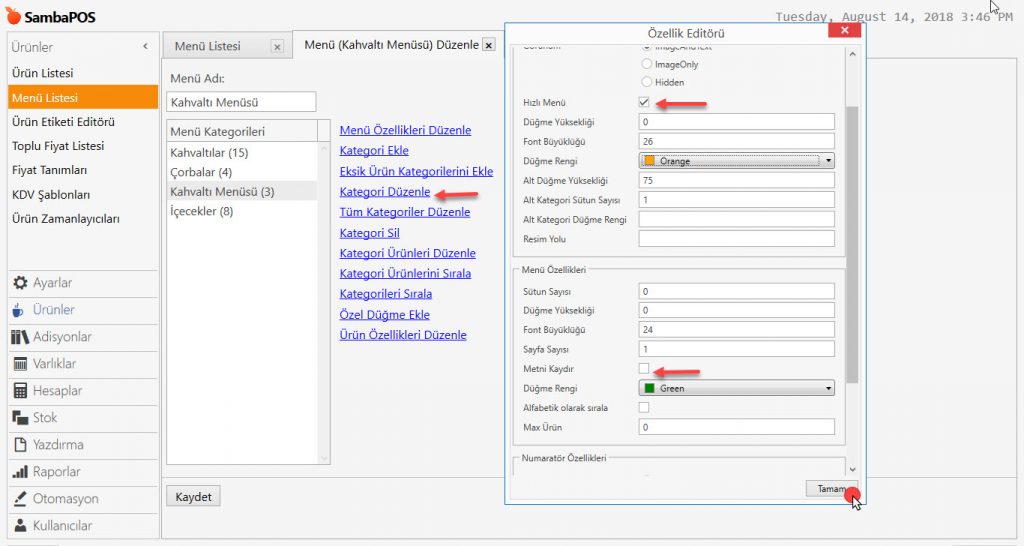
After completing necessary editings, click on Save button.
IMPORTANT NOTE:
All the settings that have been configured for Breakfast Menu in section 3, should be repeated for Lunch Menu and Dinner Menu as well.
4. Adding Actions
4.1. Adding Breakfast Menu Action
Main Menu > Manage > Automation > Actions > here click on Add Action.
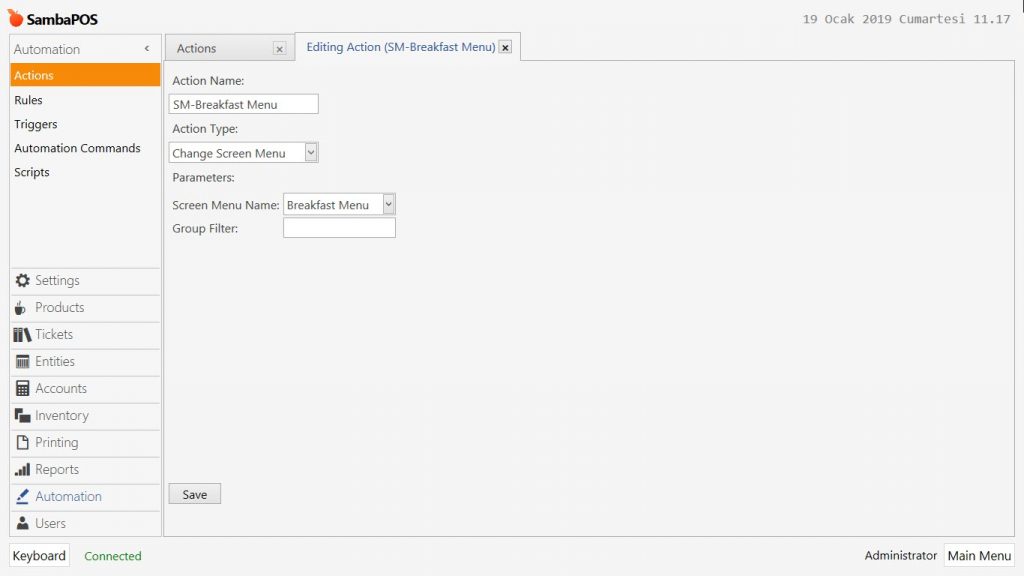
Action Name: SM-Breakfast Menu
Action Type: Change Screen Menu
Screen Menu Name: Breakfast Menu
After completing necessary editings, click on Save button.
4.2. Adding Lunch Menu Action
Main Menu > Manage > Automation > Actions > here click on Add Action.
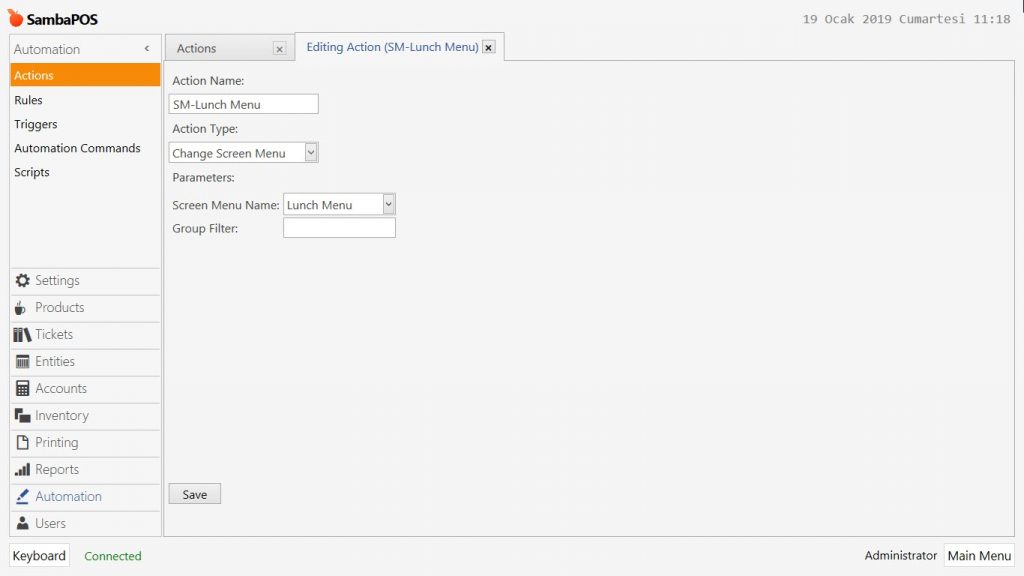
Action Name: SM-Lunch Menu
Action Type: Change Screen Menu
Screen Menu Name: Lunch Menu
After completing necessary editings, click on Save button.
4.3. Adding Dinner Menu Action
Main Menu > Manage > Automation > Actions > here click on Add Action.
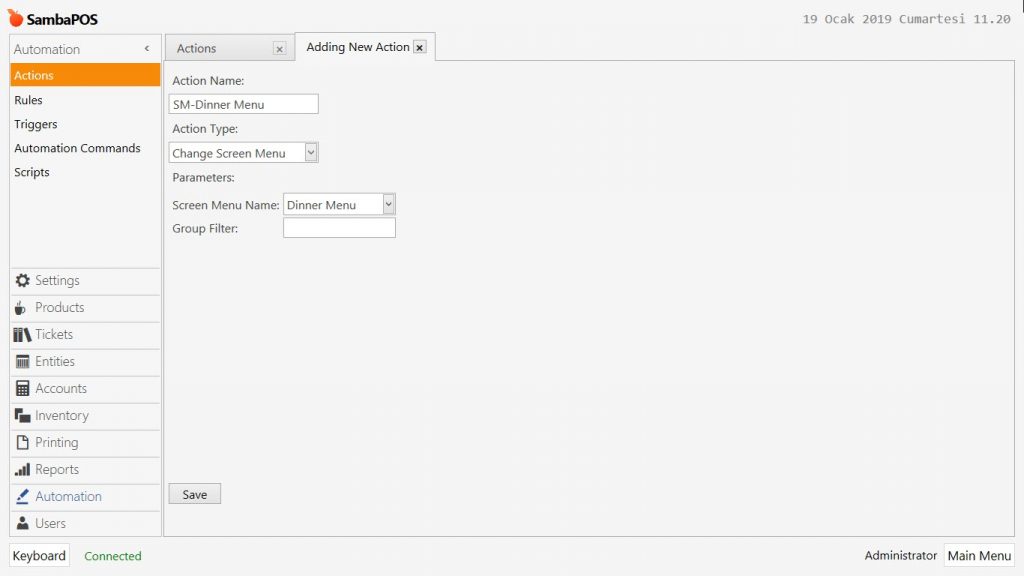
Action Name: SM-Dinner Menu
Action Type: Change Screen Menu
Screen Menu Name: Dinner Menu
After completing necessary editings, click on Save button.
5. Adding Rules
5.1. Adding Select Breakfast Menu Rule
Main Menu > Manage > Automation > Rules > here click on Add Rule.
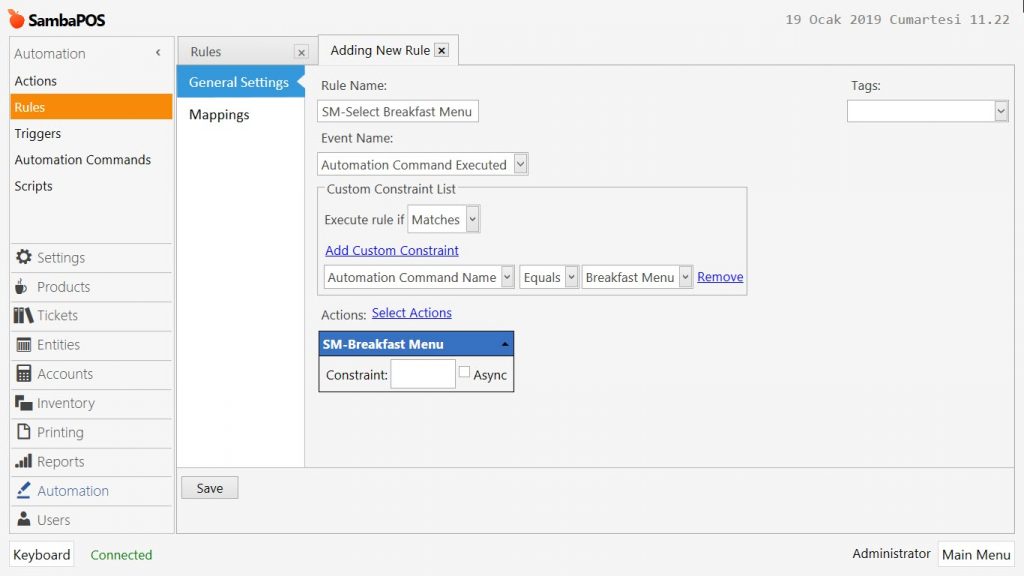
Rule Name: SM-Select Breakfast Menu
Event Name: Automation Command Executed
Execute Rule If: Matches
Add Custom Constraint:
Automation Command Name|Equals|Breakfast Menu
Select Action:
Action: SM-Breakfast Menu
After completing necessary editings, click on Save button.
5.2. Adding Select Lunch Menu Rule
Main Menu > Manage > Automation > Rules > here click on Add Rule.
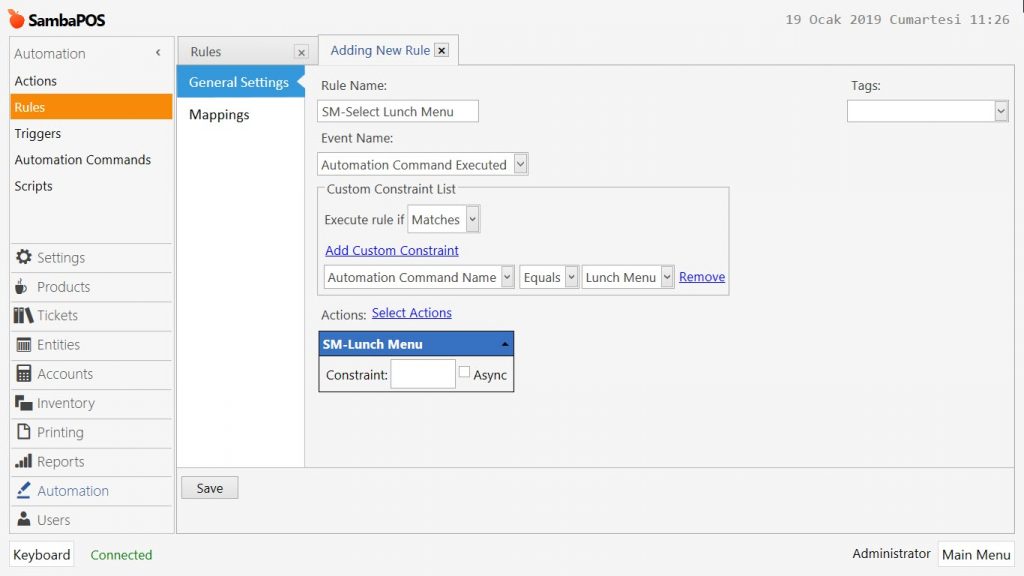
Rule Name: SM-Select Lunch Menu
Event Name: Automation Command Executed
Execute Rule If: Matches
Add Custom Constraint:
Automation Command Name|Equals|Lunch Menu
Select Action:
Action: SM-Lunch Menu
After completing necessary editings, click on Save button.
5.3. Adding Select Dinner Menu Rule
Main Menu > Manage > Automation > Rules > here click on Add Rule.

Rule Name: SM-Select Dinner Menu
Event Name: Automation Command Executed
Execute Rule If: Matches
Add Custom Constraint:
Automation Command Name|Equals|Dinner Menu
Select Action:
Action: SM-Dinner Menu
After completing necessary editings, click on Save button.