3.8. How to Configure Cash Drawer Setup?
In this document it will be explained how to connect cash drawer and how to setup necessary configurations on SambaPOS V5. To perform process in this document, it is necessary to have a cash drawer and a printer.
How to Connect Cash Drawer?
Cash drawers run by plugging and by giving command to the printer. RC11 phone cable is necessary to make connection. Plug RC11 cable of cash drawer to the jack which nearby the ethernet jack of printer.
Configuring SambaPOS Setup
After connecting cash drawer to printer, configure the settings for SambaPOS.
In the example it will be shown two different practices. For the first practice, create an automation command, add into payment screen and trigger it manually. For the second one; configure the settings in the way that clicking on any payment button will open cash drawer automatically.
Adding Printer Template
First of all, connect cash drawer to ticket printer because of it is seen as printer by SambaPOS. You need to create a template for it. Go to Manage > Printing > Printer Templates from here click on Add Printer Template link.
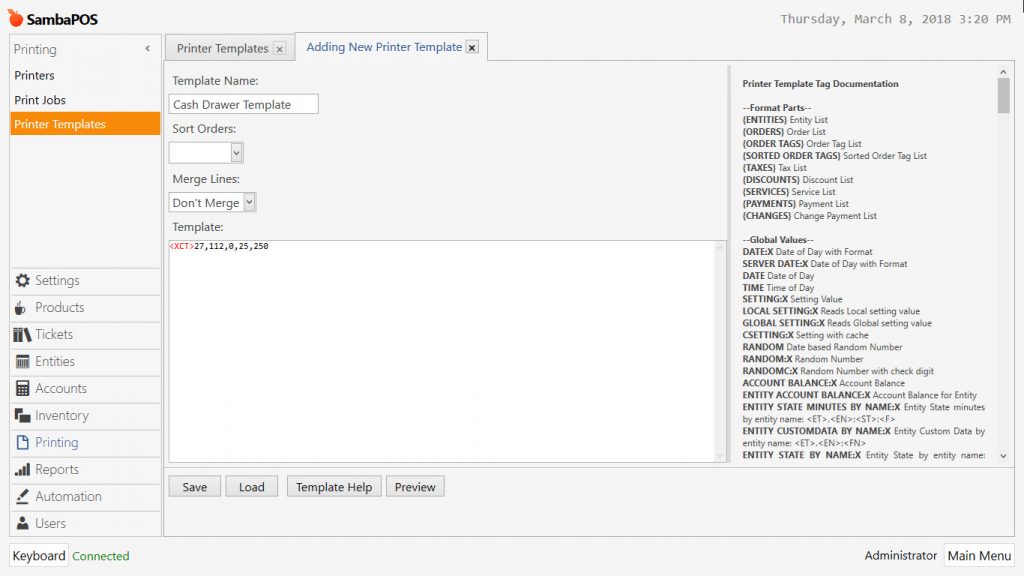
- Template Name: Write a proper name for template. (In the example; Cash Drawer Template)
- Merge Lines: Select Don’t Merge template.
- Template: Write <XCT>27,112,0,25,250 command. This command suits 90% of cash drawers. If it doesn’t suit, check user manuel of the printer.
After completing necessary fields, click on Save button.
Adding Print Job
Go to Manage > Printing > Print Jobs from here click on Add Print Job link.
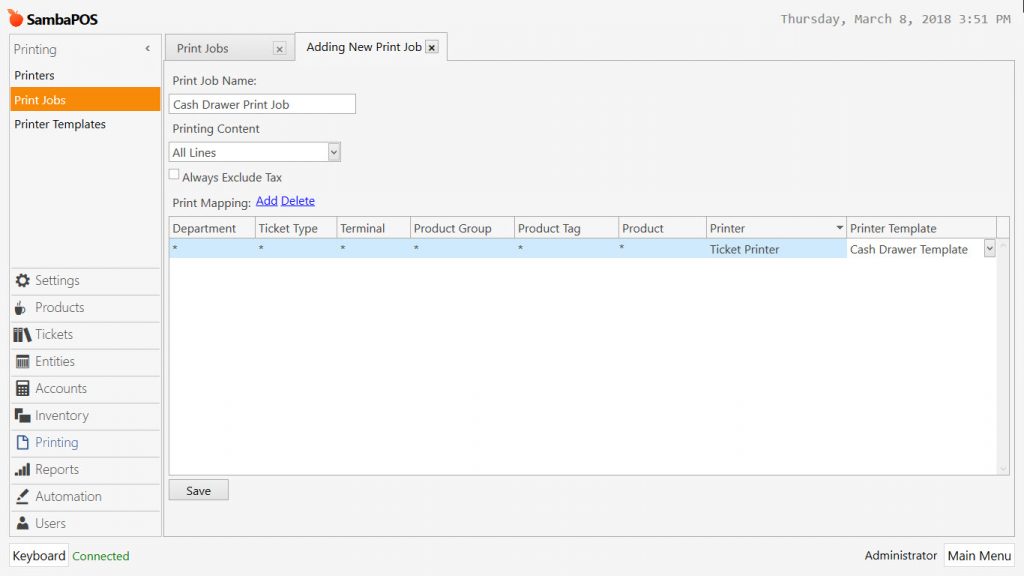
- Print Job Name: Write the name of print job. (In the example; Cash Drawer Print Job)
- Print Content: Select All Lines template.
- Printing Maps > Add: Add a mapping line. In this line;
- Printer Column: Select related printer. (In the example; Ticket Printer)
- Printer Template Column: Select related printer template. (In the example; Cash Drawer Template)
After completing necessary fields, click on Save button.
Adding Action
Go to Manage > Automation > Actions from here click on Add Action link.
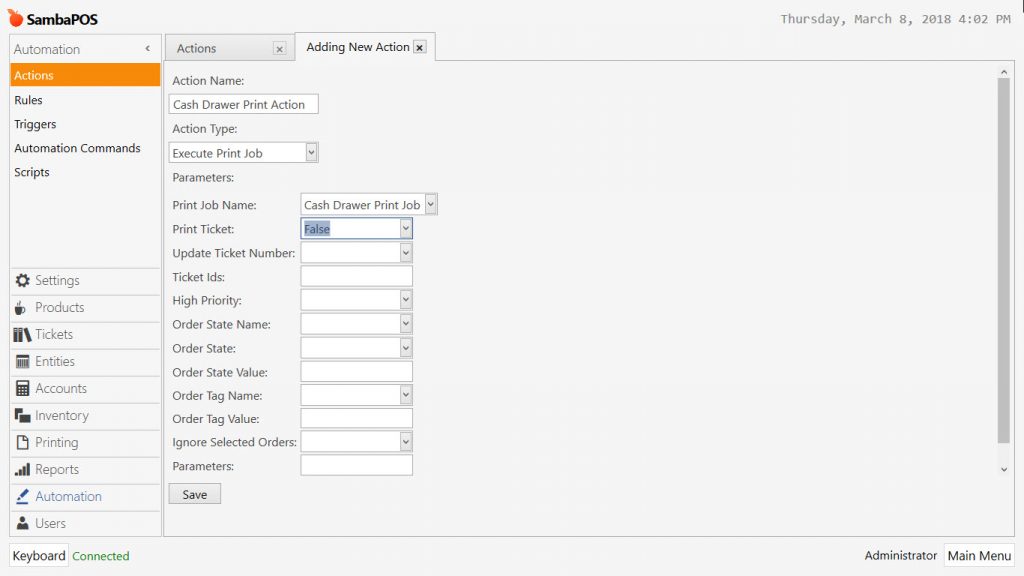
- Action Name: Write a proper name for action. (In the example; Cash Drawer Print Action)
- Action Type: Select Execute Print Job template.
- Print Job Name: In this field select related print job. (In the example; Cash Drawer Print Job)
- Print Ticket: In this field select “False” template.
After completing necessary fields, click on Save button.
Adding Automation Command
Go to Manage > Automation > Automation Commands from here click on Add Automation Command link.
General Settings Section;
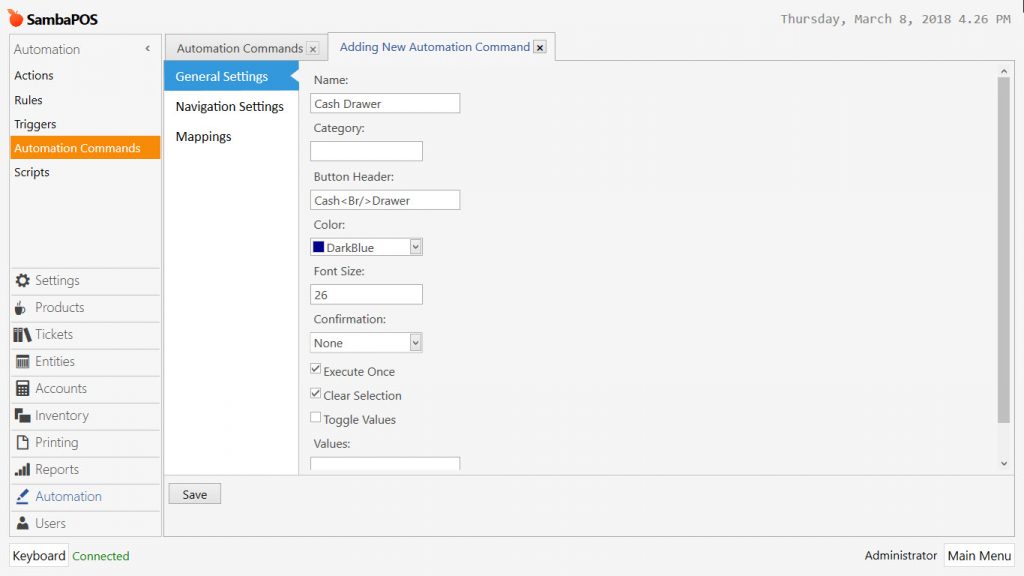
- Name: Write the name of automation command. (In the example; Cash Drawer)
- Button Header: In this field write Cash<Br/>Drawer.
- Color: Field to select color for the button.
- Execute Once: Activate this box.
- Clear Selection: Activate this box.
Mappings Section;
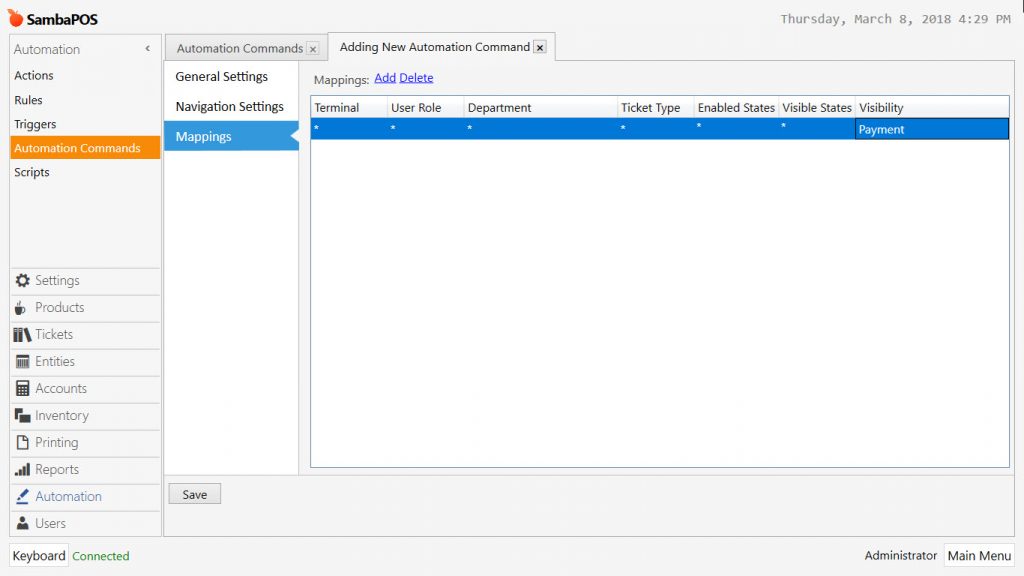
Add a line in mappings section, select Payment for Visibility Column. (It is possible to select other fields as well according to need)
After completing necessary fields, click on Save button.
Adding Rule
Go to Manage > Automation > Rules from here click on Add Rule link.
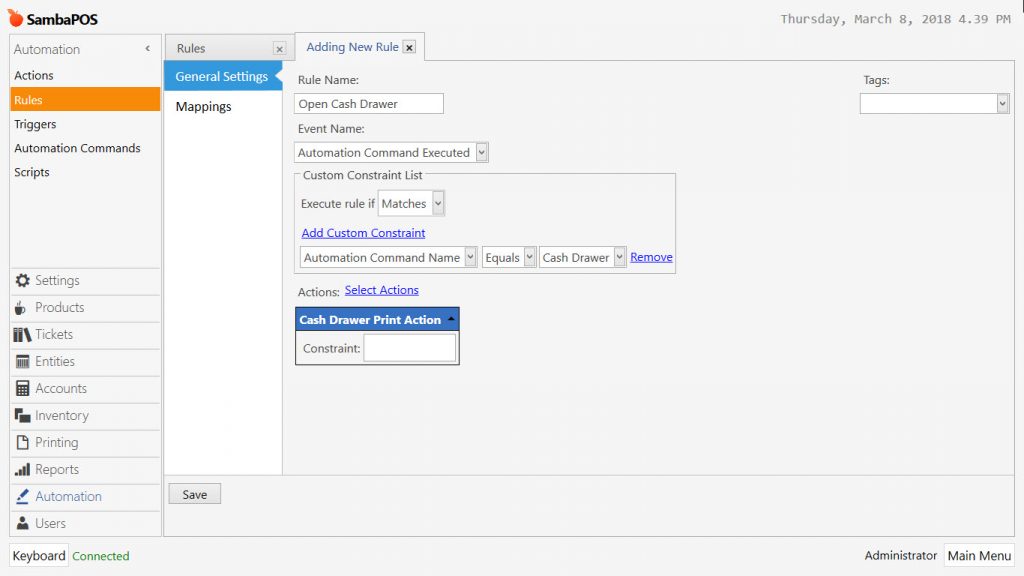
- Rule Name: Field to write name of rule. (In the example; Open Cash Drawer)
- Event Name: Select Automation Command Executed template.
- Add Custom Constraint: Automation Command Name | Equals | Cash Drawer
- Actions > Select Action: Select related action which was created on previous step. (In the example; Cash Drawer Print Action)
After completing necessary fields, click on Save button.
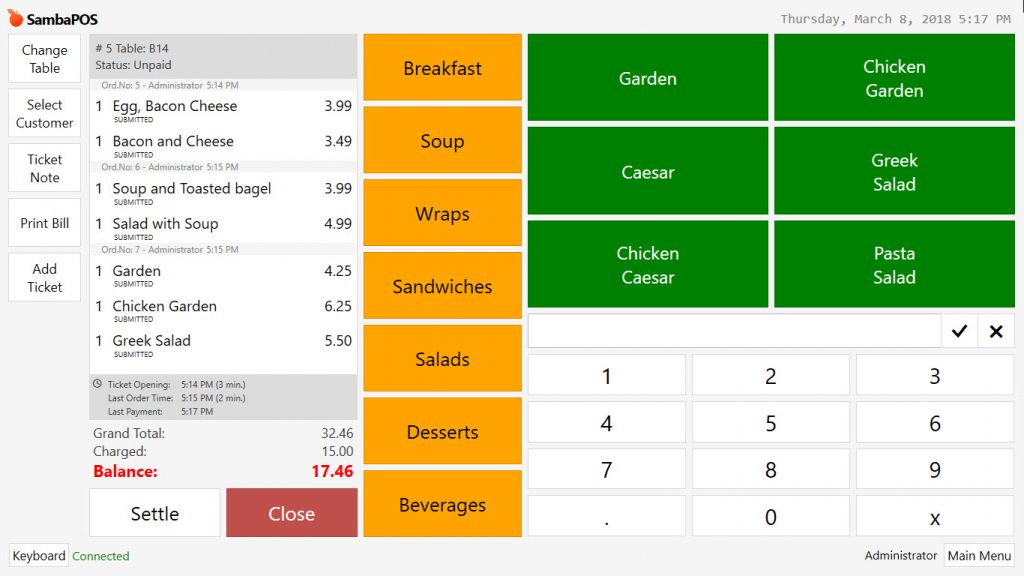
To check the process, take order by opening a ticket from POS screen and click on settle button. Cash Drawer button will appear on the payment page.
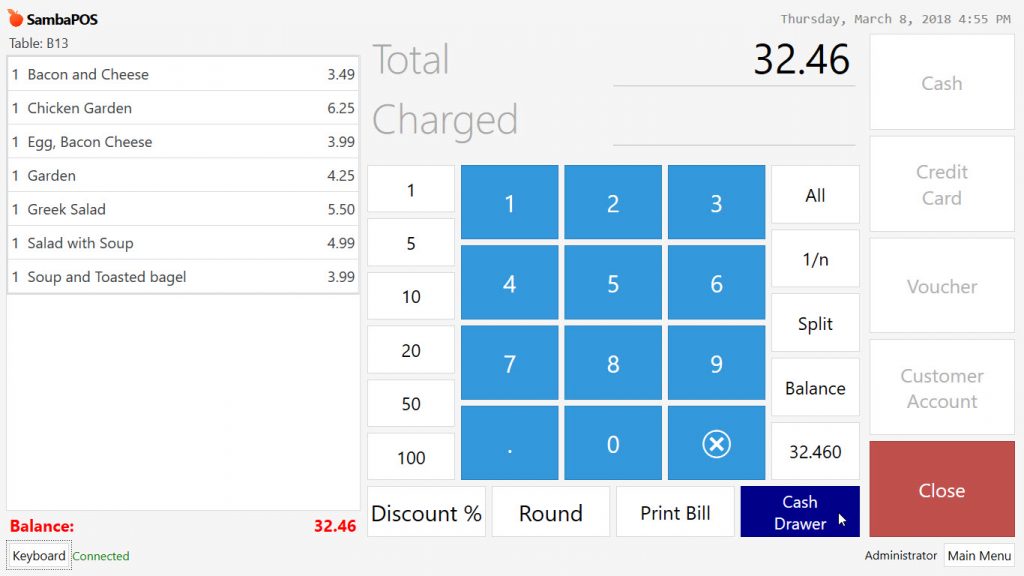
If you click on related button, it will open cash drawer.
For the second practice, it is necessary to add rule in order to open the cash drawer automatically by clicking on any payment button.
Go to Manage > Automation > Rules from here click on Add Rule link.
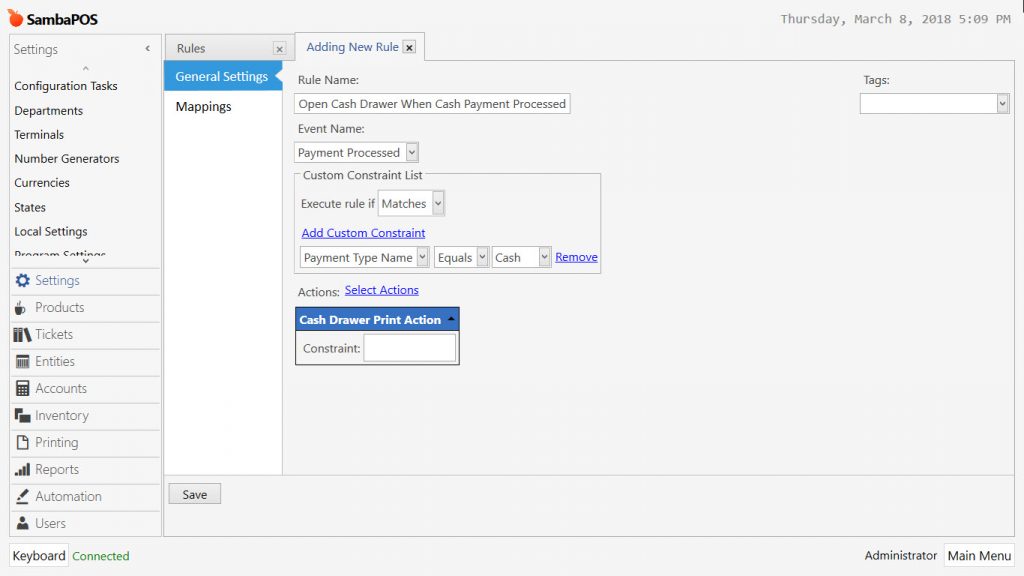
- Rule Name: Field to write name of rule. (In the example; Open Cash Drawer When Cash Payment Processed)
- Event Name: Select Payment Processed template.
- Add Custom Constraint: Payment Type Name | Equals | Cash — In here it is possible to add new lines for other payment types.
- Action > Select Action: Select action that was created on previous step. (In the example; Cash Drawer Print Action)
After completing necessary fields, click on Save button.
To check the process, take order by opening a ticket from POS screen and click on settle button. If you click on Settle button, cash drawer will be opened automatically.