2.4.4.How to Record Waiter that Prints Bill or Receives Payment into Logs?
Document Index
1- Adding Action
1-1- Adding Print Bill Log Action
1-2- Adding Receiving Payment Log Action
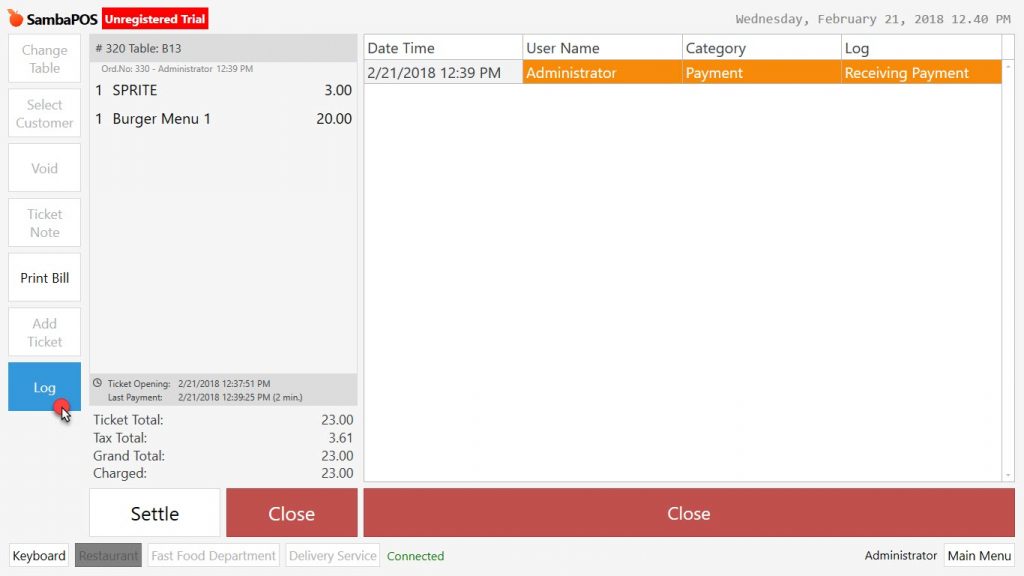
1-3- Display Ticket Log Action
2- Adding Automation Command
3- Adding Rule
3-1- Adding Print Bill Rule
3-2- Adding Settled Ticket Control Rule
3-3- Creating Add Log Rule
1- Adding Action
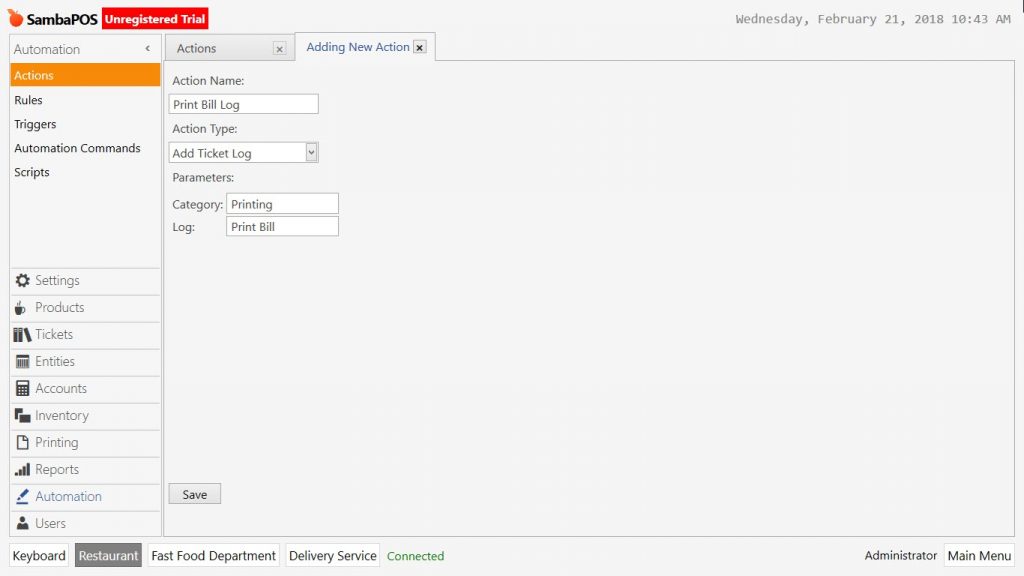
1-1- Adding Print Bill Log Action
Go to Manage > Automation > Actions from here click on Add Action link.
-
Action Name: Write a proper name for the action. (For example; Print Bill Log)
-
Action Type: Select Add Ticket Log template.
-
Category: Write Printing in this field.
-
Log: In this field write Print Bill.
After completing necessary fields, click on Save button.
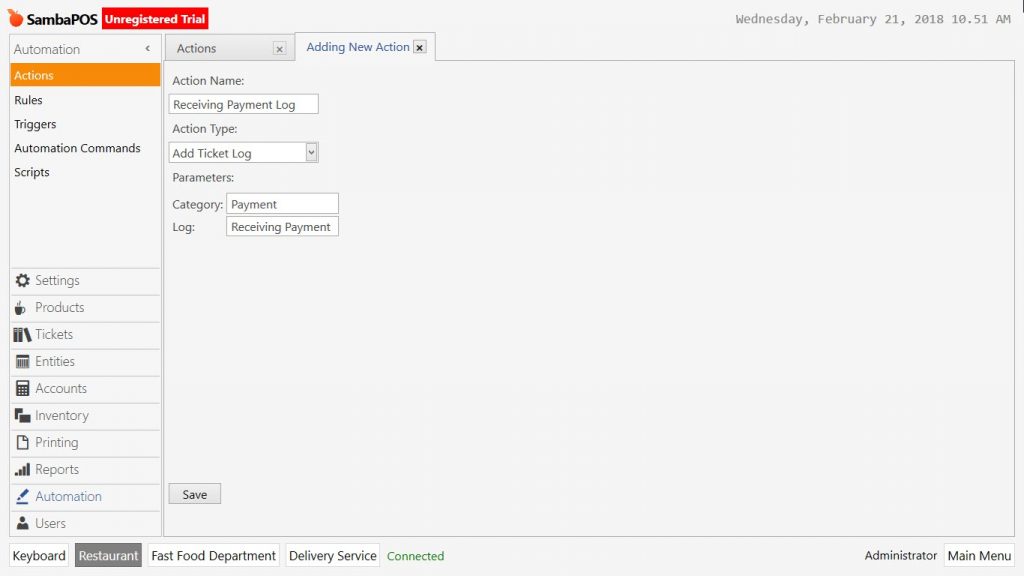
1-2- Adding Receiving Payment Log Action
Go to Manage > Automation > Actions from here click on Add Action link.
-
Action Name: Write a proper name for the action. (For example; Receiving Payment Log)
-
Action Type: Select Add Ticket Log template.
-
Category: Write Payment in this field.
-
Log: In this field write Receiving Payment.
After completing necessary fields, click on Save button.
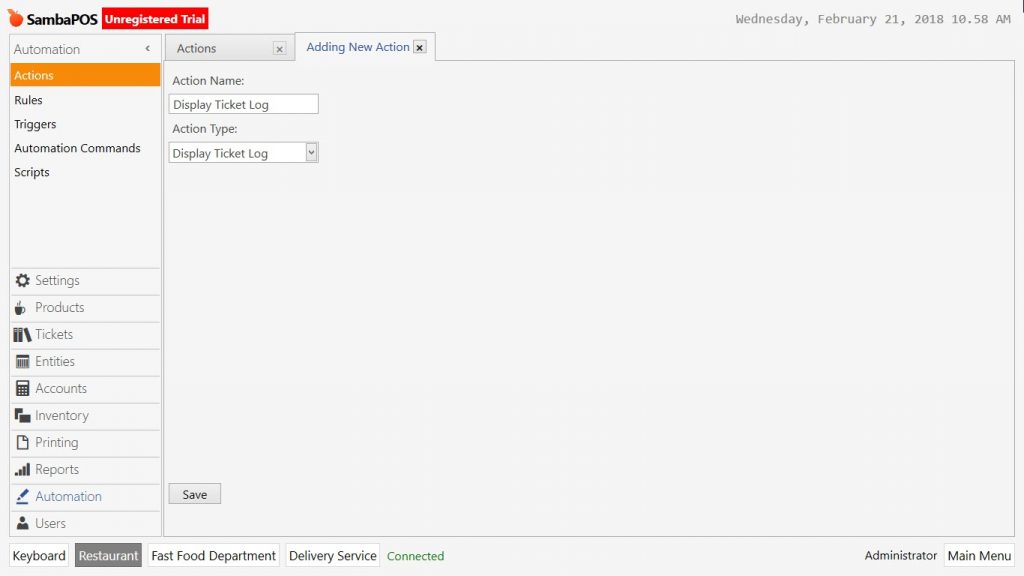
1-3- Adding Display Ticket Log Action
Go to Manage > Automation > Actions from here click on Add Action link.
-
Action Name: Write a proper name for the action. (For example; Display Ticket Log)
-
Action Type: Select Display Ticket Log template.
After completing necessary fields, click on Save button.
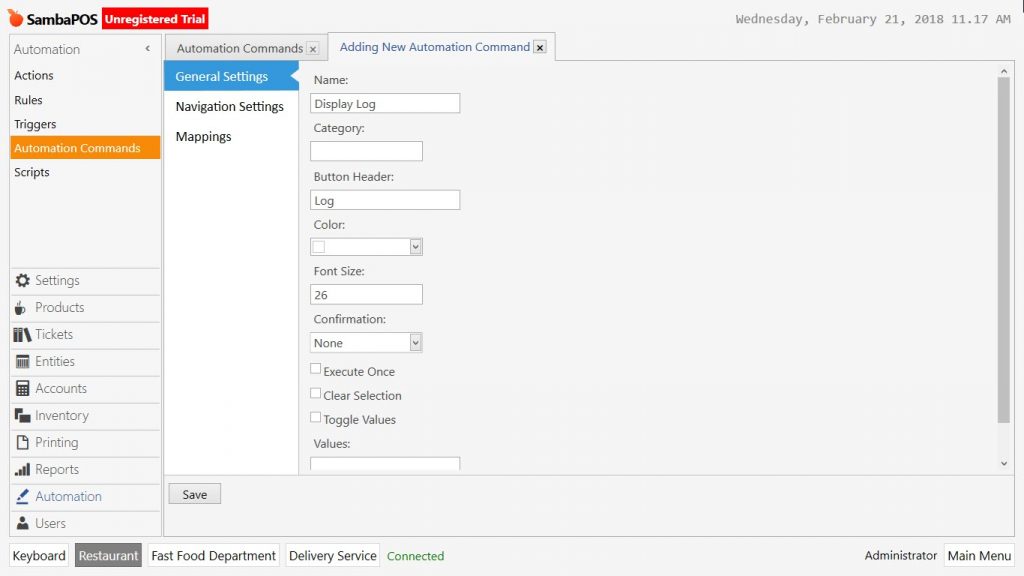
2- Adding Automation Command
Go to Manage > Automation > Automation Commands from here click on Add Automation Command link.
General Settings Section;
-
Name: Write a proper name for the automation command. (For example;Display Log)
-
Button Header: Write the name that is desired to be seen on the button. (For example; Log)
Mappings Section;
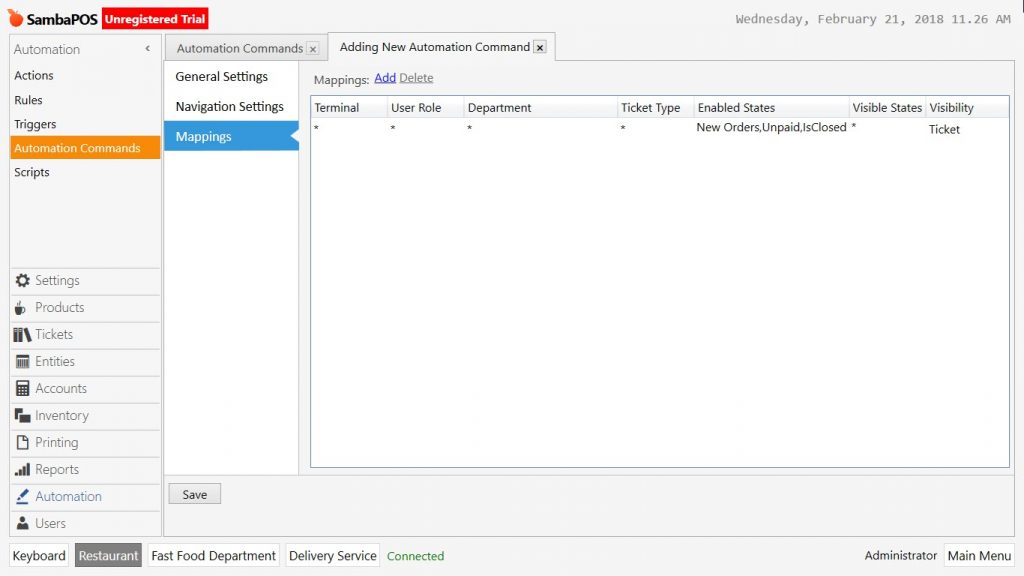
Add a new line in the Mappings section. Write New Orders,Unpaid,IsClosed into the Enabled States field, otherwise Display Log button will not be active for closed tickets.
After completing necessary fields, click on Save button.
3- Adding Rule
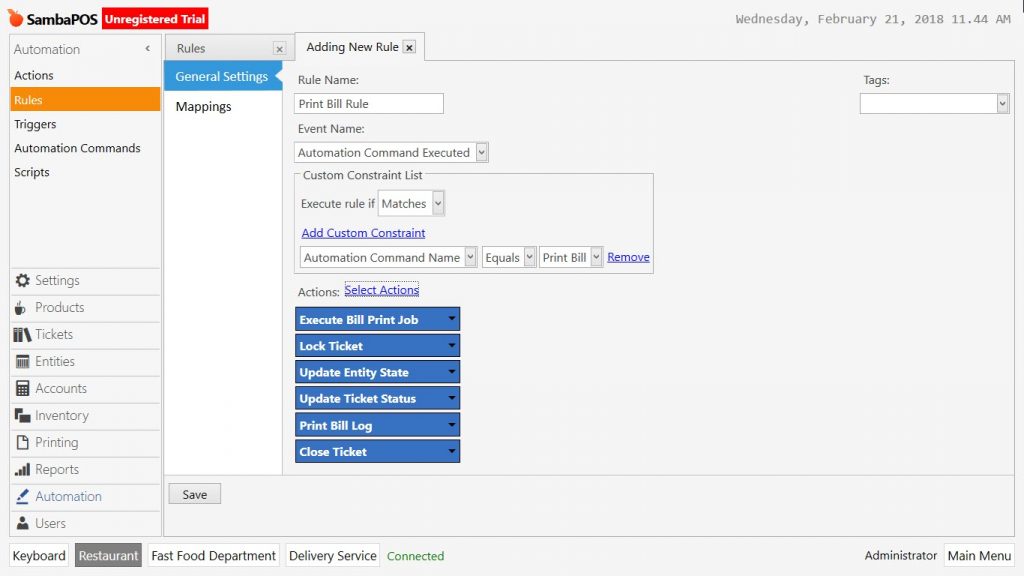
3-1- Adding Print Bill Rule
Go to Manage > Automation > Rules from here click on Add Rule link.
-
Rule Name: Write a proper name for the rule. (For example; Print Bill Rule)
-
Event Name: In this field select Automation Command Executed template.
-
Add Custom Constraint: Add one custom constraint in this field. Automation Command Name | Equals | Print Bill
-
Select Action: Select six actions in this field.
-
Execute Print Bill Job
-
Lock Ticket
-
Update Entity State
-
Update Ticket Status
-
Print Bill Log
-
Close Ticket
After completing necessary fields, click on Save button.
3-2- Adding Settled Ticket Control Rule
Go to Manage > Automation > Rules from here click on Add Rule link.

-
Rule Name: Write a proper name for the rule. (For example; Settled Ticket Control Rule)
-
Event Name: Select Before Ticket Closing template.
-
Add Custom Constraint: Add one custom constraint in this field. Remaining Amount | Equals | 0
-
Select Action: Select three actions in this field.
-
Add Receiving Payment Log
-
Update Ticket Status
-
Mark Ticket as Closed
After completing necessary fields, click on Save button.
3-3- Creating Add Log Rule
Go to Manage > Automation > Rules from here click on Add Rule link.
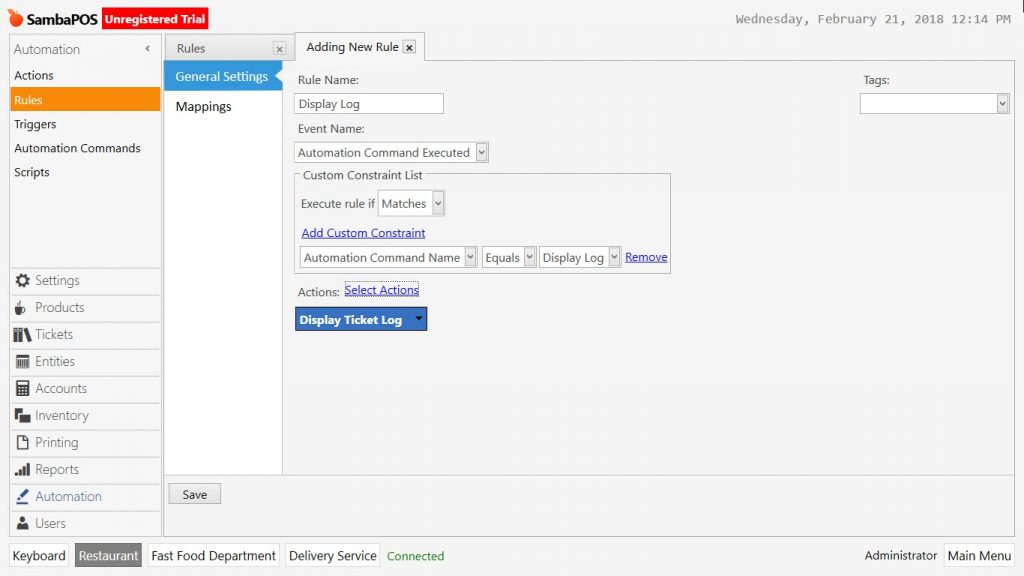
-
Rule Name: Write a proper name for the rule. (For example; Display Log)
-
Event Name: In this field select Automation Command Executed template.
-
Add Custom Constraint: Add one custom constraint in this field. Automation Command Name | Equals| Display Log
-
Select Action: Select Display Ticket Log template.
After completing necessary fields, click on Save button.
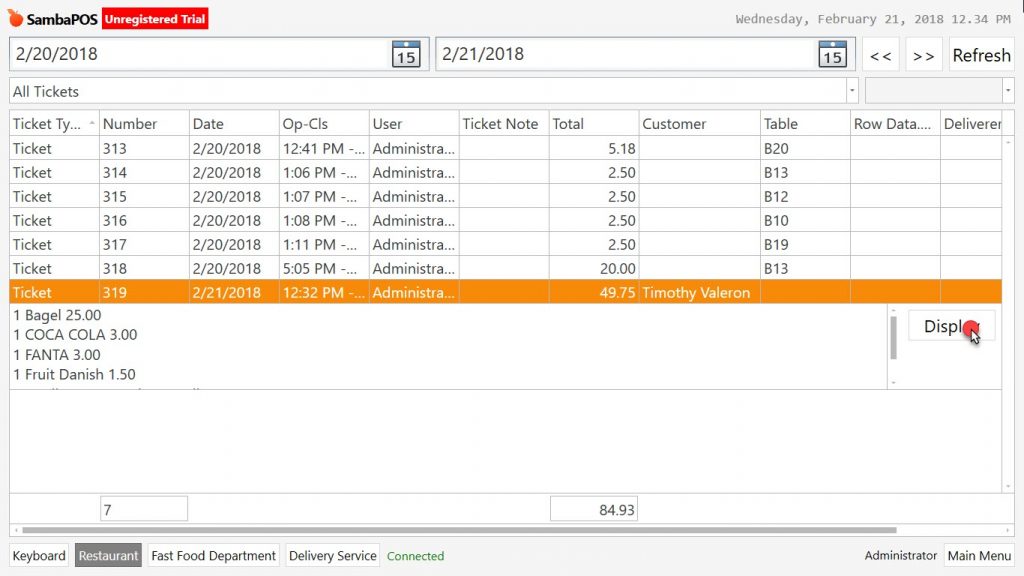
It is possible to reach all logs through Tickets menu from navigation screen. If ticket is not closed yet then display it by clicking on table.