2.4.10. How to Add FastFood Department?
1. Adding Ticket Type
Go to Manage > Tickets > Ticket Types from here click on Add Ticket Type link.
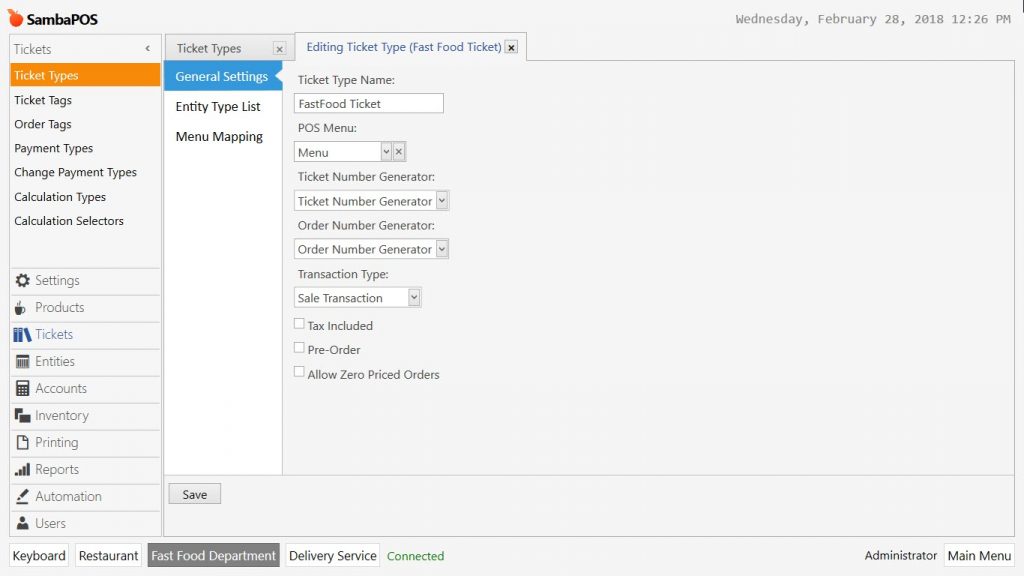
General Settings Section;
-
Ticket Type Name: Write the name of ticket type.
-
POS Menu: Select the menu that including products which will be sold in Fastfood department.
-
Ticket Number Generator: Select Ticket Number Generator template.
-
Order Number Generator: Select Order Number Generator template.
-
Transaction Type: Select Sales Transaction template.
Entity Type List Section;
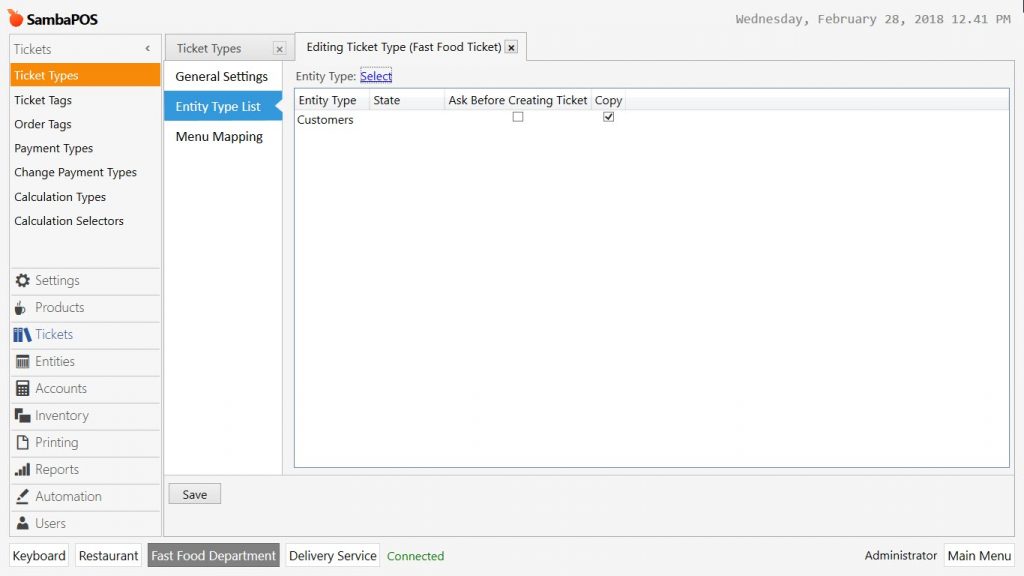
After completing necessary fields click on Save button. If sales of Fastfood department will be assigned to customer or table select both of them. If you leave Entity Type blank, then “select customer” or “select table” buttons will not appear on the ticket.
2. Adding Department
Go to Manage > Settings > Departments from here click on Add Deparment link.
-
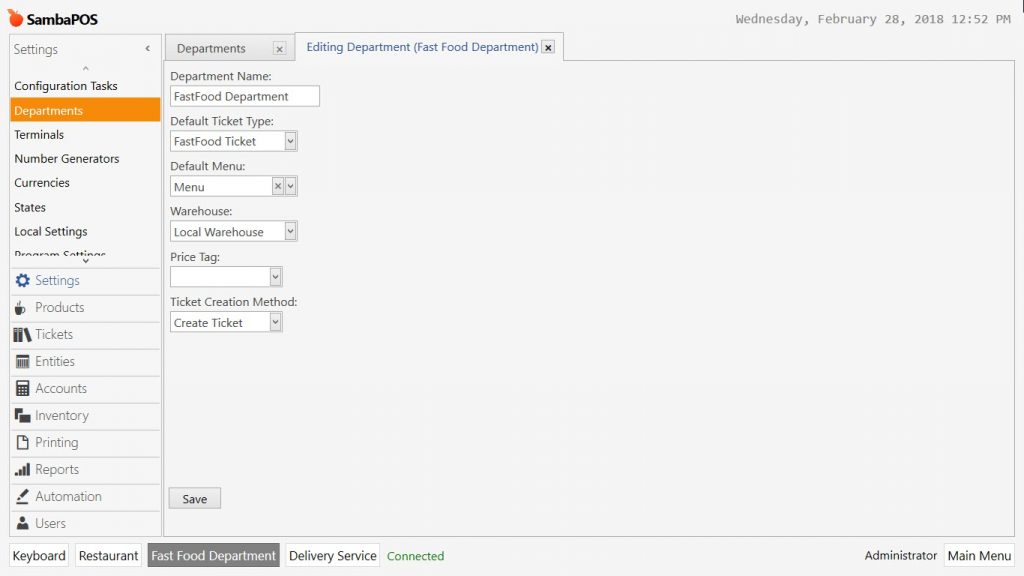
Department Name: Field to write department name.
-
Default Ticket Type: Select the ticket type that was created on previous step.
-
Default Menu: Select the menu to be used for department.
-
Warehouse: Field to determine that FastFood sales will be deducted from which warehouse.
-
Price Tag: If FastFood department will work with a different price list for products on the menu, then select it if not, leave it blank.
-
Ticket Creation Method: Select Create Ticket method.
3. Adding Payment Type
3.1. Adding Account
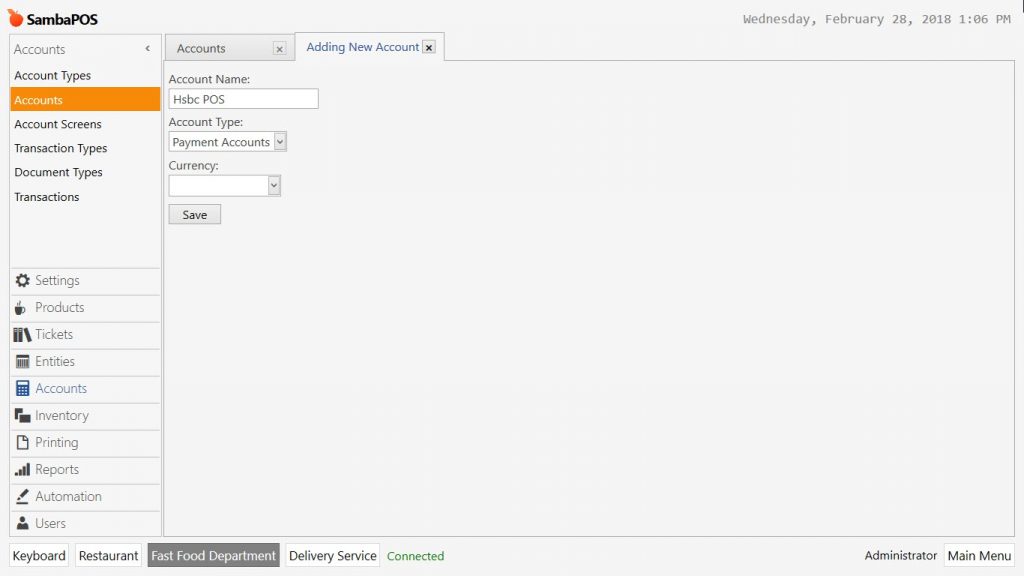
Go to Manage > Accounts > Accounts from here click on Add Account link.
-
Account Name: Field to write the name of account type.
-
Account Template: Select Payment Accounts in this field.
After completing necessary fields, click on Save button. Repeat the same process for other account types too.
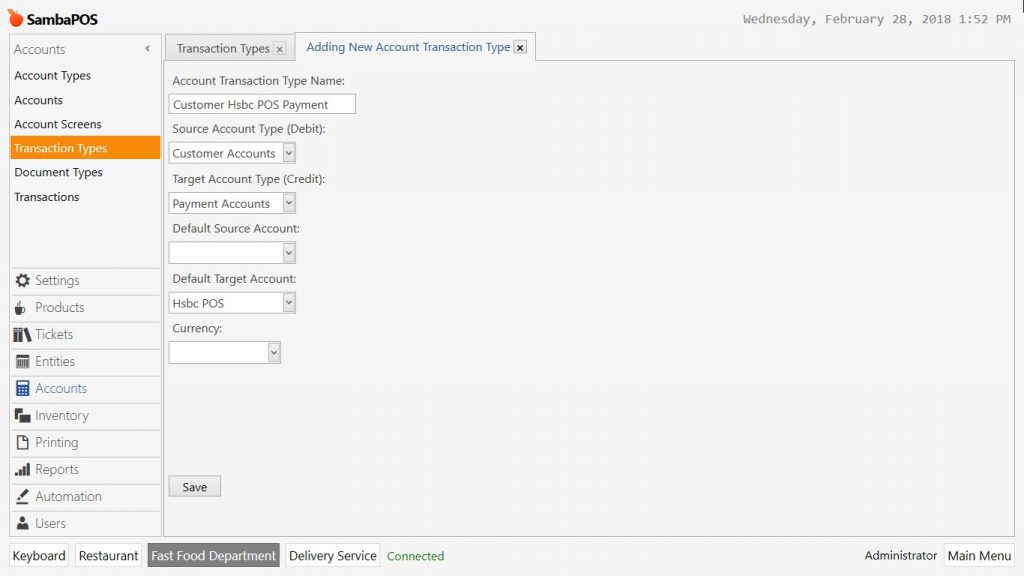
3.2. Adding Account Type
Go to Manage > Accounts > Transaction Types from here click on Add Account Transaction Type link.
-
Account Transaction Type Name: Field to write the name of account transaction type.
-
Source Account Type (Debit): Select Customer Accounts template.
-
Target Account Type (Credit): Select Payment Accounts template.
-
Default Target Account: Select related account here.
After completing necessary fields, click on Save button. Repeat the same process for other account types too.
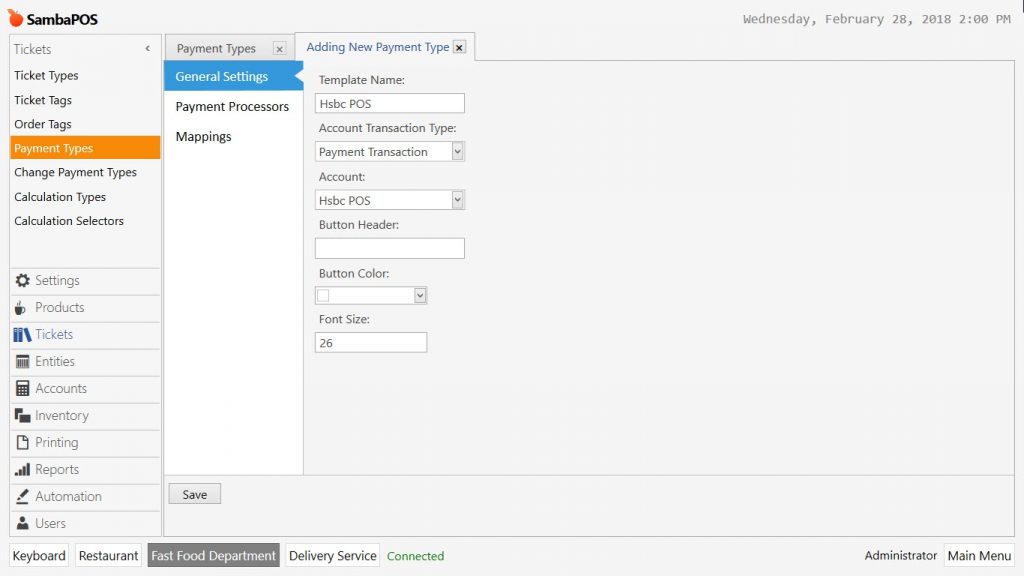
3.3. Adding Payment Type
Go to Manage > Tickets > Payment Types from here click on Add Payment Type link.
General Settings Section;
-
Template Name: Field to write the name of payment type.
-
Account Transaction Type: Select Payment Transaction template.
-
Account: Select previously created payment type.
Mappings Section;
Add a line and select FastFood as department.
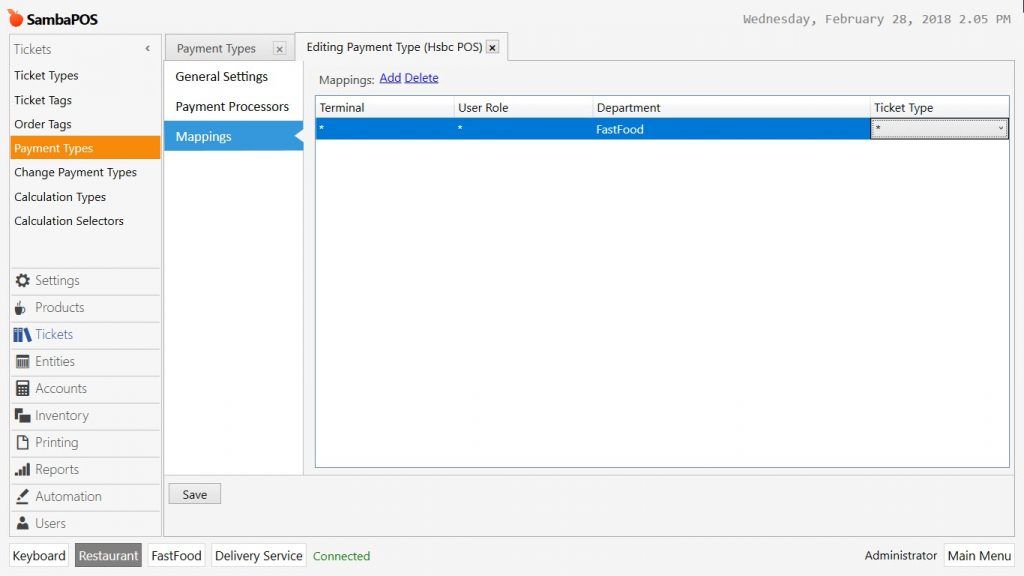
After completing necessary fields, click on Save button. Repeat the same process for other payment types too.
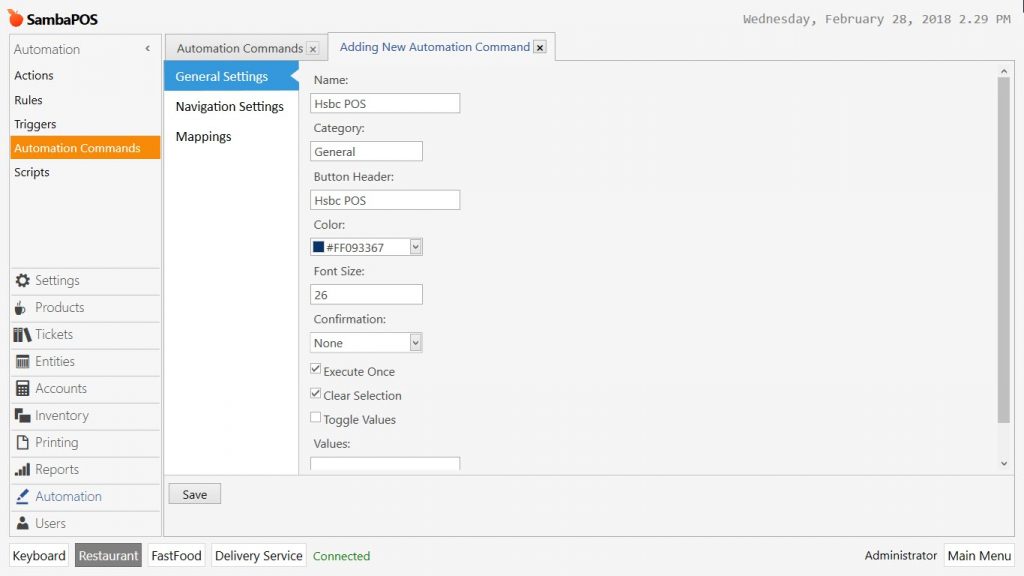
3.4. Adding Automation Command
Go to Manage > Automation > Automation Commands from here click on Add Automation Command link.
General Settings Section;
-
Name: Write the name of automation command.
-
Category: Write General in this field.
-
Button Header: Write the name that will be seen on the button.
Mappings Section;
Add at least one line in mappings section.
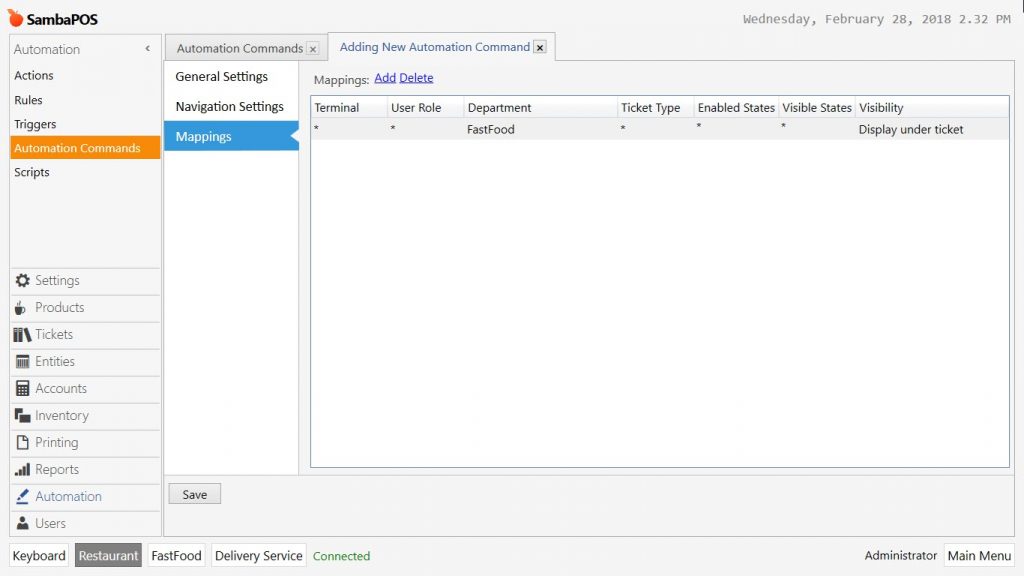
Select FastFood as department, select Display Under Ticket for visibility field.
After completing necessary fields, click on Save button. Repeat the same process for other account types too.
3.5. Adding Action
Go to Manage > Automation > Actions from here click on Add Action link.
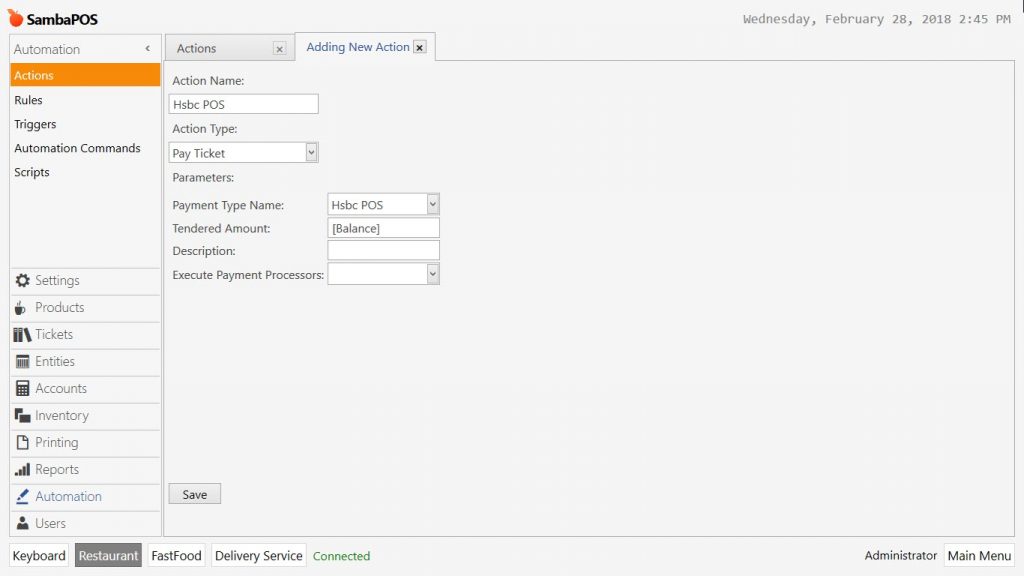
-
Action Name: Field to write the name of action.
-
Action Type: Select Pay Ticket template.
-
Payment Type Name: Select related payment type.
-
Tendered Amount: Write [Balance] into this field.
After completing necessary fields, click on Save button. Repeat the same process for other actions too.
3.6. Add Rule
Go to Manage > Automation > Rules from here click on Add Rule link.
General Settings Section;
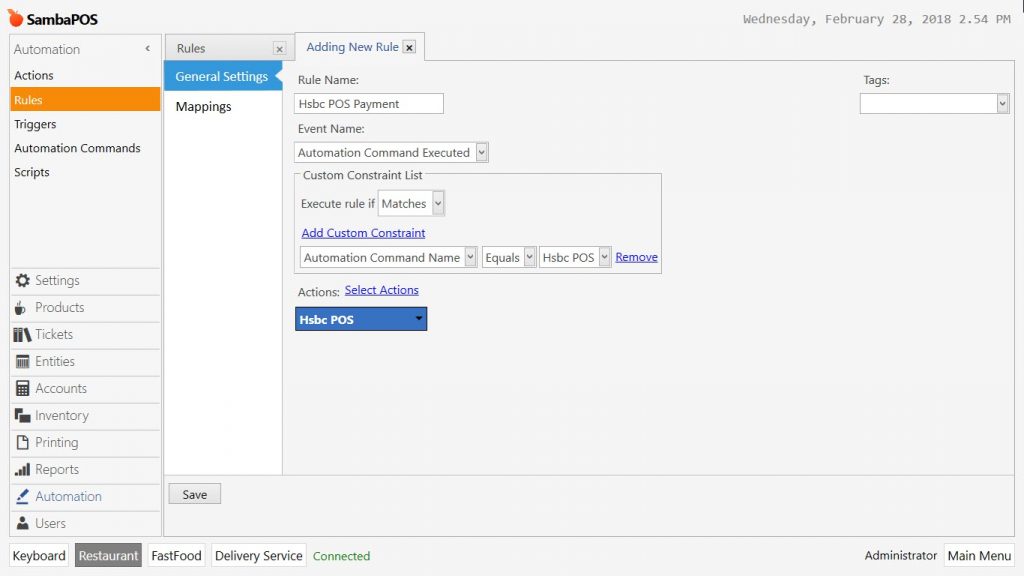
-
Rule Name: Field to write name of rule.
-
Event Name: Select Automation Command Executed template.
-
Add Custom Constraints: Select Automation Command Name and related account.
-
Select Action: Click on Select Action and select related account.
Mappings Section;
Select FastFood for Department column.
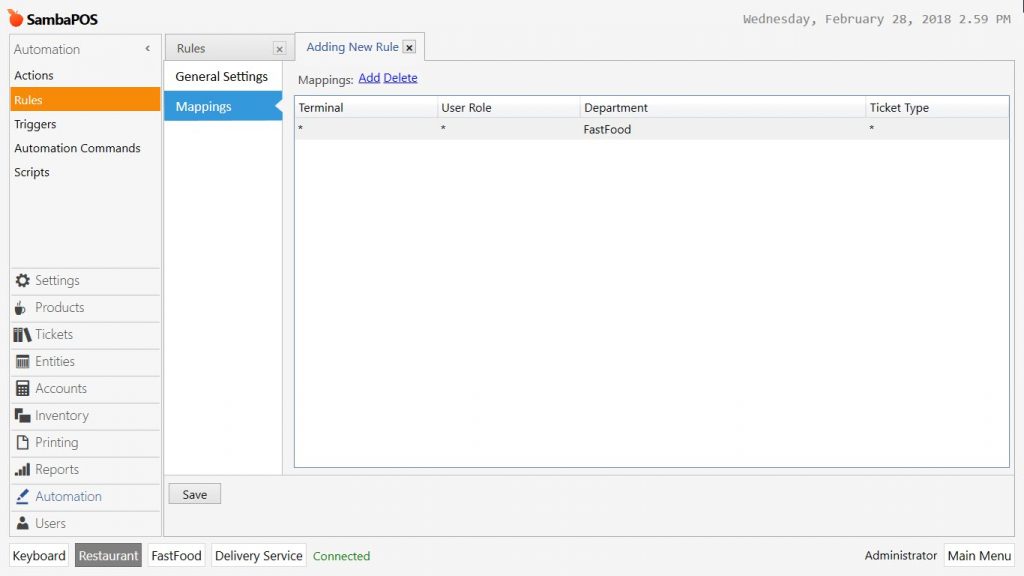
After completing necessary fields, click on Save button. Repeat the same process for other rules too.
