2.3.9. How to Add Tax (VAT)?
In this document it will be shown how to add VAT values. VAT rates will be selected 20% for food and 10% for drinks.
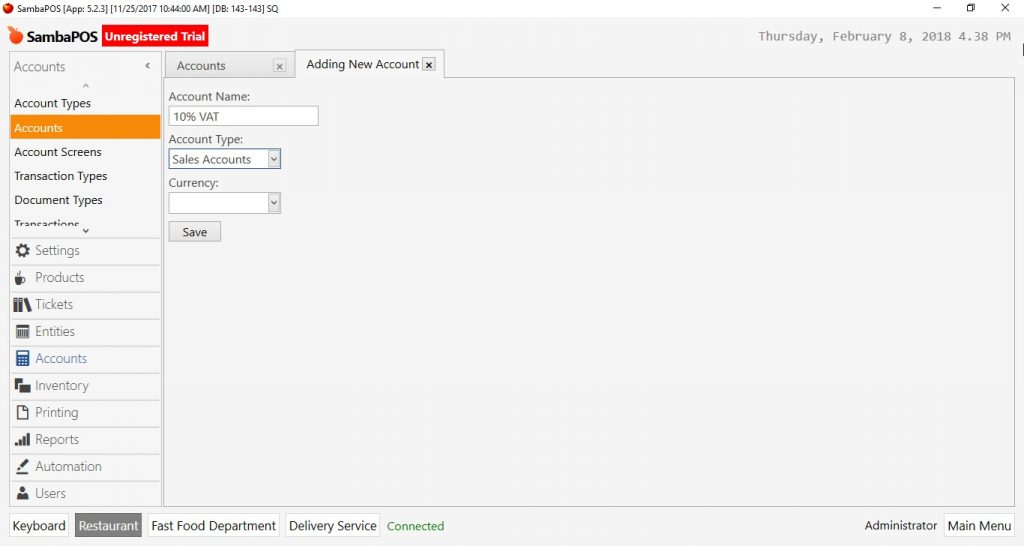
1- Creating Account
Go to Manage > Accounts > Accounts click on Add Account link.
-
Account Name: The field that name of account is written.
-
Account Template: Select Sales Accounts template.
After completing necessary fields click on Save button and repeat same things for other VAT rates too.
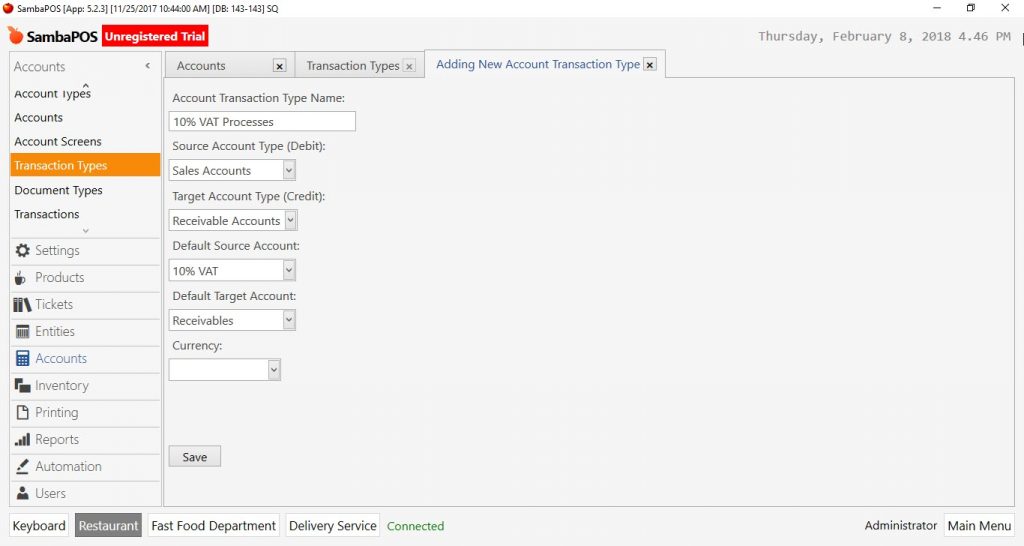
2- Creating Transaction Type
Go to Manage > Accounts > Transaction Types from here click on Add Transaction Type link.
-
Account Name: The field that name of account is written.
-
Source Account Type (Debit): Select Sales Accounts template.
-
Target Account Type (Credit): Select Receiveble Accounts template.
-
Default Source Account: Select related account which was created previous step.
-
Default Target Account: Select Receivebles template.
After completing necessary fields click on Save button and repeat the same process for other accounts too.
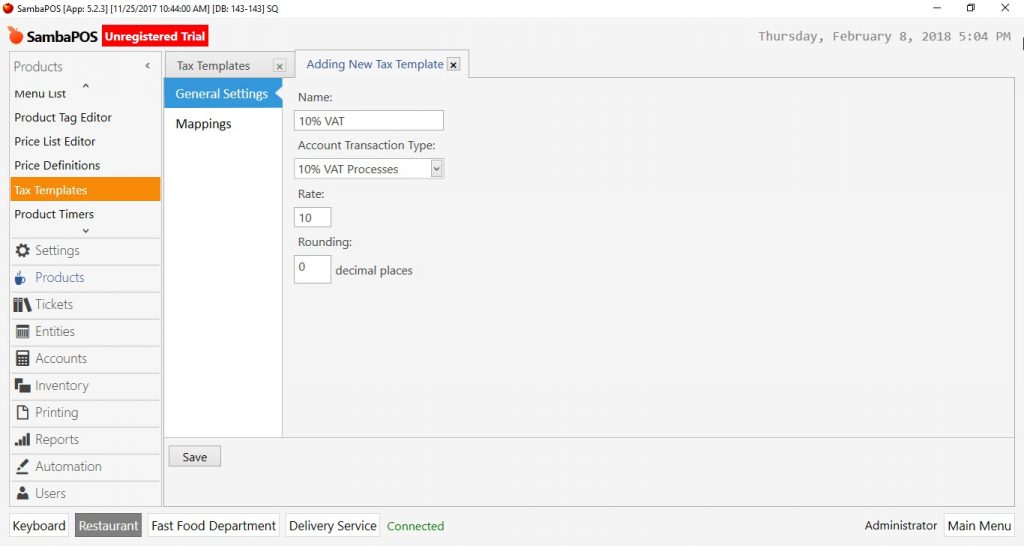
3- VAT Template Configuration
To configure created VAT templates, go to Manage > Products > VAT Templates from here click on Add VAT Template link.
General Settings Section;
-
Name: Write a proper name for VAT template in here.
-
Account Transaction Type: Select previously created transaction type.
-
Rate: Field that VAT rate is written.
-
Rounding: For some countries tax amount might be rounded, this field is used in this situation.
Mappings Section;
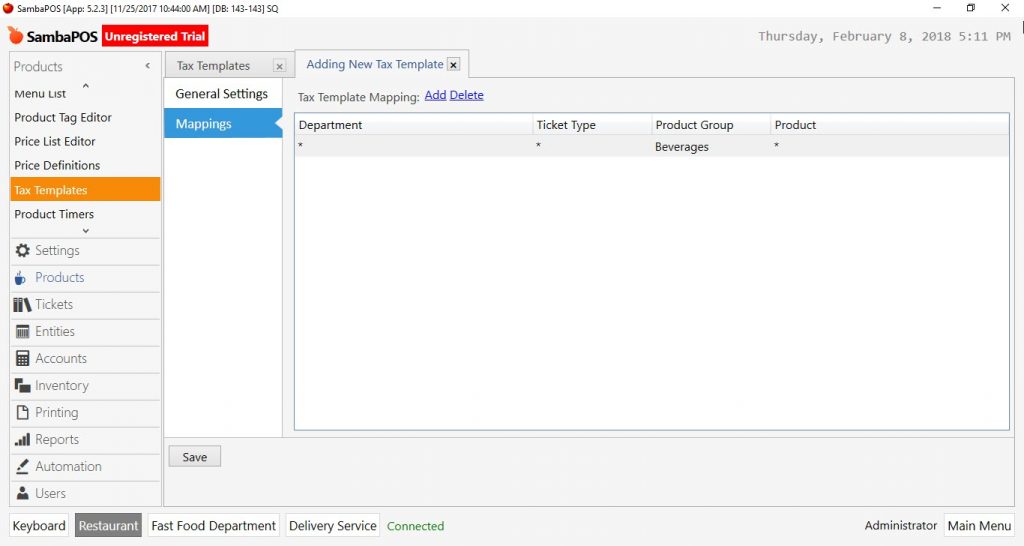
Add at least one row and select the product group which VAT rate will be used for.
In the example 10% VAT rate will be used for only “Beverages”. This is why only “Beverages” selected from Product Group column.
After completing necessary editings click on Save button and repeat the same processes for other tax template types.
4- Editing Ticket
To configure whether prices are including VAT or not go to Manage > Tickets > Ticket Types double click on Ticket and open the editing mode.
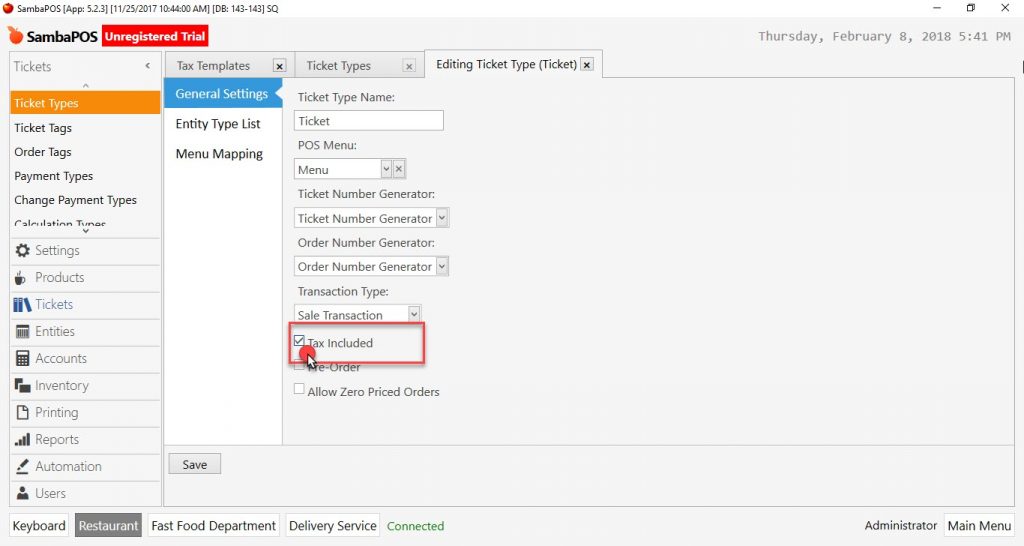
In the Edit Ticket Type screen, select Tax included box and click on Save button.
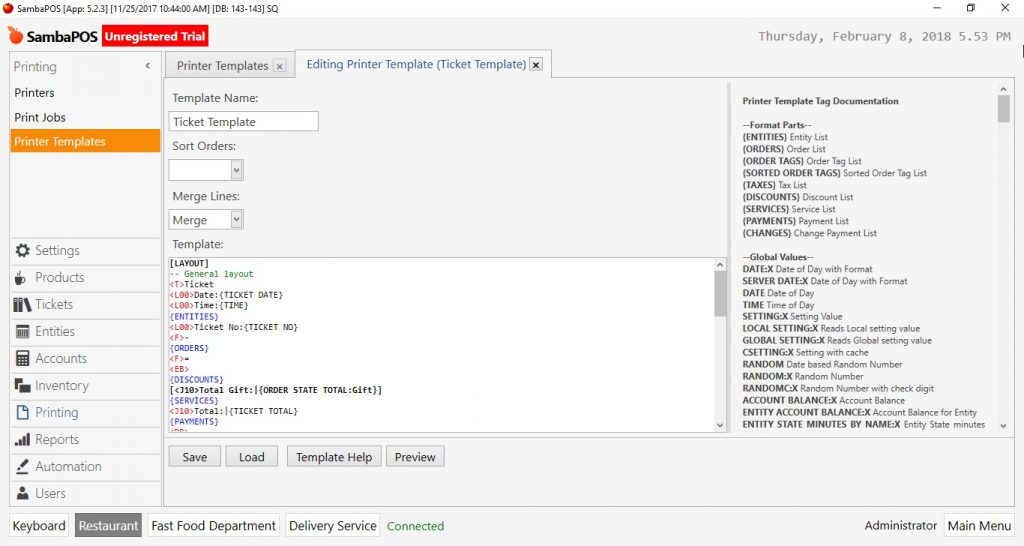
5- Printer Template Configuration
In SambaPOS default Printer Templates not including VAT Values. To set this, go to Manage > Printing > Printer Templates from here by double clicking on Ticket Template open the editing mode.
Copy {TAXES} expression from under Format Parts title on the Template Help field and paste it to under the {DISCOUNTS} title at ticket editing field.
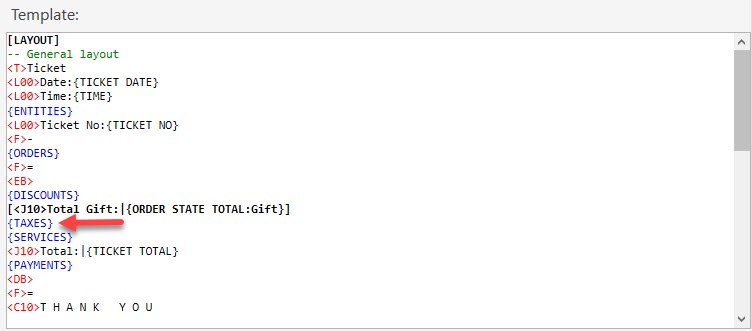
Copy below expressions and paste them under [ENTITIES:Customer] title which is found at the bottom row on ticket editing field.
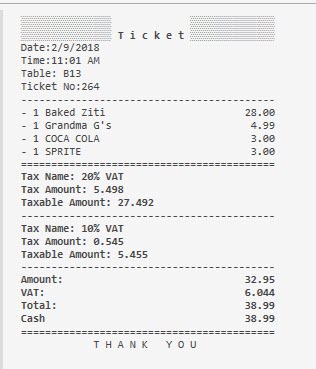
[TAXES]

<L00>Tax Name: {TAX NAME}

<L00>Tax Amount: {TAX AMOUNT}

<L00>Taxable Amount: {TAXABLE AMOUNT}
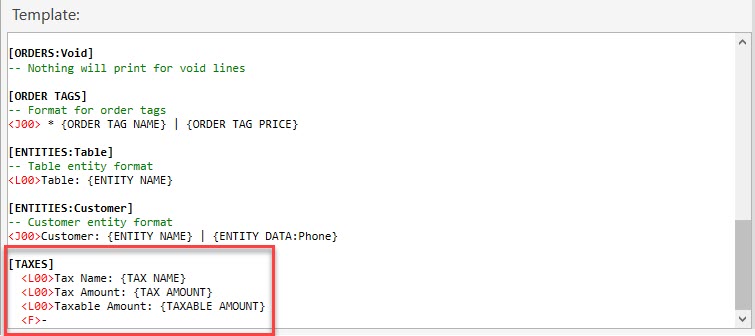
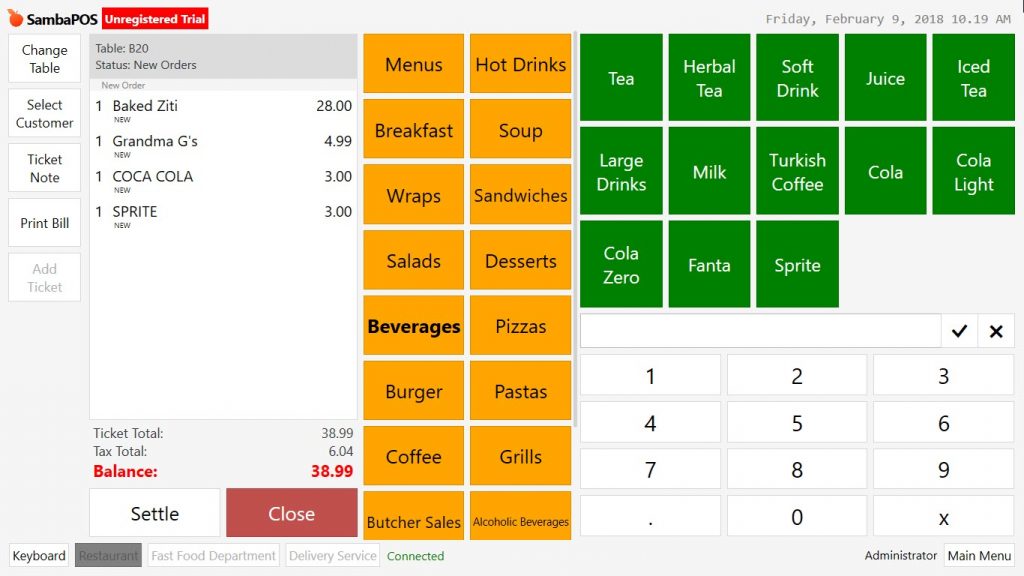
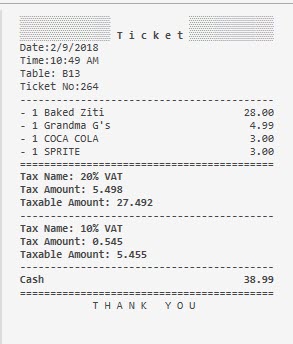
After adding related row click on Ok button, from now on VAT rates will be shown on order screen and on the ticket.
On the ticket, in order to show separately VAT excluded amount, VAT Total and VAT included Total amount of order go to Printers > Printer Templates in here double click on Ticket Printers and open editing mode. Under the {SERVICES} title add these rows;
<J10>Amount:|[=F(TN('{TICKET TOTAL}')-TN('{TAX TOTAL}'))]

<J10>VAT:|{TAX TOTAL}

<J10>Total:|{TICKET TOTAL}
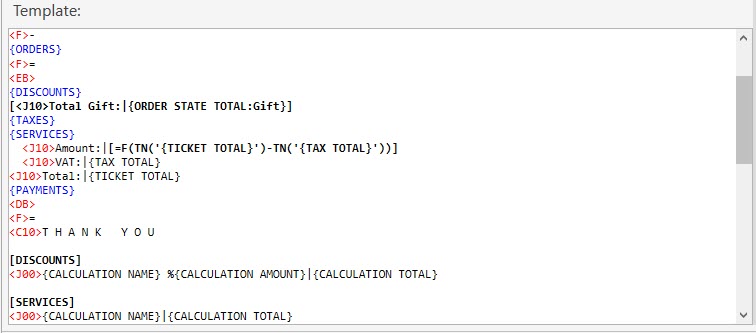
After adding related rows click on Ok button. So that on the ticket, VAT excluded amount, VAT total and VAT included total amount of order will be seen separately.