10.1. How to Setup Neptune?
In this document, it will be explained how to setup Neptune.
1- Login
Go to http://neptuneadmin.sambapos.com/en/signin website login with your SambaPOS license email address and password by selecting the Root User option.
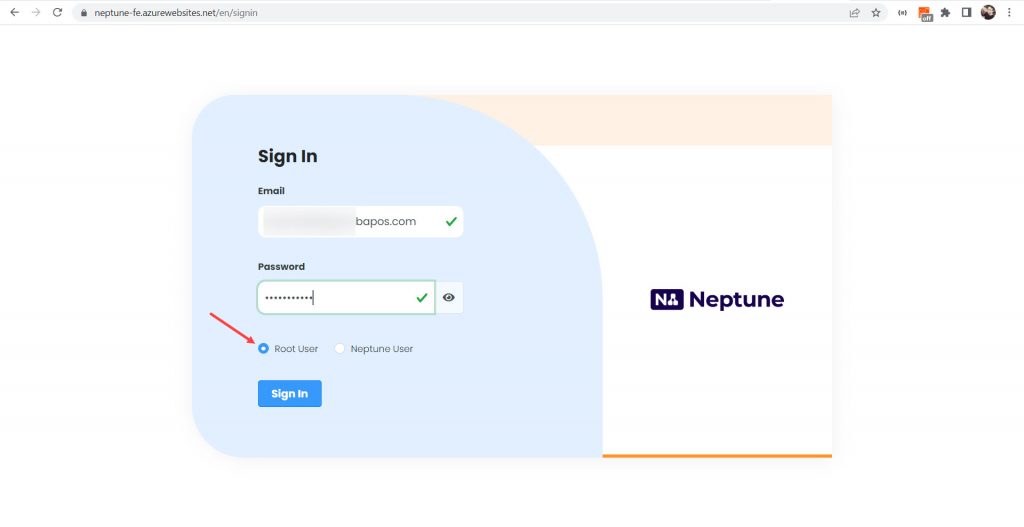
This process will take quite a long for the first time. You don’t need to worry. Once the process is completed you will be logged into the system also you will receive an email.
2- Adding Branch
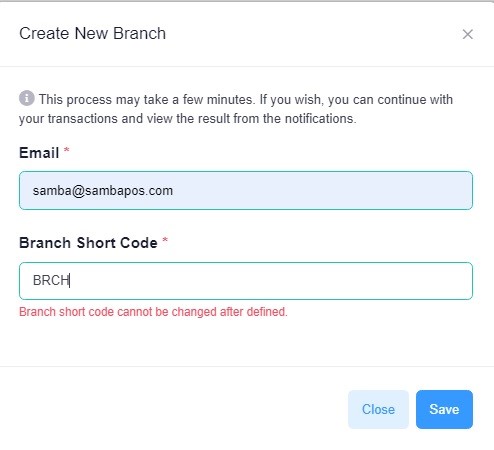
Management Panel > Neptune > Branches > Add
Insert the Neptune User (Neptune Branch) CP License email address and the shortcut that you want to use for that branch and then click on Save button.
You can add as many branches as you want to Neptune.
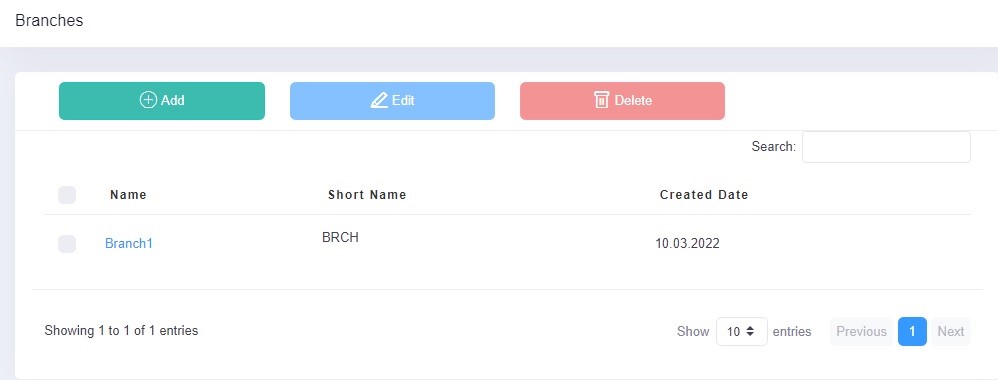
This process might take a while.
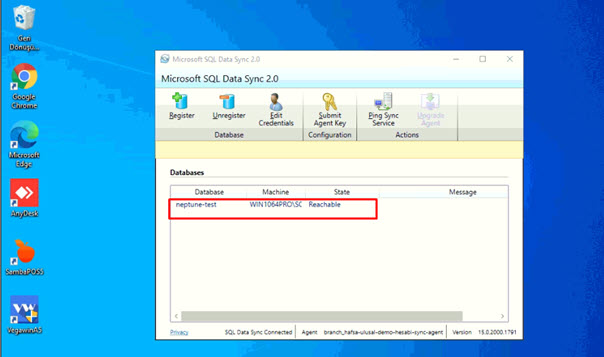
After completing adding branc process, the branches will be displayed as in the below image.
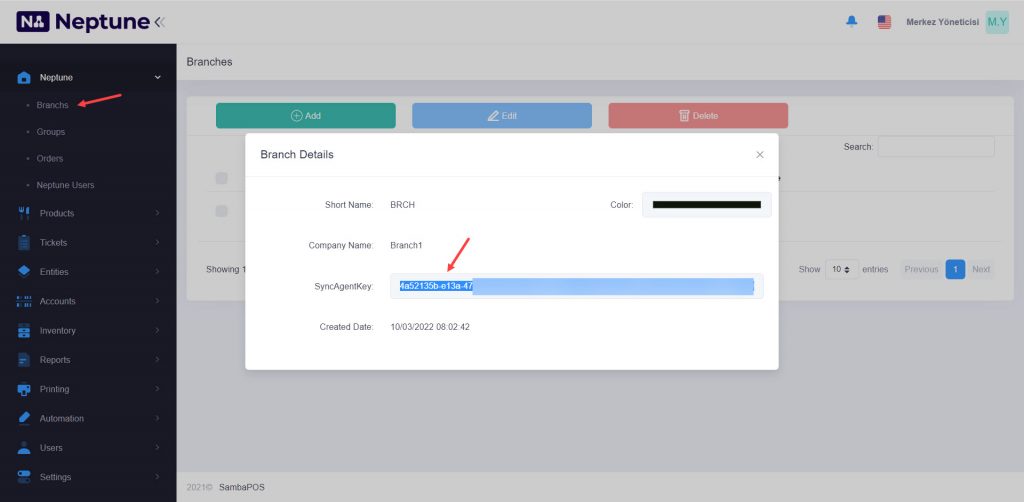
3- Sync Agent Key
Go to Neptune > Branches > Select the related branch > Click on the Branch link > Select and copy the whole line in the Sync Agent Key field.
4- Installing Sync Agent Tool
Go to https://www.microsoft.com/en-us/download/details.aspx?id=27693 address and download the Sync Agent Tool.
Complete the installation by getting help from https://www.sqlshack.com/how-to-sync-azure-sql-databases-and-on-premises-databases-with-sql-data-sync/ address under the Set up the SQL Azure Data Sync Agent title.
In order to set these applications you are supposed to be an Autohrized User and that user must have a password.
When you were asked Windows User Name and Password insert as below
Computer Name\User Name and into the below line type the Windows Password.
After completing the setup, click on the Submit Agent Key buton.
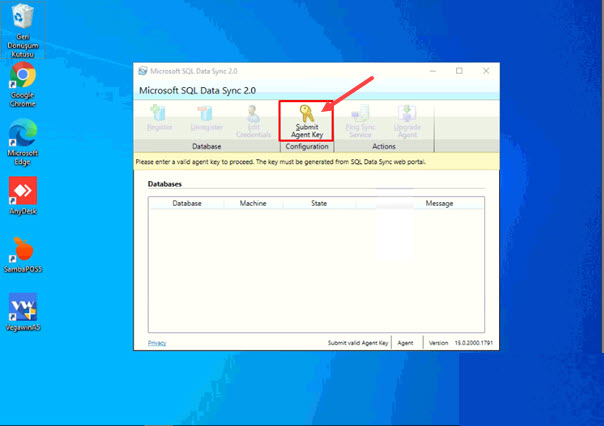
Agent Key: Get the Agent Key from 3rd Step.
Login: metadata-server
Password: Samba1234
After inserting the requiered data as shown above click on Ok button.
If the all process is successful the Register button will become active, click on that button.
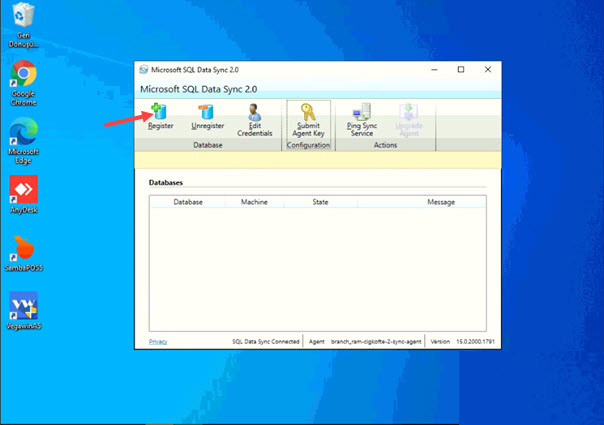
After clicking on Register button in the window insert the Server and Database information under the SambaPOS Database Settings Connection String and click on Save button.
5- Creating Database on SambaPOS
You can continue to the process after making sure that your SambaPOS version is minimum 5.3.7.
Main Menu > Manage > Settings > Local Settings > Database > Click on Edit Connection button and create a brand new empty database.
6- Neptune Settings
Click on Sync Agent Tool > Register button.
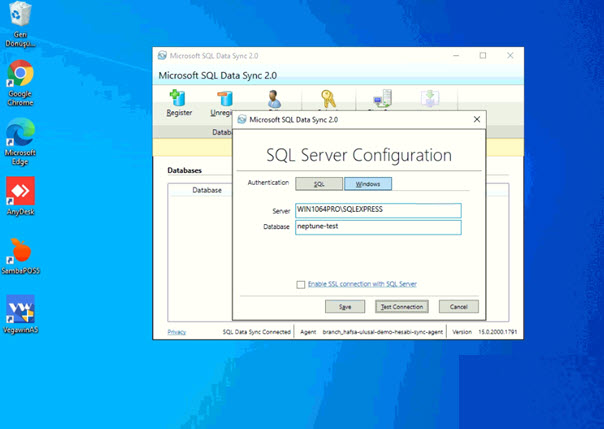
In the window insert the Server and Database information that is created in the previous step. and click on Save button.
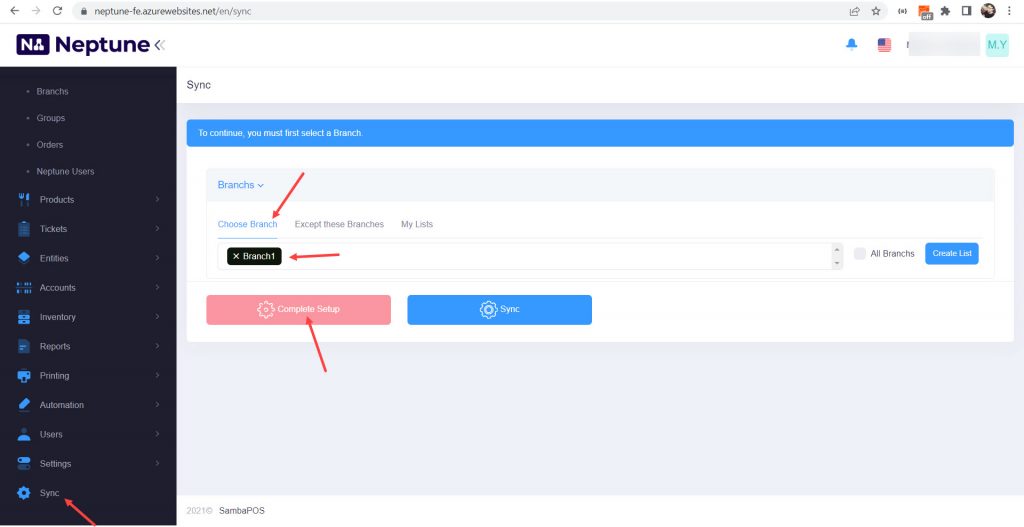
7- Complete Setup
Complete Setup should be done only once for each branch after completing the local settings.
After selecting the branch, click on Complete Setup button.
8- Synchronization
Synchronization process is for Synchronizing the data on the local and on the cloud.
After that process all the product addings and updates will be transferred to the SambaPOS Database which exists on the local.
After selecting the branch click on Sync button.
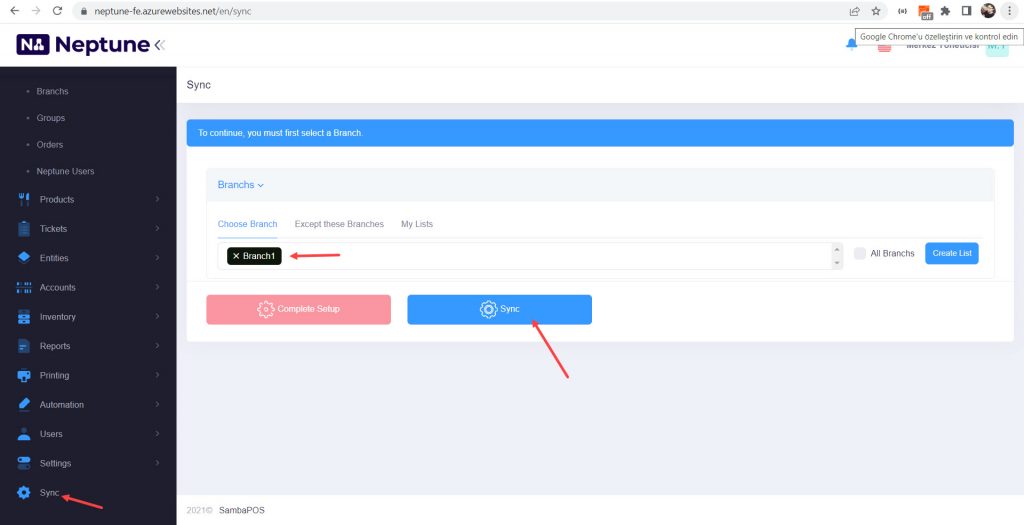
Before Synchronization process the setup must be completed for the selected branches.