4.98. Printing Drinks to Different Printers According to Entity Screens
In this document it will be explained how to print drinks to different printers according to entity screens.
1 . Adding Custom Field to Tables Entity Type
Main Menu > Manage > Entities > Entity Types > Tables > Custom Fields > Here click on Add Custom Field.
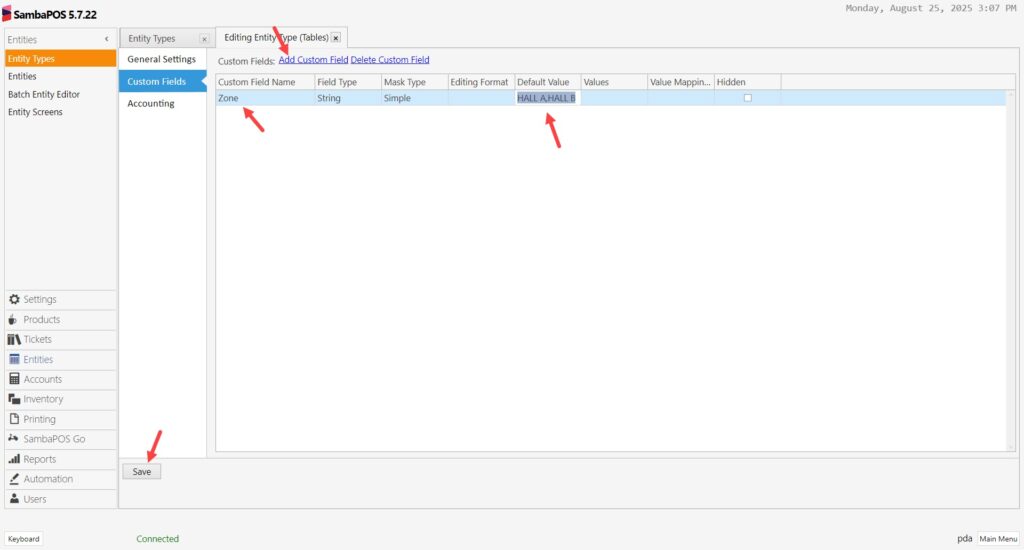
Custom Field Name: Zone
Default Value: HALL A,HALL B
After completing the necessary editings, click on Save button.
2. Determining the Zone of Table Entities
2.1. Determining Hall A Tables Zone
Main Menu > Manage > Entities > Entities > Tables > Select the related table and type HALL A into the Zone field as shown in the image.
You need to do this process for all the tables that you want to use on the HALL A Entity Screen.
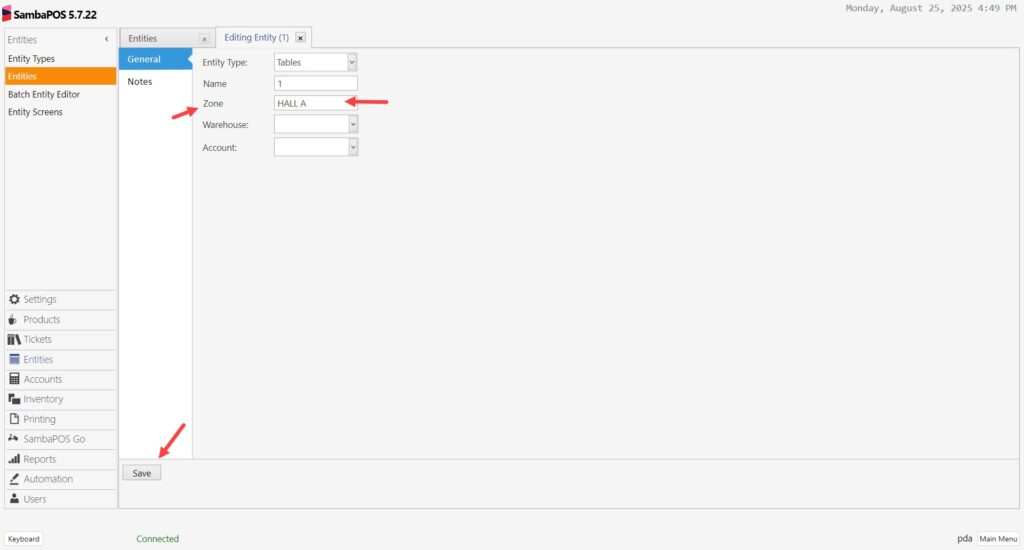
After completing the necessary editings, click on Save button.
2.2. Determining Hall B Tables Zone
Main Menu > Manage > Entities > Entities > Tables > Select the related table and type HALL B into the Zone field as shown in the image.
You need to do this process for all the tables that you want to use on the HALL B Entity Screen.
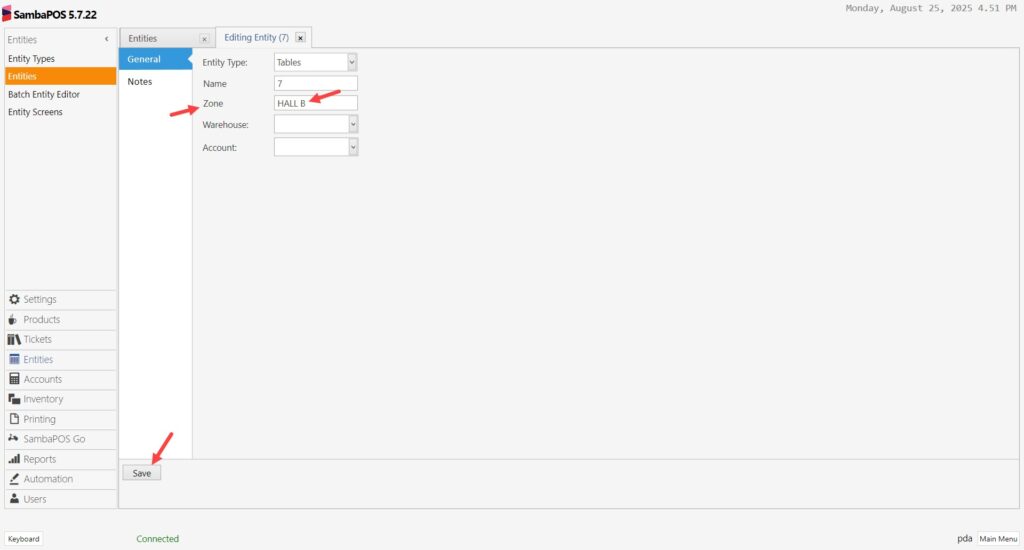
After completing the necessary editings, click on Save button.
3. Adding Entity Screens
3.1. Adding HALL A Entity Screen
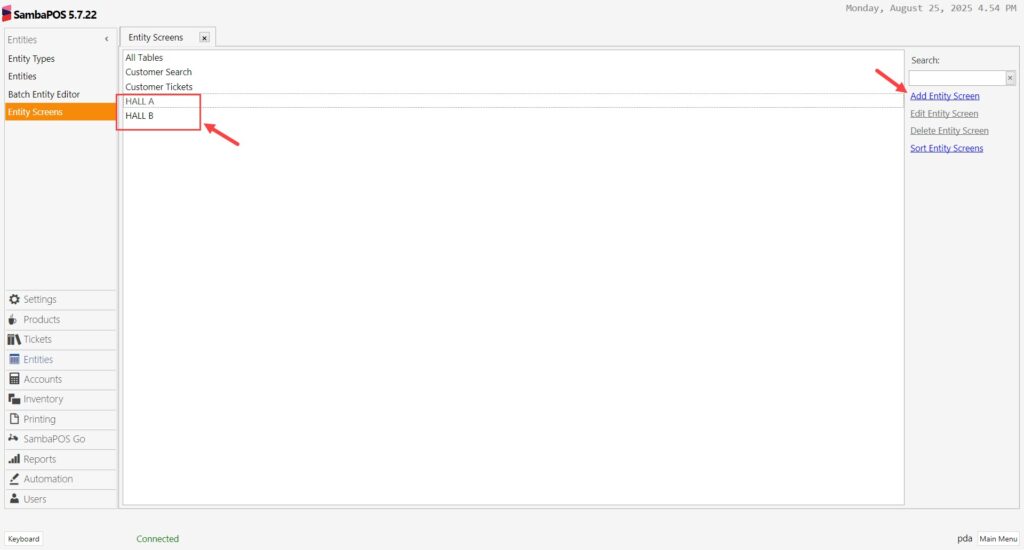
Main Menu > Manage > Entities > Entity Screens > Here, click on Add Entity Screen.
General Settings Section;

Entity List Section;
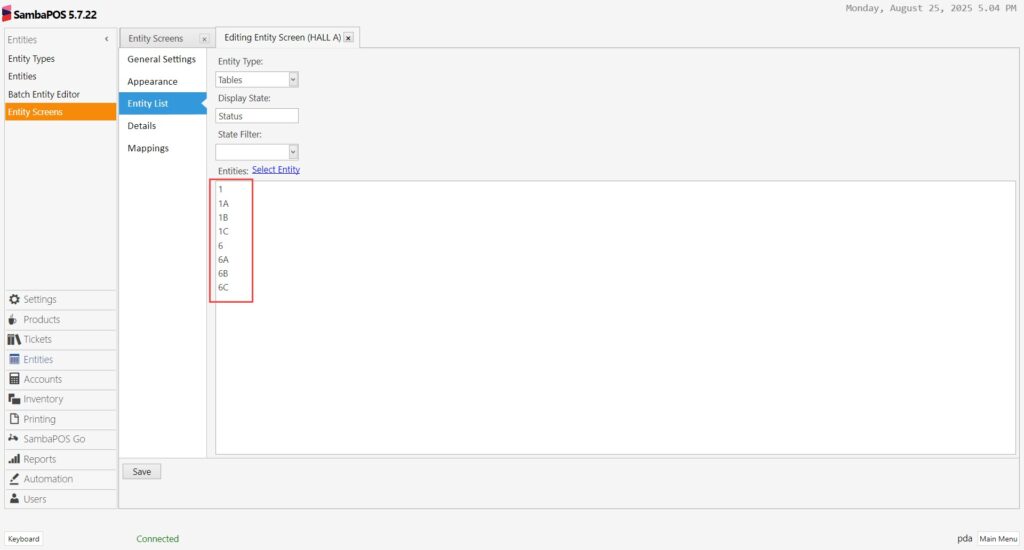
Entity Type: Tables
Display State: Status
Select Entity: Click on Select Entity and select the tables you want to you on HALL A Entity Screen.
Mappings Section;
In here, add a line by clicking on Add button.
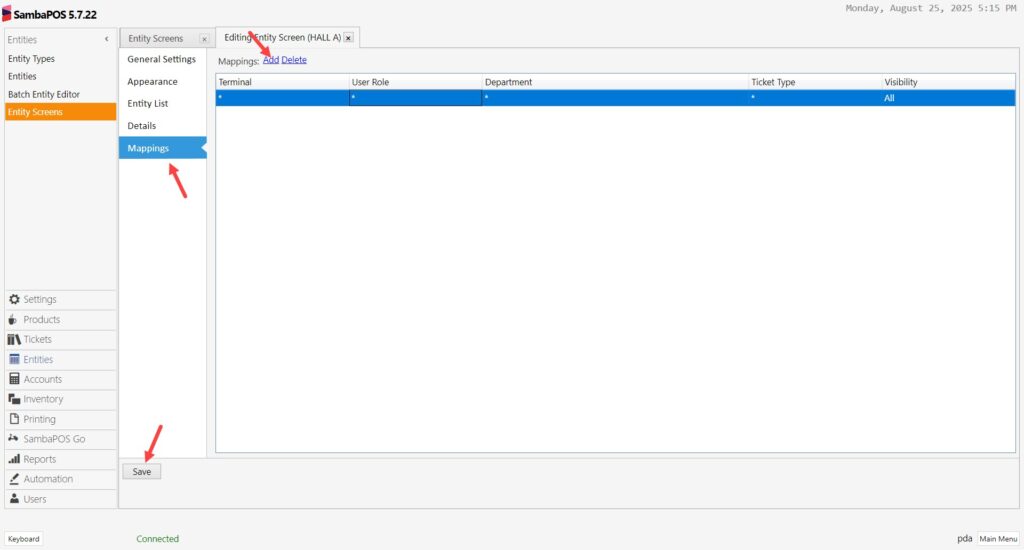
After completing the necessary editings, click on Save button.
3.1. Adding HALL B Entity Screen
Main Menu > Manage > Entities > Entity Screens > Here, click on Add Entity Screen.
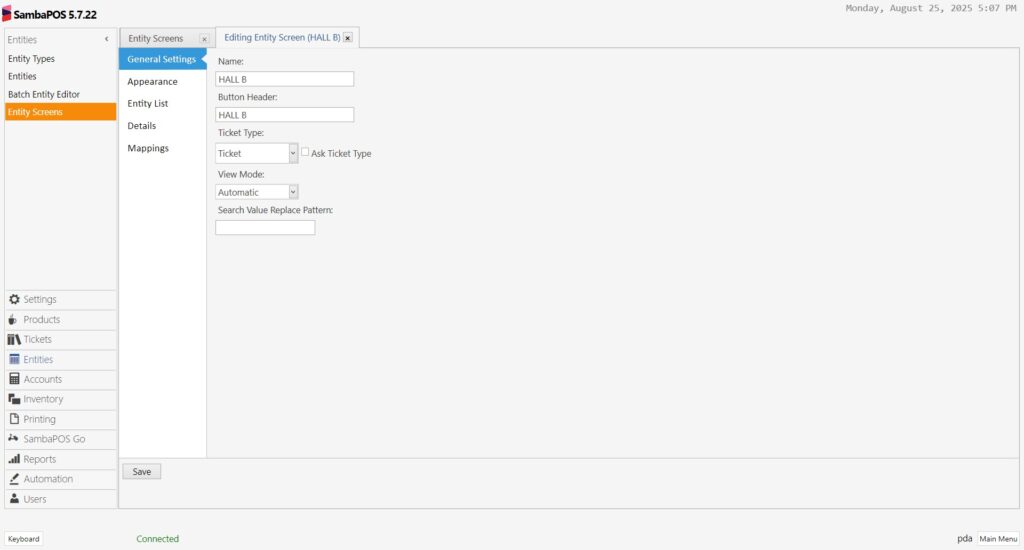
General Settings Section;
Entity List Section;

Entity Type: Tables
Display State: Status
Select Entity: Click on Select Entity and select the tables you want to you on HALL A Entity Screen.
Mappings Section;
In here, add a line by clicking on Add button.
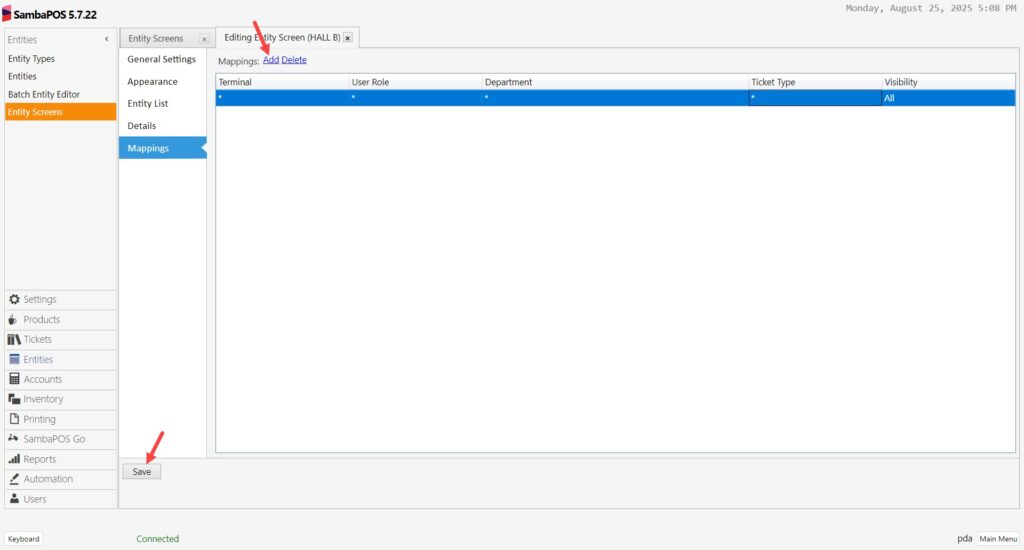
After completing the necessary editings, click on Save button.
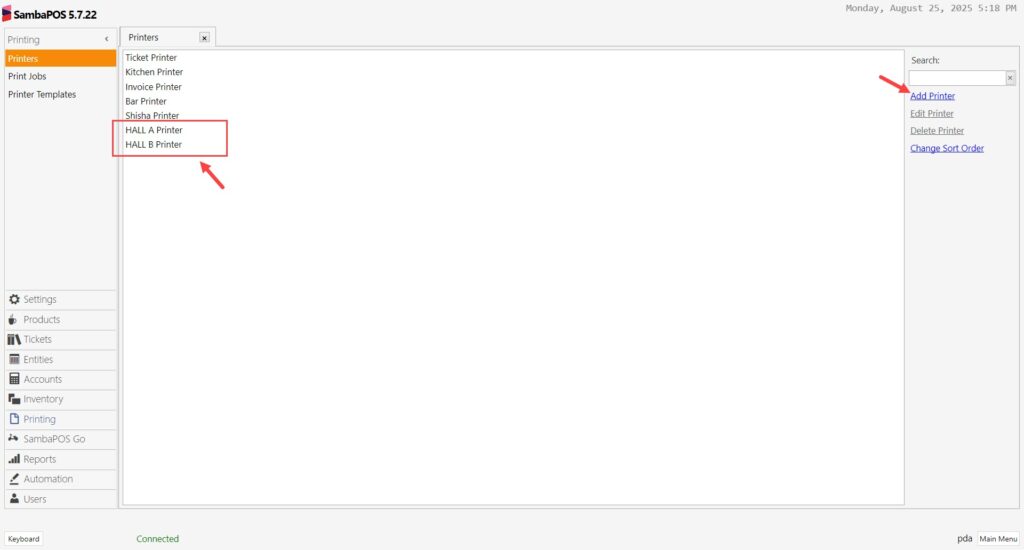
4. Adding Printers
Main Menu > Manage > Printing > Printers > Here click on Add Printer.
5. Editing Print Orders to Kitchen Printer Print Job
Main Menu > Manage > Printing > Printer Templates > Print Orders to Kitchen Printer > Here, select Kitchen Printer for all the categories except Beverages.
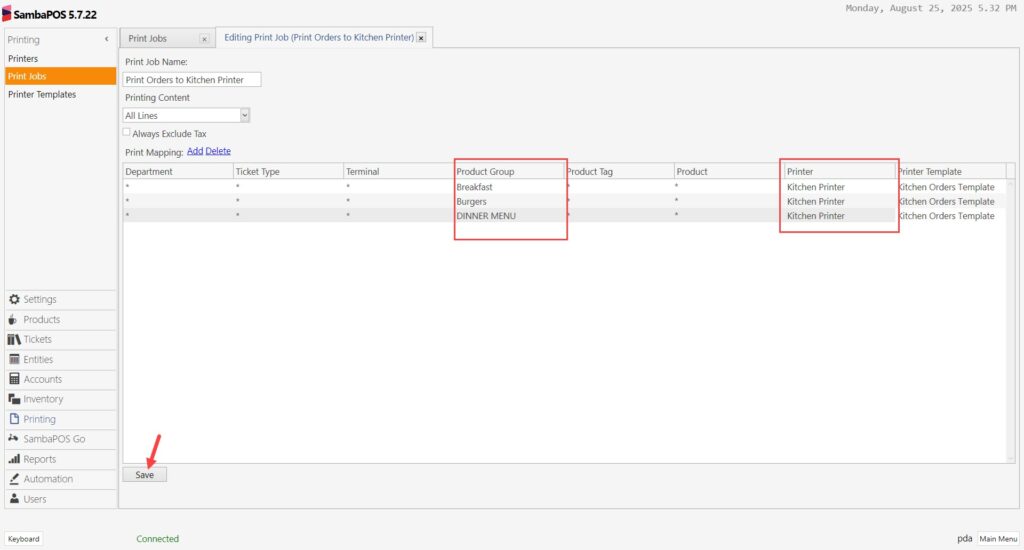
After completing the necessary editings, click on Save button.
6. Adding Print Jobs
6.1. Adding Print Beverages to HALL A Printer Print Job
Main Menu > Manage > Printing > Printer Templates > Here click on Add Printer Template.
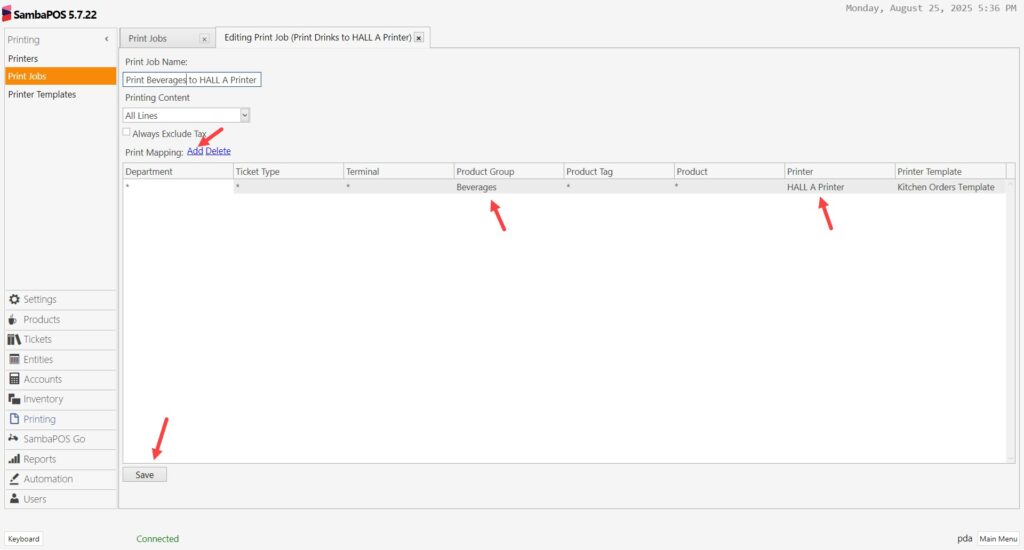
After completing the necessary editings, click on Save button.
6.2. Adding Print Beverages to HALL B Printer Print Job
Main Menu > Manage > Printing > Printer Templates > Here click on Add Printer Template.
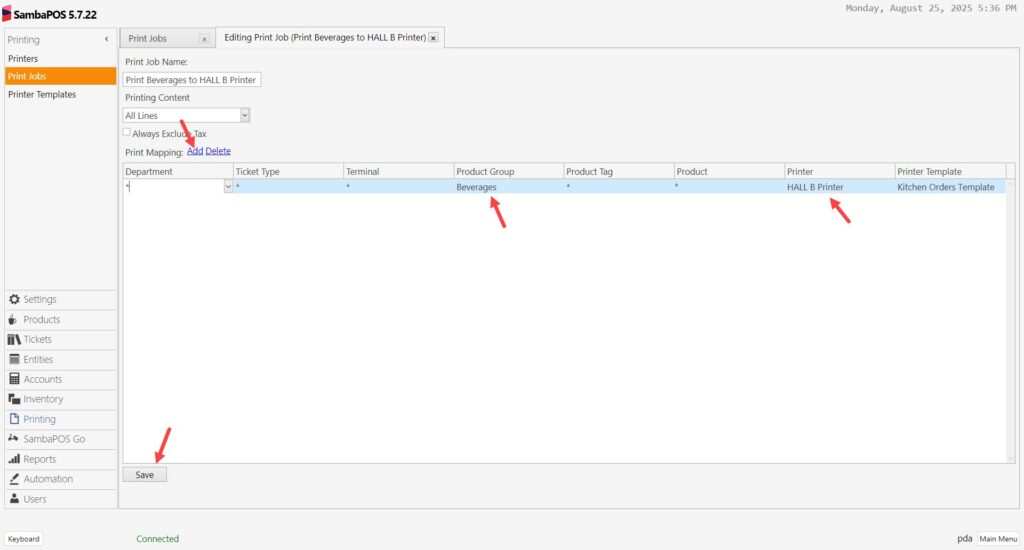
After completing the necessary editings, click on Save button.
7. Adding Printing Actions
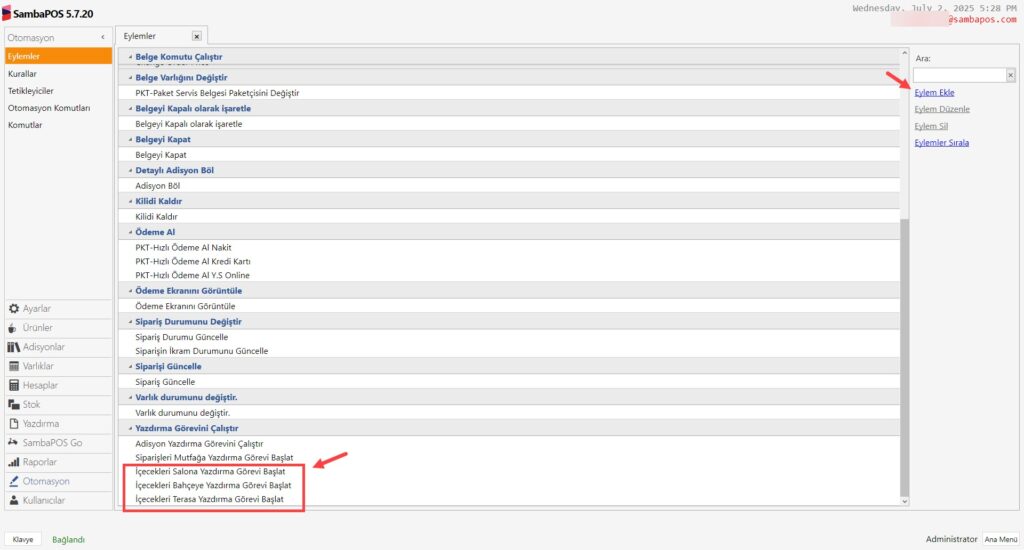
7.1. Adding Print Beverages to HALL A Printer Action
Main Menu > Manage > Automation > Actions > Here, click on Add Action.
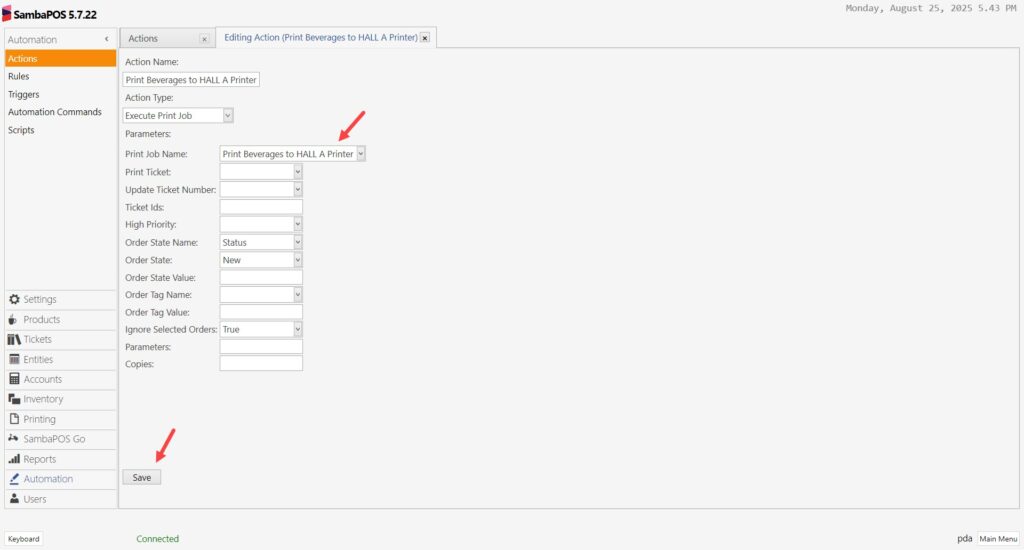
Action Name: Print Beverages to HALL A Printer
Action Type: Execute Print Job
Print Job Name: Print Beverages to HALL A Printer
Order State Name: Status
Order State: New
Ignore Selected Orders: True
After completing the necessary editings, click on Save button.
7.1. Adding Print Beverages to HALL B Printer Action
Main Menu > Manage > Automation > Actions > Here, click on Add Action.
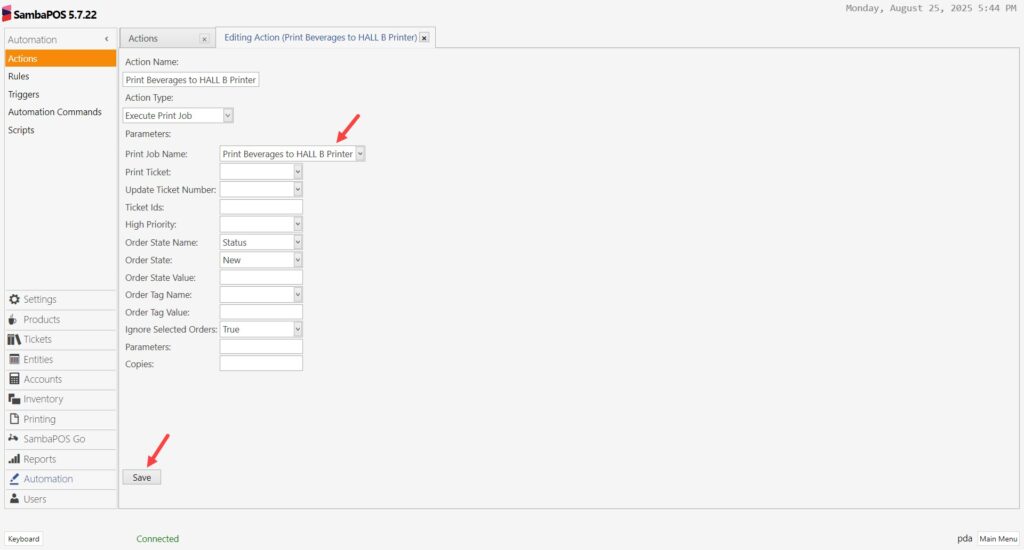
Action Name: Print Beverages to HALL B Printer
Action Type: Execute Print Job
Print Job Name: Print Beverages to HALL B Printer
Order State Name: Status
Order State: New
Ignore Selected Orders: True
After completing the necessary editings, click on Save button.
8. Editing Ticket Closing Rule
Main Menu > Manage > Automation > Rules > Ticket Closing Rule > Here, click on Select Action and add the printing actions that we crated into rule.
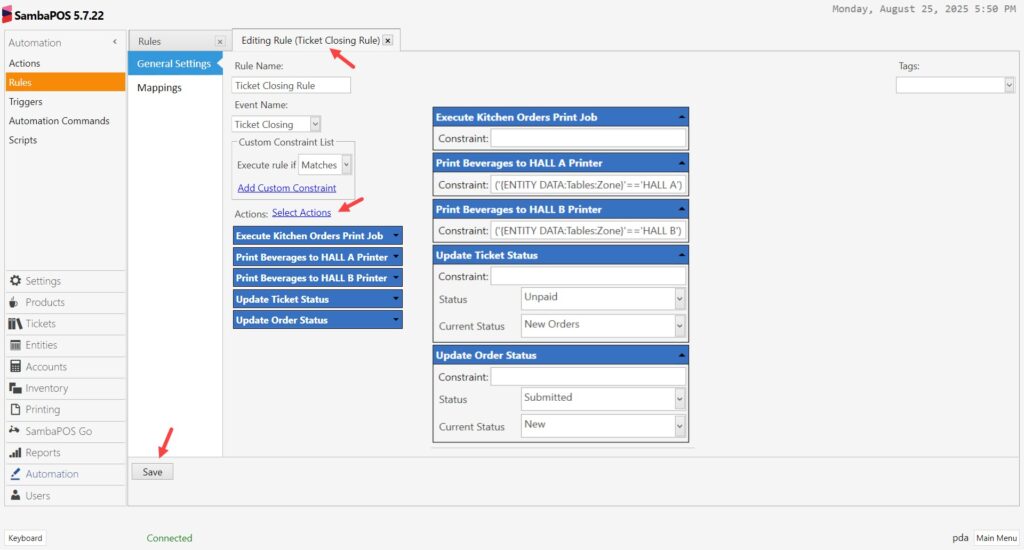
Rule Name: Ticket Closing Rule
Event Name: Ticket Closing
Execute Rule If: Matches
Select Actions:
Action-1: Execute Kitchen Orders Print Job
Action-2: Print Beverages to HALL A Printer
Constraint:('{ENTITY DATA:Tables:Zone}'=='HALL A')
Action-3: Print Beverages to HALL B Printer
Constraint:('{ENTITY DATA:Tables:Zone}'=='HALL B')
Actions-4: Update Ticket Status
Status: Unpaid
Current Status: New Orders
Actions-5: Update Order Status
Status: Submitted
Current Status: New
After completing the necessary editings, click on Save button.