4.77. How to Add Image to Customer Entity Type?
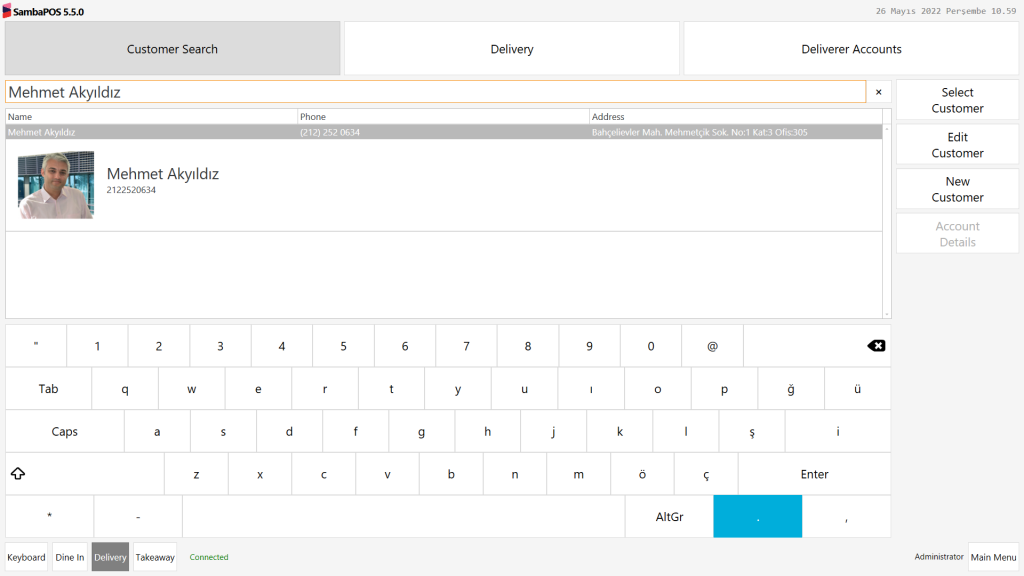
In this document it will be explained how to add a picture to your Customer Search Screen.
After you finish this document you will see your Customer Search Screen as below;
1. Adding Custom Field to Customers Entity Type
Main Menu > Manage > Entities > Entity Types > Select Customers Entity Type > Custom Fields;
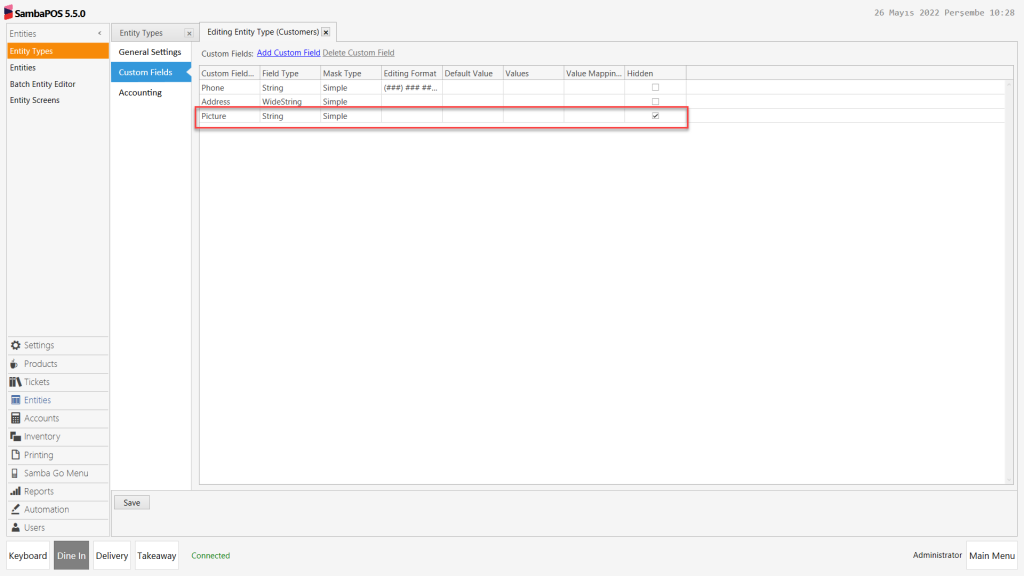
Go to Custom Fields section and select Hidden box.
After completing necessary editings, click on Save button.
2. Editing Related Entity
Main Menu > Manage > Entities > Entities > Select Related Entity > General Settings Section >

In this section fill the blanks with customer information;
Name: Write customer’s name.
Phone: Write the number of customer.
Address: Write the address of customer.
Picture: In here you can copy the picture’s link and paste. Or if you have the picture in your computer you can write the location of the picture.
Ex: https://startup.capital.com.tr/wp-content/uploads/2014/07/mehmet-akyildiz.jpg
Ex: Click right side of your Mouse on the Picture and click “Properties” and you will see the location of the picture. (C:\Users\Hp\Desktop)
After completing necessary editings, click on Save button.
3. Editing Customer Search Entity Screen
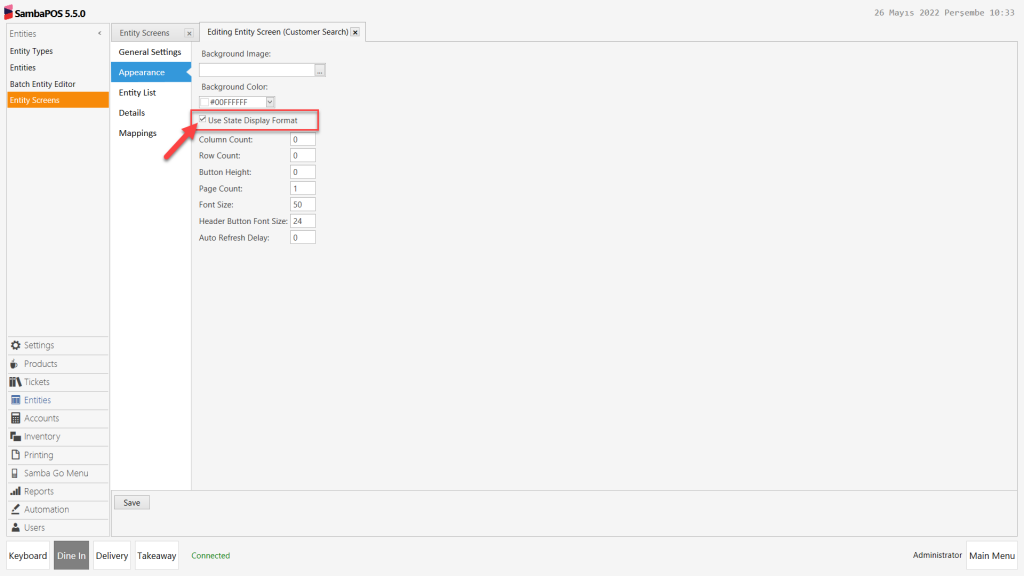
Appearence Section Settings;
Main Menu > Manage > Entities > Entity Screens> Select Customer Search Entity Screen > Appearence Section > In here, click on Use State Display Format box and then click on Save button.
Details Section Settings;
Main Menu > Manage > Entities > Entity Screens> Select Customer Search Entity Screen > Details Section > In here, copy below code group and paste into Template field;
| <block 20><img>{ENTITY DATA:Picture}</img></block> <block 5 transparent left 300> <size 30>{ENTITY NAME}</size><br/> {ENTITY DATA:Phone}<br/> {ENTITY BALANCE} </block> |

After completing necessary editings, click on Save button.
Once you complete the above steps, your Customer Search Screen should be looking as in the below image;
