2.3.13.a. How to Add Service Charge Manually by Using a Button?
It is possible to add service charge manually to tickets by percentage calculation or by adding a fixed amount.
1-Adding Service Charge Account
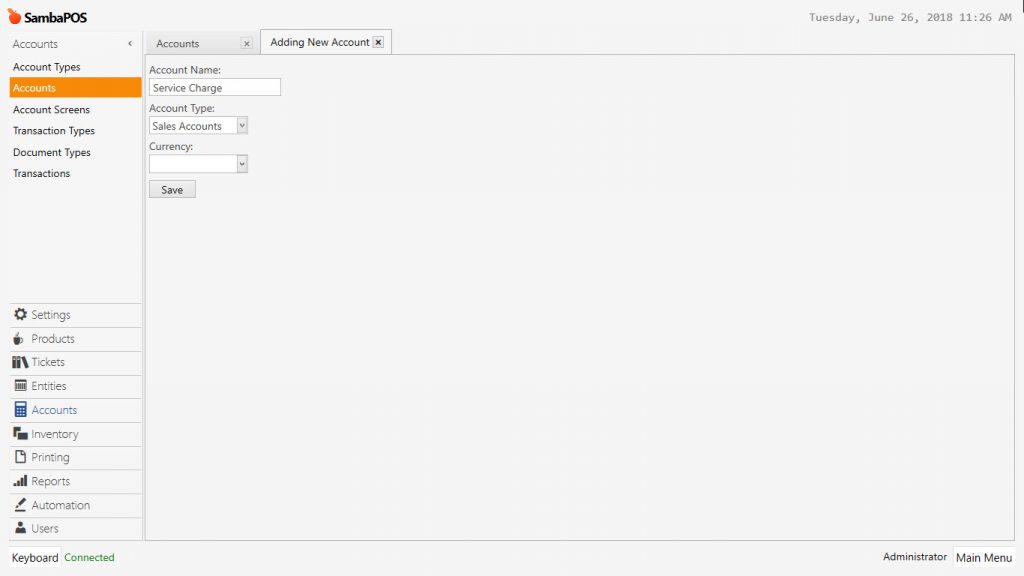
In order to add the service charge account, on the navigation screen, go to Main Menu > Manage > Accounts > Accounts > from here click on Add Account link.
-
Account Name: Field that the name of account is written. (In the example; Service Charge)
-
Account Template: Select Sales Accounts template.
After completing necessary editings, click on Save button.
2-Adding Transaction Type
It is necessary to add a new Account Transaction Type in order to determine the new created account will be establishing debit/credit relation between which accounts.
Go to Main Menu > Manage > Accounts > Transaction Types from here click on Add Account Transaction Type link.

-
Account Transaction Type Name: Field to write the name of account transaction type. (For Example; Service Charge Transactions)
-
Source Account Type (Debit): Select Sales accounts templates.
-
Target Account Type (Credit): Select Receiveble accounts template.
-
Default Source Account: Field to select previously created account (Service Charge)
-
Default Target Account: Select Receivebles template.
After completing necessary editings, click on Save button.
3- Adding Account Template
Go to Main Menu > Manage > Tickets > Calculation Templates from here click on Add Calculation Template link.
-
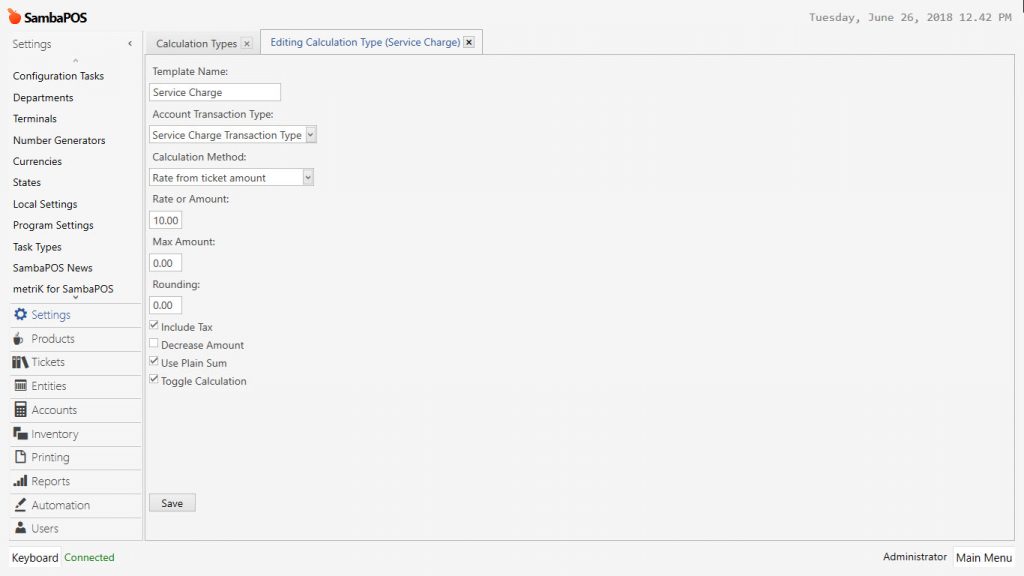
Template Name: Write the name of calculation template here. (For example; Service Charge)
-
Account Transaction Type: Select Service Charge Transactions template.
- Calculation Method: Select the template which desired to be reflected on the ticket. In the example it is selected as rate from ticket amount.
-
Rate and Amount: Reflect desired % of service charge by writing rate or amount in here.
After completing necessary editings, click on Save button.
4- Adding Automation Command
To determine that how the service charge will be added to ticket when pressed on the button, on the navigation screen, go to Main Menu > Manage > Automation > Automation Commands > from here click on Add Automation Command link.
General Settings Section;
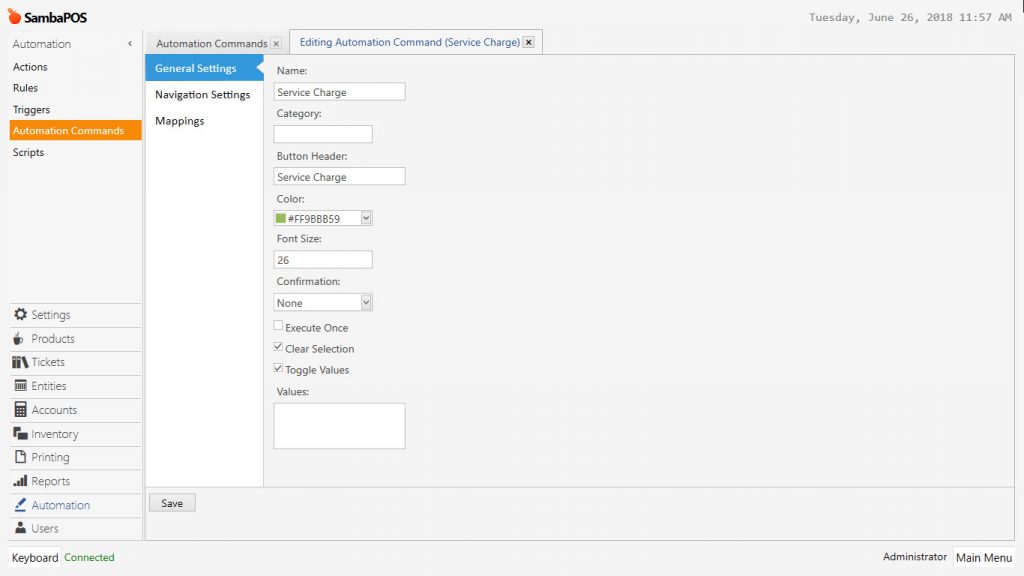
Name: Field to write name of automation command (For example; Service Charge)
Button Header: Field to select how the button will be displayed (In the example; Service Charge)
Color: Select a color for button according to your wish.
Mappings Section;
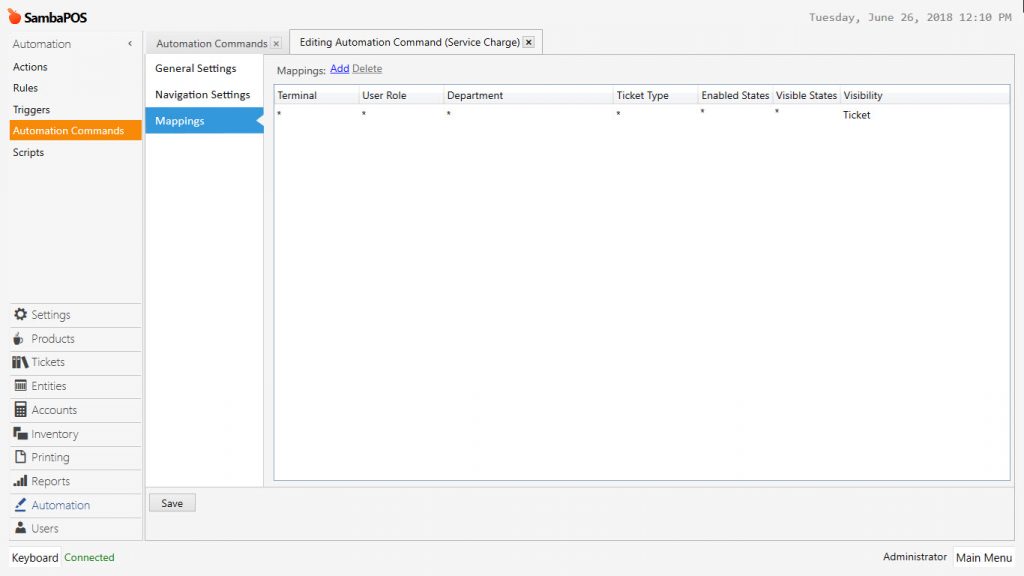
In mappings section, add a row by clicking on Add button. In this way, it will be determined that automation command will be displayed where and under which department, for which ticket type.
After completing necessary editings, click on Save button.
5- Adding Action
Go to Main Menu > Manage > Automations > Actions > in here click on Add Action link.
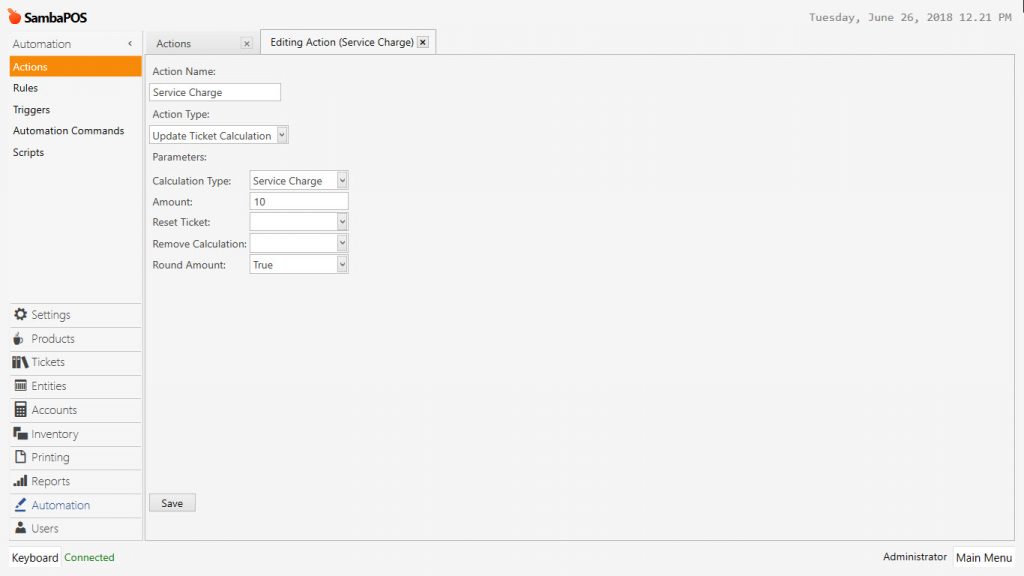
Action Type: Update Ticket Calculation
Calculation Type: Service Charge
Amount: 10 (Service charge amount that desired to be added as %)
6- Adding Rule
Go to Main Menu > Manage > Automation > Rules > in here click on Add Rule link.
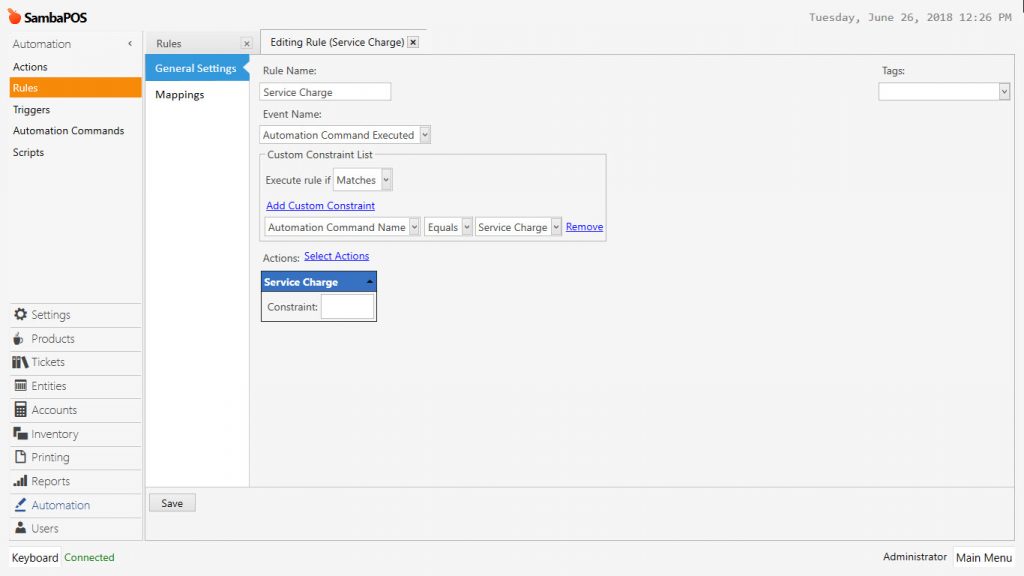
Rule Name: Service Charge
Event Name: Automation Command Executed
Add Custom Constraint: Automation Command Name | Equals | Service Charge
Select Action: Service Charge
After completing necessary editings, click on Save button.
Once you’ve done with the above steps, when you click on the Service Charge button in the ticket, 10% service charge will be added .
To Cancel the Service Charge, you can click one more time to the button.